How to Build a HubSpot Landing Page Template in HubL With a Fully Styled Form
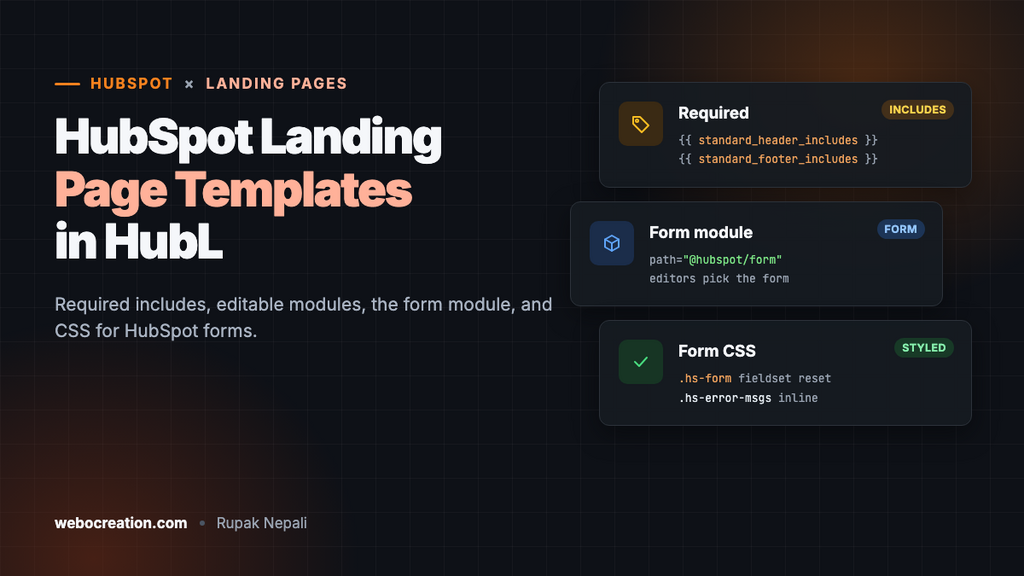
How to build a coded HubSpot landing page template: the template annotation, the required header and footer includes, editable modules, the form module, and CSS that makes HubSpot forms match your design.
 Rupak NepaliPublished Nov 13, 2026
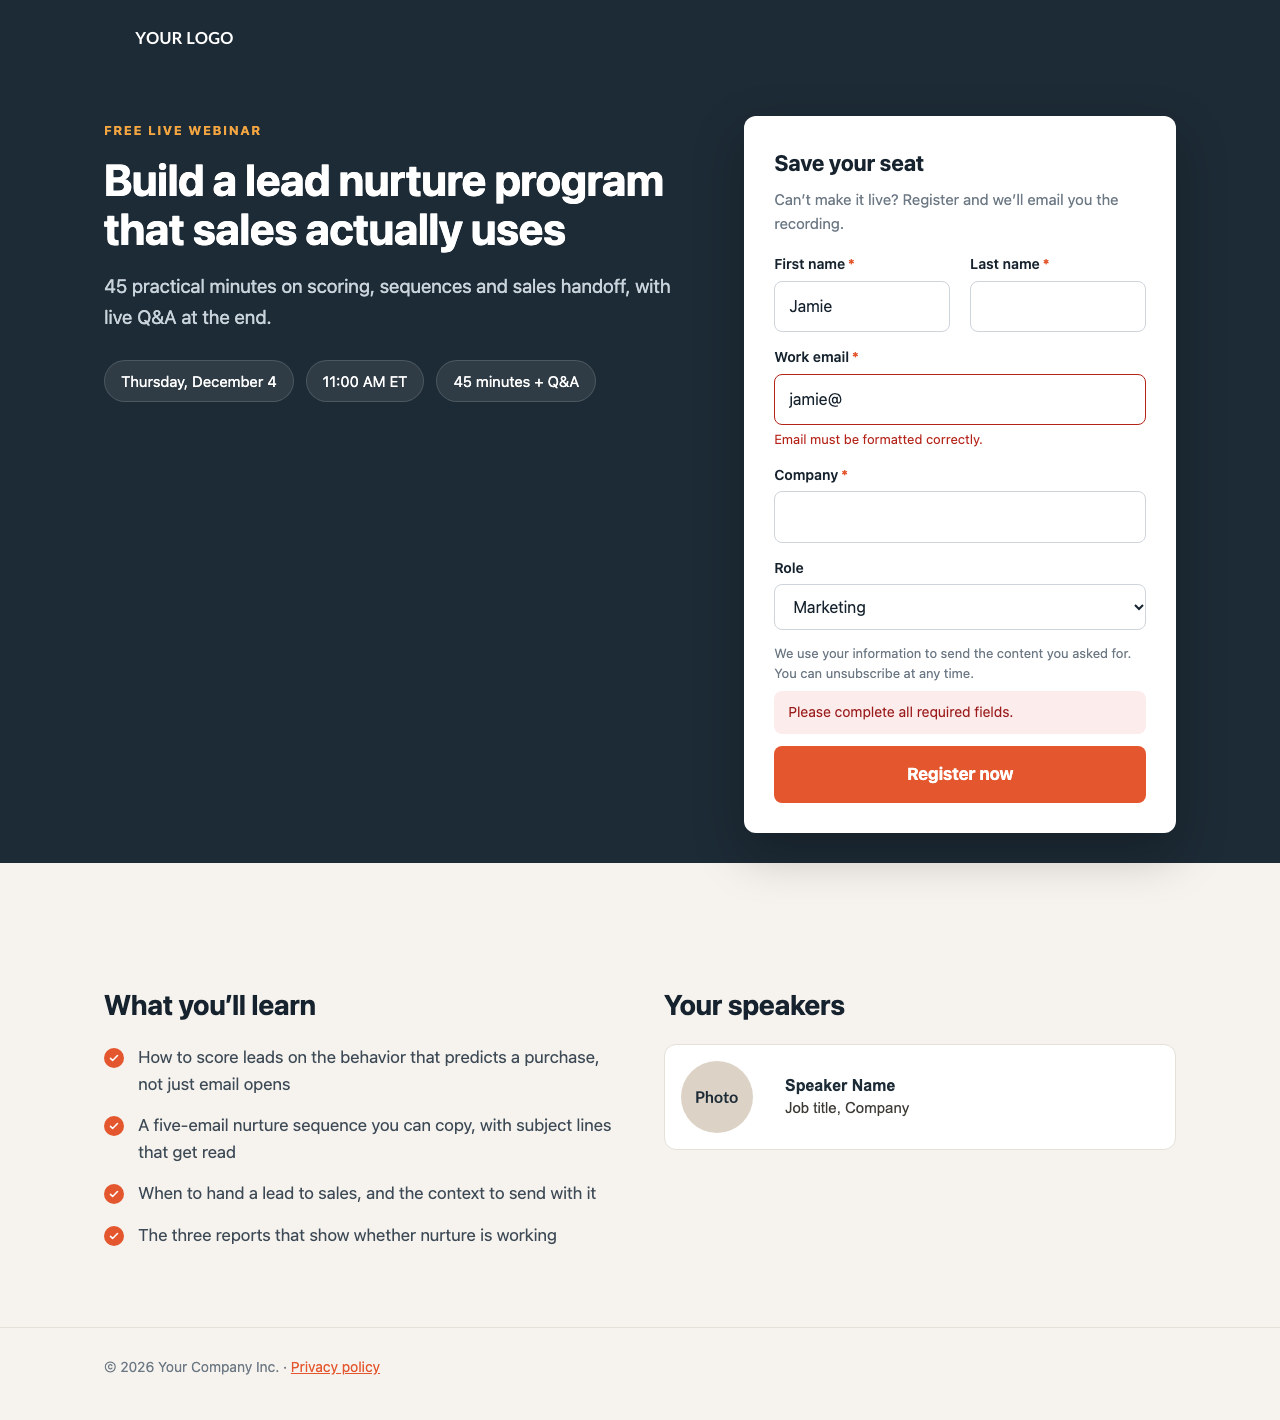
HubSpot’s drag-and-drop landing page editor is quick, and most themes include decent page templates. Build your own coded template when you need a specific campaign design that editors can fill in without changing it: the same layout, fonts and form style on every webinar or download page, launched in minutes.
This guide walks through building one in HubL: the annotation, the includes HubSpot requires, editable modules, the form, and the CSS that makes HubSpot forms look like the rest of the page. It uses a free webinar registration template you can download.
Step 1: The annotation and the required includes
A page template starts with an annotation, like an email template, but with templateType: page. It also needs four things in the HTML:
<!--
  templateType: page
  isAvailableForNewContent: true
  label: Webocreation - Webinar registration
-->
<!DOCTYPE html>
<html lang="{{ html_lang }}" {{ html_lang_dir }}>
<head>
  <meta charset="utf-8">
  <meta name="viewport" content="width=device-width, initial-scale=1">
  <title>{{ content.html_title }}</title>
  <meta name="description" content="{{ content.meta_description }}">
  {{ standard_header_includes }}
  <style>/* your CSS */</style>
</head>
<body>
  ...
  {{ standard_footer_includes }}
</body>
</html>| Variable | What it does |
|---|---|
{{ content.html_title }} | The page title set in the page’s settings |
{{ content.meta_description }} | The meta description set in the page’s settings |
{{ standard_header_includes }} | HubSpot’s required head code: canonical URL, the page’s head HTML, analytics and more |
{{ standard_footer_includes }} | HubSpot’s required footer code: tracking, form scripts and the page’s footer HTML |
{{ html_lang }}, {{ html_lang_dir }} | The page’s language and text direction, for multi-language sites |
Don’t leave out the two includes. Without them, tracking, forms and HubSpot’s editing tools don’t work properly.
Step 2: Editable modules
Like email templates, everything outside a module is locked. Wrap each module in the element that carries its style:
<p class="eyebrow">{% module "eyebrow" path="@hubspot/text", label="Label", value="Free live webinar" %}</p>
<h1>{% module "headline" path="@hubspot/text", label="Headline", value="Build a lead nurture program that sales actually uses" %}</h1>
<div class="lead">
{% module "lead" path="@hubspot/rich_text", label="Description",
html='<p>45 practical minutes on scoring, sequences and sales handoff, with live Q&A at the end.</p>' %}
</div>
<div class="meta">
{% module "event_details" path="@hubspot/rich_text", label="Event details",
html='<ul><li>Thursday, December 4</li><li>11:00 AM ET</li><li>45 minutes + Q&A</li></ul>' %}
</div>One thing to know about the CSS: HubSpot wraps every module’s output in its own div or span (with classes such as hs_cos_wrapper). Write selectors that don’t depend on the module being a direct child. For example, the event pills are styled with .meta ul and .meta li, not .meta > ul, because the list sits inside HubSpot’s wrapper.
The template also uses two custom modules from the email set, WC Image and WC Speaker list, for the logo and a repeatable speakers section. Custom modules work in pages when their meta.json includes LANDING_PAGE in content_types.
Step 3: The form
The form is one line. Editors choose which HubSpot form to show when they build the page:
<div class="form-card">
<h2>{% module "form_heading" path="@hubspot/text", label="Form heading", value="Save your seat" %}</h2>
<p class="form-note">{% module "form_note" path="@hubspot/text", label="Form note", value="Can’t make it live? Register and we’ll email you the recording." %}</p>
{% module "registration_form" path="@hubspot/form", label="Registration form" %}
</div>The form’s follow-up (thank-you message or redirect), notifications and lists are set on the form itself or in the module’s settings on each page.
Step 4: Style the form
On HubSpot pages, the form module renders the form’s HTML directly into the page, so your CSS applies. The structure of a form built in HubSpot’s classic form editor looks like this:
<form class="hs-form stacked">
  <fieldset class="form-columns-2">
    <div class="hs_firstname field hs-form-field">
      <label><span>First name</span><span class="hs-form-required">*</span></label>
      <div class="input"><input class="hs-input" type="text"></div>
    </div>
    ...
  </fieldset>
  <fieldset class="form-columns-1">
    <div class="hs_email field hs-form-field">
      <label>...</label>
      <div class="input"><input class="hs-input invalid error" type="email"></div>
      <ul class="hs-error-msgs inputs-list"><li><label class="hs-error-msg">Email must be formatted correctly.</label></li></ul>
    </div>
  </fieldset>
  <div class="legal-consent-container">...</div>
  <div class="hs_error_rollup"><ul class="hs-error-msgs">...</ul></div>
  <div class="hs_submit"><div class="actions"><input type="submit" class="hs-button primary large" value="Register now"></div></div>
</form>
The template’s key form rules, scoped to the card that holds the form:
/* Reset the fieldsets HubSpot wraps every row in */
.form-card .hs-form fieldset{max-width:none !important;margin:0;padding:0;border:0;min-width:0}
.form-card .hs-form fieldset.form-columns-2 .hs-form-field{width:50% !important;float:left;padding-right:10px}
.form-card .hs-form fieldset.form-columns-2 .hs-form-field:last-child{padding-right:0;padding-left:10px}
.form-card .hs-form .input{margin-right:0 !important}

/* Labels and fields */
.form-card .hs-form label:not(.hs-error-msg){display:block;margin:0 0 5px;font-size:14px;font-weight:600}
.form-card .hs-form .hs-form-required{margin-left:3px;color:var(--accent)}
.form-card .hs-form .hs-input{width:100% !important;padding:12px 14px;font:inherit;font-size:16px;border:1px solid #cdd4db;border-radius:8px;box-sizing:border-box}
.form-card .hs-form input[type=checkbox].hs-input,.form-card .hs-form input[type=radio].hs-input{width:auto !important;margin:0 8px 0 0}

/* Errors */
.form-card .hs-form .hs-input.invalid.error{border-color:#b42318}
.form-card .hs-form .hs-error-msgs{margin:4px 0 0;padding:0;list-style:none}
.form-card .hs-form .hs-error-msgs label{display:block;margin:0;font-size:13px;font-weight:400;color:#b42318}
.form-card .hs-form .hs_error_rollup .hs-error-msgs{margin:0 0 12px;padding:10px 14px;background:#fdecec;border-radius:8px}

/* Button */
.form-card .hs-form .hs-button{width:100%;padding:15px 20px;font:inherit;font-weight:700;color:#fff;background:var(--accent);border:0;border-radius:8px;-webkit-appearance:none}

/* Two columns become one on phones */
@media (max-width:480px){.form-card .hs-form fieldset.form-columns-2 .hs-form-field{width:100% !important;float:none;padding:0 !important}}
Things these rules take care of:
- Fieldsets. HubSpot wraps every row of fields in a
<fieldset>, which browsers draw with a border and padding. Reset them, or the form gets stray boxes. - Two-column rows. Forms with first and last name side by side use
form-columns-2. The template keeps them side by side on desktop and stacks them on phones. - Error label versus field label. Error messages are also
labelelements, so the field-label rule useslabel:not(.hs-error-msg)to avoid making errors bold. - 16-pixel inputs, so iPhones don’t zoom in when a field is tapped.
About HubSpot’s newer form editor: forms created in the new editor render with different markup and are styled mainly through the form’s style settings and your theme. The CSS above targets forms from the classic editor. If you use new-editor forms, set their fonts, colors and button style in the form’s style settings to match the page.
Step 5: Responsive layout
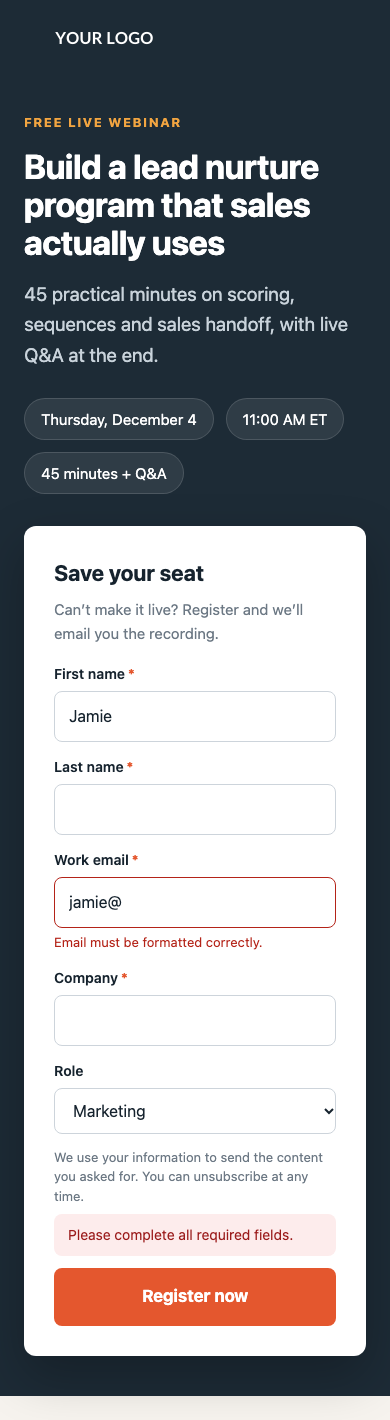
CSS grid puts the copy on the left and the form card on the right, overlapping the dark hero. Below 900 pixels, everything becomes one column with the form directly under the event details:
Step 6: Upload and use it
- Upload with the HubSpot CLI (
hs upload) or paste the template into a new Design Manager file of type Page. - Create a landing page and choose the template.
- Edit the modules: headline, description, event details, speakers. Choose the form.
- Set the page title, URL and meta description in the page settings.
- Preview the page, submit the form empty to check the error styling, then submit it for real and check the follow-up and any workflows.
Want editors to add sections?
This template uses fixed modules, so every page has the same structure. If editors should be able to add, move and remove sections, use a drag-and-drop area instead, which HubSpot recommends building inside a theme:
{% dnd_area "main" label="Main content" %}
  {% dnd_section %}
    {% dnd_column %}
      {% dnd_row %}
        {% dnd_module path="@hubspot/rich_text", html="<h2>Section heading</h2><p>Section text.</p>" %}{% end_dnd_module %}
      {% end_dnd_row %}
    {% end_dnd_column %}
  {% end_dnd_section %}
{% end_dnd_area %}
A common pattern is fixed modules for the hero and form, so those stay on brand, and a drag-and-drop area below them for flexible content.
Common problems
| Problem | Cause and fix |
|---|---|
| Forms don’t submit, or tracking is missing | {{ standard_footer_includes }} is missing from the template. |
| A style doesn’t apply to a module | The selector expects a direct child, but HubSpot added a wrapper. Use descendant selectors. |
| Stray borders around form rows | The fieldset reset is missing. |
| Error messages look like bold field labels | The label rule needs :not(.hs-error-msg). |
| The form ignores your CSS | It was built in the new form editor. Style it in the form’s style settings. |
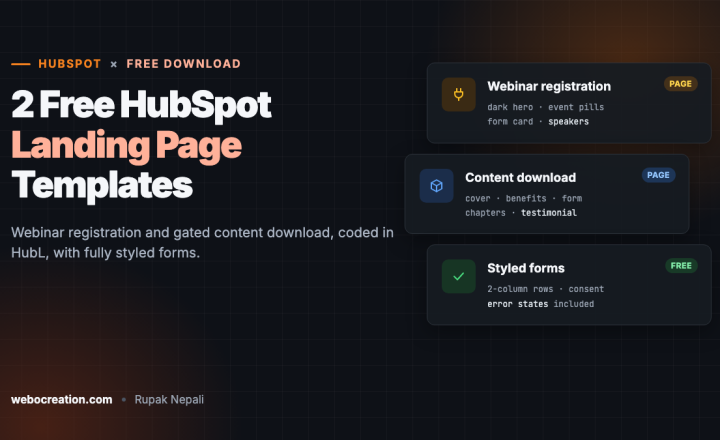
Want the finished templates? Get them, plus a content download page, in 2 Free HubSpot Landing Page Templates. Using Pardot or Marketo? See the Pardot version and the Marketo version of this guide.

Author of four Opencart book.
The recent are Opencart 4 developer book and Opencart 4 user manual