Pardot HML Cheat Sheet: Merge Fields, Fallbacks, Conditional Content and the Links Every Email Needs
A practical cheat sheet for HML, Account Engagement's merge language: field syntax, {{#if}} fallbacks for missing data, conditional content, the required links, and the mistakes that end up in sent emails.
 Rupak NepaliPublished Nov 12, 2026
Personalization is the cheapest way to make a marketing email feel less like one. In Pardot (Marketing Cloud Account Engagement), you personalize with HML, short for Handlebars Merge Language. It’s simple once you know the patterns, and it’s also behind the most embarrassing email mistake there is: “Hi ,” with no name.
This cheat sheet covers the syntax, the patterns that avoid that mistake, conditional content, and the links every email must contain. The examples come from our free Pardot email templates, where they’re already in place.
The basics
HML tags use double curly braces and start with the object they read from:
| Tag | Reads from | Example |
|---|---|---|
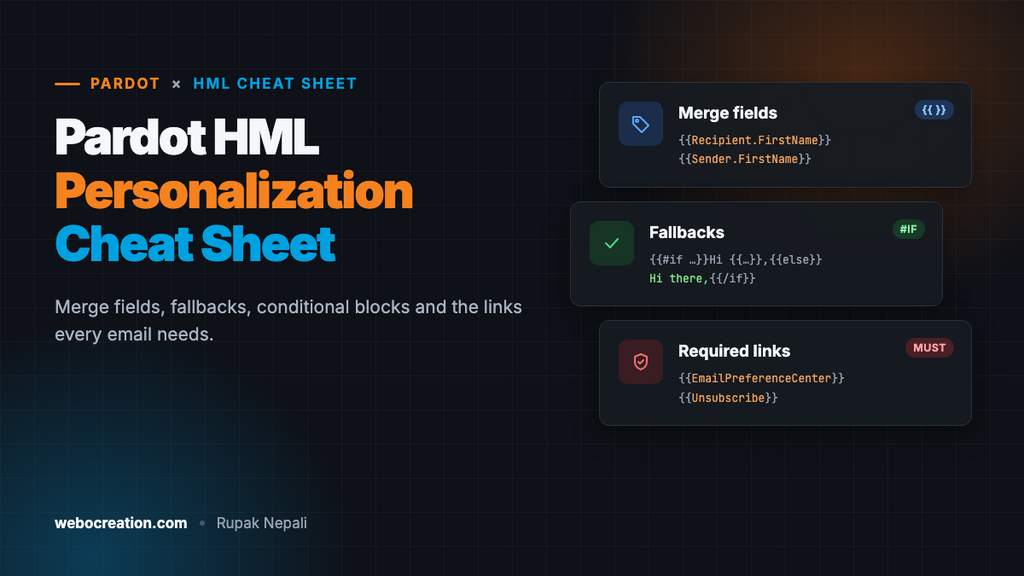
{{Recipient.FirstName}} | The prospect receiving the email | Jamie |
{{Recipient.Company}} | The prospect’s company field | Acme Inc. |
{{Sender.FirstName}}, {{Sender.LastName}} | The user the email is sent from, often the prospect’s assigned user | Alex Morgan |
{{Recipient.Owner.Name}} | The prospect’s assigned user (owner) | Sam Lee |
You don’t have to remember field names. The email editor has a merge field button that inserts the right tag for any standard or custom field, including the exact name of your custom fields. Use it rather than typing tags by hand, because a misspelled tag prints nothing.
HML works in email templates, list emails, one-to-one emails, dynamic content and landing pages.
Always add a fallback
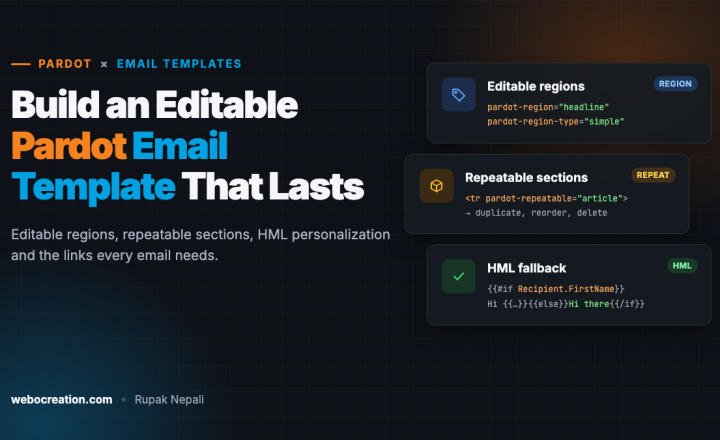
Prospect data is never complete. Forms collect only an email address, list imports skip columns, and people type nonsense into name fields. A plain {{Recipient.FirstName}} prints nothing when the field is empty, so give every visible merge field a fallback with {{#if}}:
{{#if Recipient.FirstName}}Hi {{Recipient.FirstName}},{{else}}Hi there,{{/if}}Read it as: if the prospect has a first name, say “Hi” and the name; otherwise, say “Hi there”. The whole greeting is inside the condition, including the comma, so the fallback reads naturally.
The same pattern works anywhere:
{{#if Recipient.Company}}How {{Recipient.Company}} can cut reporting time in half{{else}}How to cut reporting time in half{{/if}}

Thanks for reading,
{{#if Sender.FirstName}}{{Sender.FirstName}} {{Sender.LastName}}{{else}}The team{{/if}}
Be careful with merge fields in subject lines. A subject line with a company name that’s wrong or oddly capitalized (“ACME INC”) looks automated. Only personalize subject lines with fields you keep clean.
Show or hide whole blocks
{{#if}} isn’t only for single words. It can show or hide any amount of HTML, which turns one email into several. This block shows the assigned sales rep’s details when the prospect has one, and an offer to book a demo when they don’t:
{{#if Recipient.Owner.Name}}
  <p>Your account manager is {{Recipient.Owner.Name}}.<br>
     Reply to this email or call {{Recipient.Owner.Phone}}.</p>
{{else}}
  <p><a href="https://www.example.com/demo">Book a 20-minute demo</a> with our team.</p>
{{/if}}
Two limits to know:
- Conditions check whether a field has a value, not what the value is.
{{#if Recipient.Industry}}is true for any industry. To show different content for each industry, use dynamic content, which you set up in Account Engagement with variations per field value, then insert into the email. - Keep the HTML balanced. Open and close tags inside the same branch. A
<table>that starts inside{{#if}}and ends after{{/if}}breaks the layout for half your list.
The links every email needs
| Tag | What it does | Required? |
|---|---|---|
{{EmailPreferenceCenter}} | Link to your email preference page, where prospects choose which lists they get | One of these two must be in both the HTML and text versions |
{{Unsubscribe}} | Unsubscribes the prospect from all marketing email | One of these two must be in both the HTML and text versions |
{{View_Online}} | Opens the email in a browser | No, but useful for people whose email client shows it badly |
Use them as link targets:
<a href="{{View_Online}}">View in browser</a>
<a href="{{EmailPreferenceCenter}}">Update your email preferences</a>
<a href="{{Unsubscribe}}">Unsubscribe from all emails</a>
Account Engagement blocks sending if neither the preference center nor the unsubscribe link is in the email. Lead with the preference center: someone who wants fewer emails can then drop one list instead of leaving all of them. Keep the links outside editable regions in templates, so nobody deletes them while editing.
Most anti-spam laws also require your postal address in every marketing email. Put it in the footer of the template.
Old merge tags vs HML
Before HML, Pardot used tags with percent signs, such as %%first_name%% and %%unsubscribe%%. Older emails and templates still contain them, and they still work, but HML is the current syntax and the one the merge field picker inserts. The mapping is almost one-to-one, for example:
| Old tag | HML |
|---|---|
%%first_name%% | {{Recipient.FirstName}} |
%%unsubscribe%% | {{Unsubscribe}} |
When you update an old template, convert all its tags to HML at once, using the merge field picker to get each new tag, and don’t mix the two styles in the same email. Then send a test to check every field still fills in.
Mistakes that end up in sent emails
| Mistake | Fix |
|---|---|
| “Hi ,” when the first name is missing | Wrap the greeting in {{#if}}...{{else}}...{{/if}} |
| A tag prints nothing even though the field has data | The tag is misspelled, or uses the field’s label instead of its name. Insert it with the merge field picker. |
| Names in odd capitals (“JAMIE”, “jamie”) | Clean the data at the source. A form can’t fix capitalization in the email. |
| The layout breaks for some prospects | An HTML tag opens in one branch of a condition and closes outside it |
| The email won’t send | No {{Unsubscribe}} or {{EmailPreferenceCenter}} in the HTML or the text version |
| Personalization looks wrong in the test | Test sends use the prospect you send them to. Send tests to a real prospect record with full data, and to one with empty fields. |
Test personalization properly
- Create two test prospects with your own email address variations: one with every field filled in, and one with only an email address.
- Send a test of the email to both.
- Check every merged field and every fallback, in both the HTML and text versions.
- Check the subject line and preheader too. They’re easy to forget, and they’re the first thing people see.
Want to see all of this in a working template? Download the free Pardot newsletter and webinar invitation templates, or read how to build an editable Pardot email template from scratch.

Author of four Opencart book.
The recent are Opencart 4 developer book and Opencart 4 user manual