How to Build a Coded HubSpot Email Template: HubL, Custom Modules and Repeatable Sections (Free Template Included)
How to build a coded HubSpot email template in HubL: template annotations, built-in and custom modules, repeatable sections with repeater fields, personalization and the footer HubSpot requires.
 Rupak NepaliPublished Nov 13, 2026
HubSpot’s drag-and-drop email editor is good enough for many teams. You reach its limits when you need a layout it can’t make, an exact brand design that editors mustn’t change, or a section that repeats, like newsletter articles, that should look identical every time. That’s when you build a coded email template in HubL, HubSpot’s template language.
This guide walks through building one: the template file, built-in and custom modules, repeatable sections, personalization, and the footer HubSpot insists on. It uses a free newsletter template you can download and upload to your account.
How coded email templates work
A coded template is an HTML file in the Design Manager with HubL in it. HubL looks like Jinja: {{ variable }} prints a value and {% tag %} runs logic. Where you want editors to change content, you place a module. Editors see each module as an editable block in the email editor; everything outside modules is locked.
| Building block | What it does | Example |
|---|---|---|
| Template annotation | Tells HubSpot the file is an email template and how to label it | templateType: email |
| Built-in module | HubSpot’s standard text and rich text blocks | {% module "intro" path="@hubspot/rich_text" %} |
| Custom module | Your own block with its own fields and HTML | {% module "articles" path="../modules/wc-article-list" %} |
| Repeater field | A group of fields editors can add, remove and reorder | Articles, speakers, features |
| Variables | Values HubSpot fills in at send time | {{ contact.firstname }}, {{ unsubscribe_link }} |
The template we’ll build
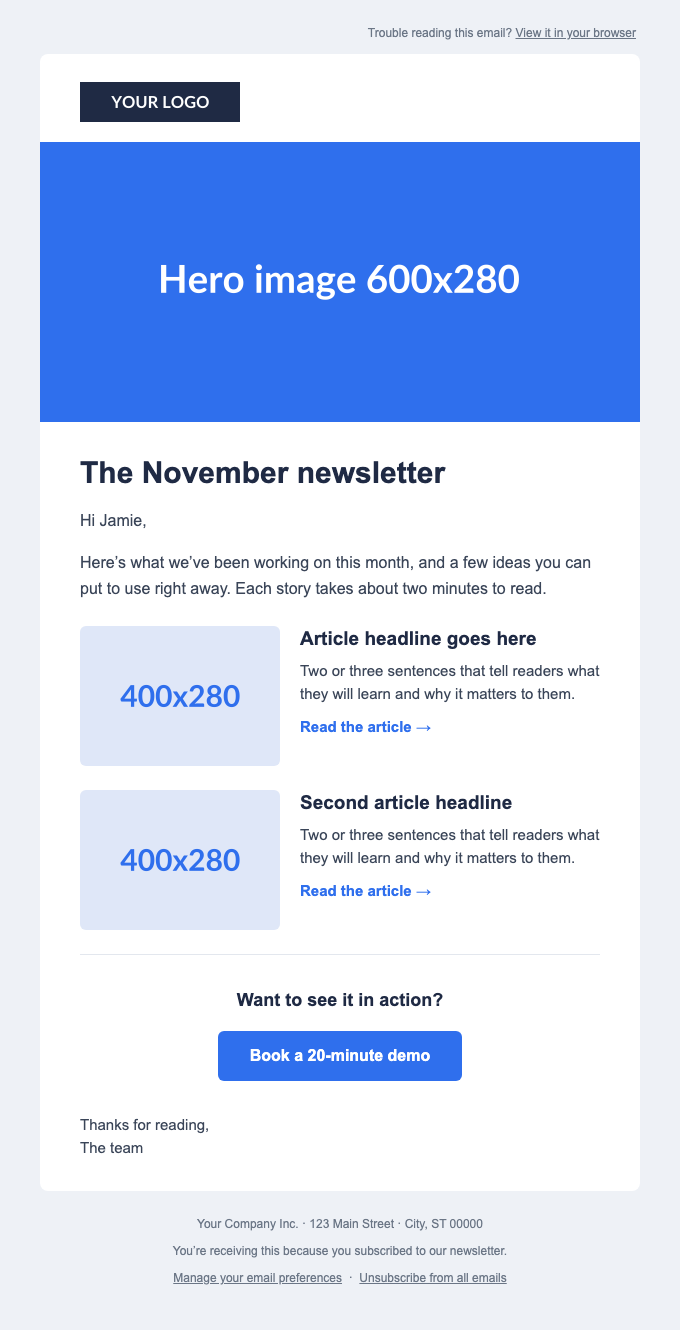
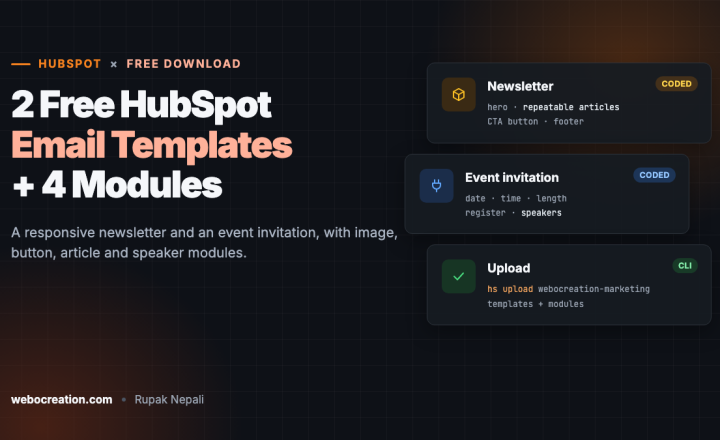
It’s a 600-pixel, table-based layout that works in Outlook on Windows, stacks on phones and has dark-mode colors. You can download it with an event invitation template and four custom modules. Upload steps are in 2 Free HubSpot Email Templates.
Step 1: The template annotation
Every coded template starts with an HTML comment that HubSpot reads:
<!--
  templateType: email
  isAvailableForNewContent: true
  label: Webocreation - Newsletter
-->
<!DOCTYPE html>
<html lang="en">
...
templateType: email makes it an email template, isAvailableForNewContent makes it selectable when someone creates an email, and label is the name they see. Prefix your labels (here, “Webocreation -“) so your templates are easy to find among HubSpot’s defaults.
Step 2: Built-in modules for text
For headlines and copy, HubSpot’s built-in modules are enough. Put the module inside the styled element, so editors type into a block that already has the right font and color:
<h1 class="h1 text" style="margin:0 0 16px;font-size:30px;line-height:38px;font-weight:bold;color:#1f2a44;">
{% module "headline" path="@hubspot/text", label="Headline", value="The November newsletter" %}
</h1>
<div class="text" style="font-size:16px;line-height:26px;color:#3a4558;">
{% module "intro" path="@hubspot/rich_text", label="Intro",
html='<p style="margin:0;">Here’s what we’ve been working on this month...</p>' %}
</div>The first argument ("headline") is the module’s unique name in the template. label is what editors see. The remaining arguments set default content: value for the text module, html for rich text. Separate every argument with a comma.
Use @hubspot/text where editors should only change words, such as headlines and labels. It can’t hold formatting, so the design stays intact. Use @hubspot/rich_text where they need bold text, links and lists.
A small trap: the html argument is a string in single quotes, so an apostrophe in your default text ends the string early. Use ’ instead, as above.
Step 3: Custom modules for everything else
Built-in modules don’t give you control over images and buttons in email, so the template uses small custom modules. A custom module is a folder with three files:
module.html: the HTML and HubL that renders the modulefields.json: the fields editors fill inmeta.json: the label, and where the module can be used
The button module shows the pattern. Its fields:
[
  {"name": "button_text", "label": "Button text", "type": "text", "required": true, "default": "Book a 20-minute demo"},
  {"name": "link", "label": "Button link", "type": "url", "required": true,
   "default": {"href": "https://www.example.com/demo", "type": "EXTERNAL"}},
  {"name": "button_color", "label": "Button color", "type": "color", "default": {"color": "#2f6fed", "opacity": 100}},
  {"name": "alignment", "label": "Alignment", "type": "choice", "display": "select",
   "choices": [["left", "Left"], ["center", "Center"], ["right", "Right"]], "default": "center"}
]
And its HTML, a table-cell button that renders in Outlook, reading each field from module:
<table role="presentation" cellpadding="0" cellspacing="0" border="0" align="{{ module.alignment }}" style="margin:0 auto;">
  <tr>
    <td align="center" bgcolor="{{ module.button_color.color }}" style="border-radius:6px;background:{{ module.button_color.color }};">
      <a href="{{ module.link.href }}" style="display:inline-block;padding:15px 32px;...;color:#ffffff;text-decoration:none;">{{ module.button_text }}</a>
    </td>
  </tr>
</table>
In meta.json, "content_types": ["EMAIL"] makes the module available in emails. In the template, you place it with a relative path, and you can override any field’s default by its name:
{% module "cta_button" path="../modules/wc-button", label="CTA button", button_text="Book a 20-minute demo" %}Editors get a clean panel with exactly four settings: text, link, color and alignment. They can’t break the button’s HTML, because they never see it.
Step 4: Repeatable sections with a repeater field
A newsletter has a different number of stories each month. In HubSpot, you handle that with a repeater: a group field with an occurrence setting. Editors click “Add” to get another set of fields, drag them to reorder, or delete them.
{"name": "articles", "label": "Articles", "type": "group",
 "occurrence": {"min": 1, "max": 12, "default": 2},
 "children": [
   {"name": "image", "label": "Image (400 x 280)", "type": "image"},
   {"name": "title", "label": "Headline", "type": "text", "required": true},
   {"name": "summary", "label": "Summary", "type": "text"},
   {"name": "link", "label": "Link", "type": "url"},
   {"name": "link_text", "label": "Link text", "type": "text", "default": "Read the article"}
 ]}
The module’s HTML loops over the group:
{% for item in module.articles %}
<table role="presentation" width="100%" cellpadding="0" cellspacing="0" border="0" style="margin:0 0 24px;">
<tr>
{% if item.image.src %}
<td class="stack stack-pad" width="200" valign="top" style="width:200px;padding-right:20px;">
<img src="{{ item.image.src }}" alt="{{ item.image.alt }}" width="200" class="fluid" style="display:block;width:200px;max-width:100%;height:auto;">
</td>
{% endif %}
<td class="stack" valign="top">
<h2>{{ item.title }}</h2>
<p>{{ item.summary }}</p>
{% if item.link.href %}<p><a href="{{ item.link.href }}">{{ item.link_text }} →</a></p>{% endif %}
</td>
</tr>
</table>
{% endfor %}Two details: the {% if item.image.src %} check lets editors leave out an image for a text-only story without leaving an empty column, and the stack and fluid classes come from the template’s media query, which stacks the image above the text on phones.
Step 5: Personalization
The greeting uses the contact’s first name with a fallback, using HubL’s default filter:
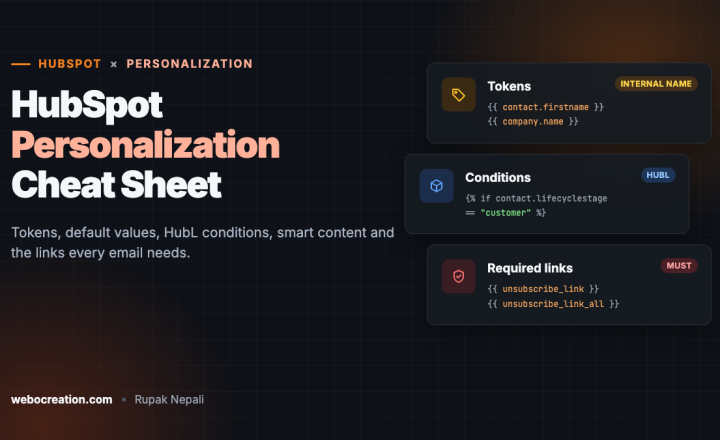
<p>Hi {{ contact.firstname|default("there", true) }},</p>The true matters: without it, default only applies when the property doesn’t exist, not when it’s an empty string, and you’d still get “Hi ,”. Our HubSpot personalization cheat sheet covers more tokens, HubL conditions and smart content.
Step 6: The footer HubSpot requires
HubSpot won’t let you use a coded email template unless it includes your company’s address and an unsubscribe link, because anti-spam laws require both. The template’s footer:
<p>{{ site_settings.company_name }} · {{ site_settings.company_street_address_1 }} ·
{{ site_settings.company_city }}, {{ site_settings.company_state }} {{ site_settings.company_zip }}</p>
<p><a href="{{ unsubscribe_link }}">Manage your email preferences</a> ·
<a href="{{ unsubscribe_link_all }}">Unsubscribe from all emails</a></p>The address comes from your account’s company information, so you set it once in settings and every email uses it. {{ unsubscribe_link }} opens the subscription preferences page, where contacts can leave one email type and keep the rest. {{ unsubscribe_link_all }} unsubscribes them from everything. Offer both, preferences first.
At the top, {{ view_as_page_url }} links to the web version of the email.
Step 7: Test it
- Upload it. With the HubSpot CLI,
hs uploadsends the template and modules to the Design Manager and reports any HubL errors. Without the CLI, paste the files into new Design Manager files; the editor shows errors as you save. - Preview with a real contact. In the Design Manager preview, or in an email created from the template, preview as a contact with a first name and one without.
- Use every module. Add and remove articles, change the button’s color and alignment, remove an article image.
- Send tests to Gmail, Outlook on Windows and an iPhone. HubSpot moves your CSS inline when it sends, so check the result in real inboxes, not only the preview.
Common problems
| Problem | Cause and fix |
|---|---|
| The template can’t be used for emails | One of the required footer variables is missing. Check for every site_settings.company_* variable and unsubscribe_link. |
| “Module not found” | The path doesn’t match the module’s location. With ../modules/..., the templates and modules folders must sit side by side. |
| A module ignores the default you passed | The argument name doesn’t match the field’s name in fields.json exactly. |
| Default text is cut off | An apostrophe inside a single-quoted html argument. Use ’. |
| “Hi ,” in sent emails | The default filter is missing its second argument, true. |
New to HubSpot development? Our earlier tutorial on building a three-column module in HubSpot covers custom modules from the start. Next in this series: two free HubSpot email templates, then a coded landing page template. Using Pardot or Marketo too? See the Pardot and Marketo versions of this guide.

Author of four Opencart book.
The recent are Opencart 4 developer book and Opencart 4 user manual