How to Build a Pardot Landing Page Layout Template With Editable Regions and a Styled Form
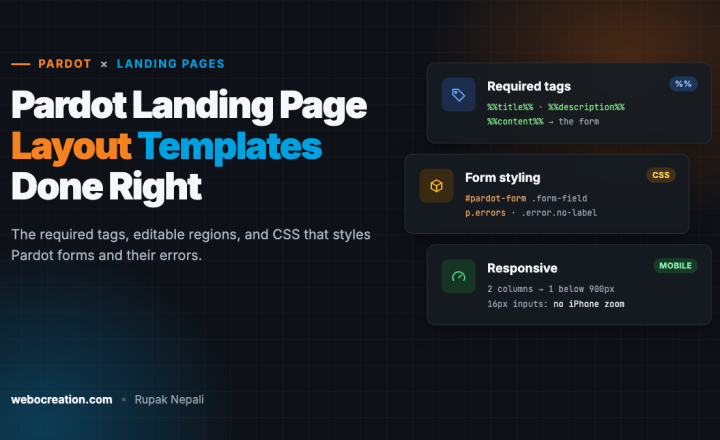
How to turn any landing page design into a Pardot layout template: the required %% tags, editable regions, and CSS that makes Pardot's generated form, including its error messages, match your design.
 Rupak NepaliPublished Nov 12, 2026
Pardot (Marketing Cloud Account Engagement) builds landing pages from layout templates. A layout template is the HTML and CSS of the page; each landing page then fills it with its own headline, text, images and form. Build the template well once, and your team can launch a new on-brand landing page in ten minutes without a developer.
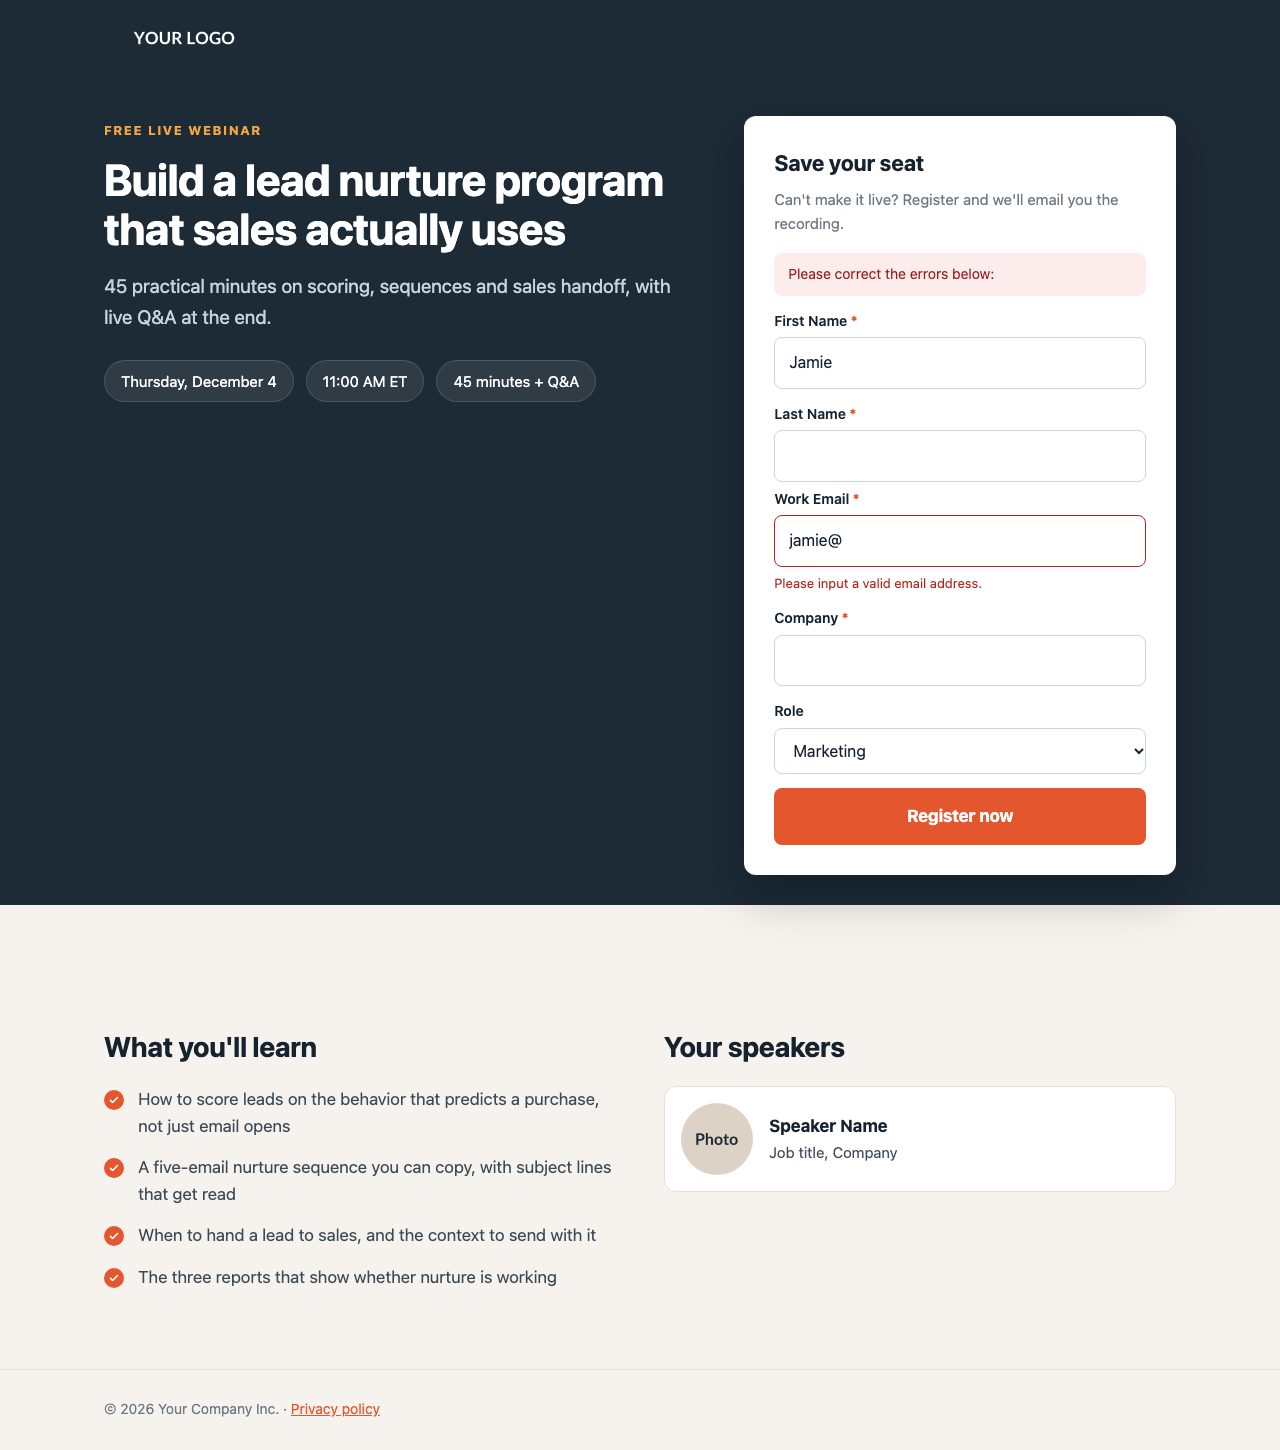
This guide walks through building one: the three required tags, editable regions, and the CSS that makes Pardot’s generated form match your design, which is the part most templates get wrong. It uses a free webinar registration template you can download.
How layout templates work
You find them under Content → Layout Templates. Each one has several tabs:
- Layout: the full HTML page, including the CSS. This is where almost all your work goes.
- Form: the markup Pardot uses to build each form field. Leave it as it is unless you need to move labels around; the default works with the CSS in this guide.
- Site Search (in older accounts): for a retired search feature. Ignore it.
The same layout template is used for landing pages and, if you choose, for forms you embed on your website. This guide focuses on landing pages.
Step 1: The three required tags
Pardot replaces three tags when it builds a page:
| Tag | Replaced with | Where it goes |
|---|---|---|
%%title%% | The landing page’s title | Inside <title> |
%%description%% | The landing page’s description | In the meta description tag |
%%content%% | The form, or the thank-you content after it’s submitted | Wherever the form should appear |
<head>
  <meta charset="utf-8">
  <meta name="viewport" content="width=device-width, initial-scale=1">
  <title>%%title%%</title>
  <meta name="description" content="%%description%%">
  ...
</head>
...
<div class="form-card">
  <h2 pardot-region="form_heading" pardot-region-type="simple">Save your seat</h2>
  <p class="form-note" pardot-region="form_note" pardot-region-type="simple">Can't make it live? Register and we'll email you the recording.</p>
  %%content%%
</div>
Fill in the title and description when you create each landing page. Search engines and social networks show them, and an empty description leaves Google to pick some text from the page.
If you’re converting an existing page that already has a form in its HTML, delete that <form>...</form> and put %%content%% where it was.
Step 2: Add editable regions
Landing pages use the same region attributes as email templates. Mark each part a marketer should change per page:
<p class="eyebrow" pardot-region="eyebrow" pardot-region-type="simple">Free live webinar</p>
<h1 pardot-region="headline" pardot-region-type="simple">Build a lead nurture program that sales actually uses</h1>
<div pardot-region="lead">
  <p class="lead">45 practical minutes on scoring, sequences and sales handoff...</p>
</div>
<img src="https://placehold.co/160x36/1d2b36/ffffff/png?text=YOUR+LOGO" alt="Your company"
     pardot-region="logo" pardot-region-type="image">
The same rules apply as in email:
simpleregions for headlines and short labels, so nobody can paste in a different font or color.- Regions without a type for longer text that needs bold, links or lists.
imageregions for logos and pictures.- No region inside another region.
Repeatable blocks work here too. The speaker card is repeatable, so a page can list one speaker or five:
<div class="speakers">
  <div class="speaker" pardot-repeatable="speaker">
    <img src="..." alt="" pardot-region="speaker_photo" pardot-region-type="image">
    <div pardot-region="speaker_bio"><p><strong>Speaker Name</strong>Job title, Company</p></div>
  </div>
</div>
Don’t make the form area editable. %%content%% must stay where it is, outside any region.
Step 3: Style Pardot’s form
Pardot generates the form’s HTML itself, so you can’t add your own classes to the fields. Instead, you style the classes Pardot uses. The form looks like this:
<form accept-charset="UTF-8" method="post" action="..." class="form" id="pardot-form">
  <p class="errors">Please correct the errors below:</p>
  <p class="form-field email pd-text required error">
    <label class="field-label" for="...">Work Email</label>
    <input type="text" name="..." id="..." value="" class="text" size="30">
  </p>
  <p class="error no-label">Please input a valid email address.</p>
  ...
  <p class="submit"><input type="submit" accesskey="s" value="Register now"></p>
</form>
The classes that matter:
| Selector | What it is |
|---|---|
#pardot-form | The form. Start every rule with it, so your styles beat any defaults. |
.form-field | The paragraph around each label and input. It also gets the field name, the field type (pd-text, pd-select, pd-checkbox, pd-radio) and required when it’s mandatory. |
.field-label | The label. |
input.text, select, textarea | The inputs. |
.description | Help text, if you set one on the field. |
.submit input | The button. |
p.errors | The summary at the top after a failed submit. |
.form-field.error | A field with a problem. |
p.error.no-label | The message under that field. |
The template’s form CSS:
#pardot-form{margin:0;padding:0}
#pardot-form p{margin:0}
#pardot-form .form-field{margin:0 0 14px}
#pardot-form .field-label{display:block;margin:0 0 5px;font-size:14px;font-weight:600;color:var(--ink)}
#pardot-form .required .field-label:after{content:" *";color:var(--accent)}
#pardot-form input.text,#pardot-form select,#pardot-form textarea{width:100%;padding:12px 14px;font:inherit;font-size:16px;border:1px solid #cdd4db;border-radius:8px}
#pardot-form input.text:focus,#pardot-form select:focus,#pardot-form textarea:focus{outline:none;border-color:var(--accent);box-shadow:0 0 0 3px rgba(228,87,46,.18)}
#pardot-form .submit input{width:100%;padding:15px 20px;font:inherit;font-weight:700;color:#fff;background:var(--accent);border:0;border-radius:8px;cursor:pointer}
#pardot-form .submit input:hover{background:var(--accent-dark)}
#pardot-form p.errors{margin:0 0 14px;padding:10px 14px;font-size:14px;color:#9b1c1c;background:#fdecec;border-radius:8px}
#pardot-form p.error,#pardot-form .error.no-label{margin:-8px 0 14px;font-size:13px;color:#b42318}
#pardot-form .form-field.error input,#pardot-form .form-field.error select{border-color:#b42318}
Four details make the difference:
- Inputs at 16 pixels. iPhones zoom into any input with a smaller font when it’s tapped, and the page stays zoomed after.
- A visible focus style, for people who move through the form with the keyboard.
- The required asterisk from CSS, using the
requiredclass, so it’s always in sync with the form’s settings. - Styled errors. Most templates forget them, so the one moment a visitor needs help, they get unstyled red text in the wrong place. Test them by submitting the form empty.
Step 4: Make it responsive
The template uses CSS grid: copy on the left and the form card on the right, overlapping the dark hero. Below 900 pixels, everything becomes one column with the form directly under the headline, so phone visitors see the form without much scrolling:
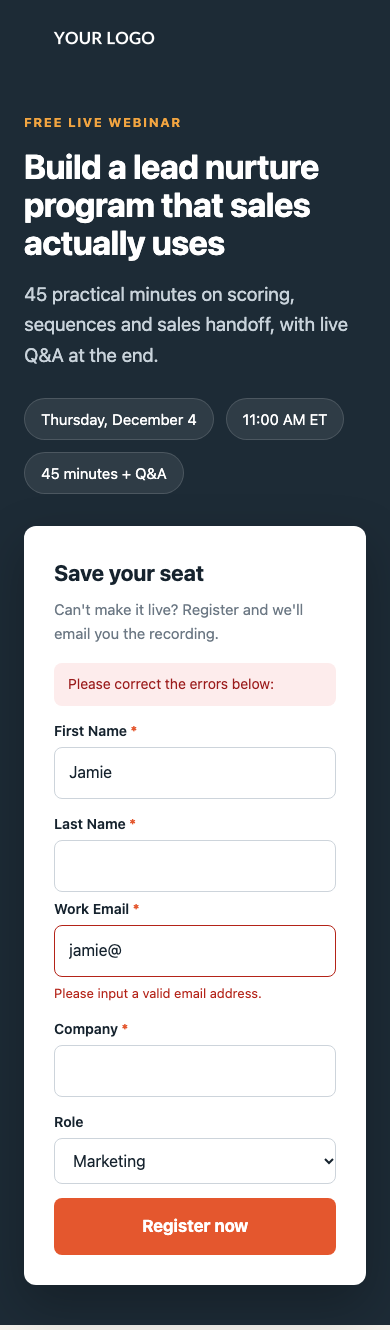
@media (max-width:900px){
  .hero-grid,.two-col{grid-template-columns:1fr;gap:32px}
  .hero h1{font-size:34px}
  .form-card{margin-bottom:0}
}
Make sure the viewport meta tag is in the <head>. Without it, phones render the page at desktop width and shrink it.
Step 5: Save it and create a landing page
- Go to Content → Layout Templates and add a new layout template.
- Paste the whole HTML file into the Layout tab. Leave the Form tab as it is. Save.
- Upload your images in Content → Files.
- Create a landing page in Content → Landing Pages: give it a name and campaign, choose your form, and choose this layout template.
- Edit the regions: headline, text, event details, speakers, logo. Fill in the title and description.
- Set the form’s completion actions and thank-you content (in the form itself). The thank-you content appears where
%%content%%is, inside the same styled card. - Preview it, then submit it with errors and for real, before you share the link.
For extra form behavior that Pardot can’t do on its own, such as smarter select fields, see Tips and tricks to improve Pardot form select fields with JavaScript.
Common problems
| Problem | Cause and fix |
|---|---|
| The form doesn’t appear | %%content%% is missing, is inside an editable region, or no form was chosen for the landing page. |
| The browser tab shows “%%title%%” | The landing page’s title is empty, or the tag was typed with one percent sign on each side. It needs two. |
| Your CSS doesn’t change the form | The selectors don’t start with #pardot-form, or the form is embedded on another site. An embedded form runs in an iframe, which uses the layout template chosen on the form, not your website’s CSS. |
| The page zooms in when someone taps a field on an iPhone | The inputs’ font size is under 16 pixels. |
| Images look blurry | Upload them at twice the displayed size. |
Want to skip the build? Get the finished template, plus a gated content download page, in 2 Free Pardot Landing Page Templates.

Author of four Opencart book.
The recent are Opencart 4 developer book and Opencart 4 user manual