How to Build an Editable Pardot Email Template: Regions, Repeatable Sections and HML (Free Template Included)
How to turn HTML into a Pardot email template that marketers can edit without breaking: editable regions, repeatable and removable sections, HML personalization and the links every email needs.
 Rupak NepaliPublished Nov 12, 2026
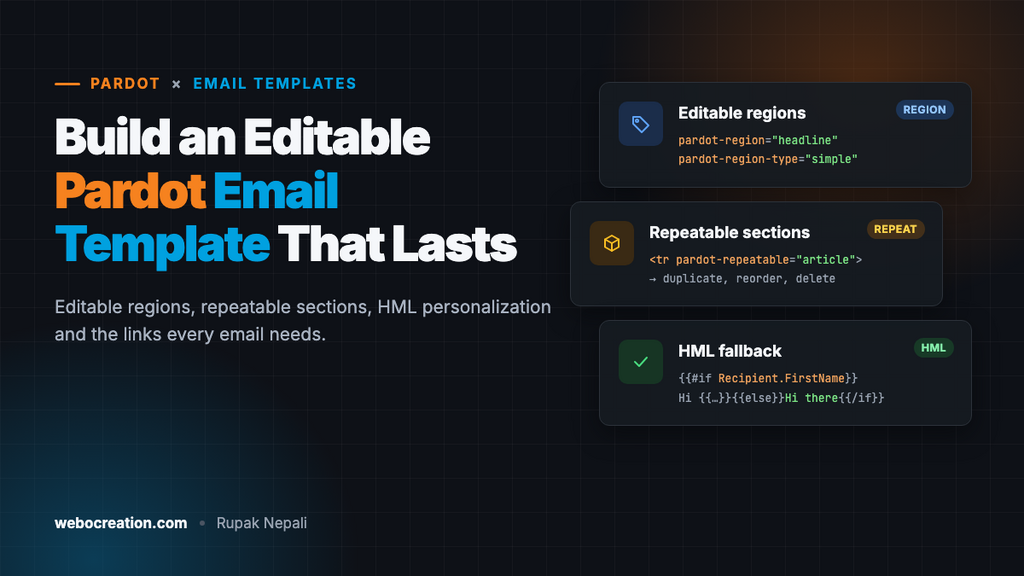
A good Pardot email template does two jobs. It looks right in every inbox, and it lets marketers change the words, images and links for each send without touching the code or breaking the layout. Most templates manage the first job and fail the second: one wrong click in the editor and a table collapses, or someone deletes the unsubscribe link and the email can’t be sent.
This guide shows how to build a template that does both, using Pardot’s editable regions, repeatable and removable sections, and HML personalization. It walks through a real, free newsletter template you can download and import. Pardot is now called Marketing Cloud Account Engagement, but the template features and attributes below still carry the pardot- name.
How Pardot email templates work
An email template is ordinary HTML with a few extra attributes. Once a template contains at least one editable region, Pardot locks everything else. Marketers using the template can only change what you’ve marked as editable, which is exactly what keeps the layout safe.
There are five attributes to know:
| Attribute | What it does | Put it on |
|---|---|---|
pardot-region="name" | Makes the element editable. Without a type, it opens the full rich-text editor. | A td, div, heading, paragraph or image |
pardot-region-type="simple" | Limits the region to plain text, so nobody can paste in fonts, colors or tables. | Headings, labels, the preheader, the footer address |
pardot-region-type="image" | Lets the editor swap the image and its alt text, but not its size or styling. | An img |
pardot-repeatable="name" | Lets the editor duplicate, reorder or delete the whole block. | A tr, td, table or div that contains regions |
pardot-removable="name" | Lets the editor delete the block, but not duplicate it. | Optional sections such as a CTA or a banner |
One rule causes most save errors: regions can’t be nested. A region can’t sit inside another region. A repeatable or removable block isn’t a region, though, so it can (and should) contain regions.
The template we’ll build
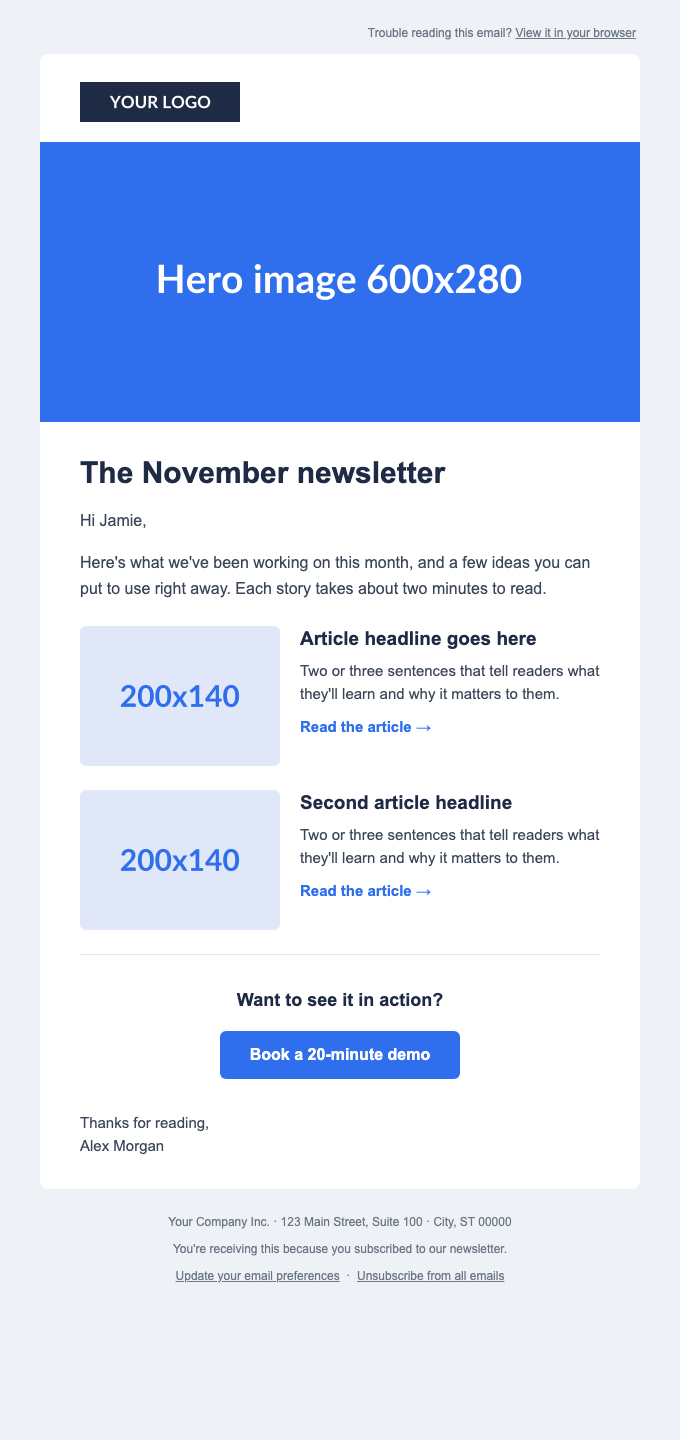
It’s a 600-pixel, table-based layout, because Outlook on Windows still renders email with Word’s engine and ignores most modern CSS. On phones, a media query stacks the article image above the text. It also includes dark-mode colors for Apple Mail and other clients that support them.
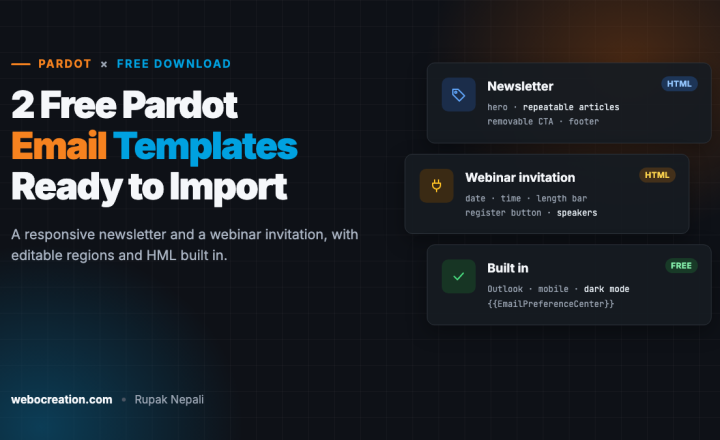
You can download the template (with a second one, a webinar invitation) and follow along. The import steps are in Free Pardot Email Templates.
Step 1: Start from email-safe HTML
Before adding any Pardot attributes, the HTML has to work as an email:
- Tables for layout, with
role="presentation"so screen readers don’t announce them as data tables. - Inline styles on every element. Gmail supports a
<style>block, but some clients strip it, so the<style>block only holds extras: the mobile media query and dark mode. - Width and height on every image, as attributes, so Outlook doesn’t blow images up to their full size.
- A preheader: the hidden text the inbox shows after the subject line. Without one, inboxes show the first words of the email, which is usually “View in browser”.
Step 2: Mark the editable regions
Go through the email and decide, element by element, what a marketer should be able to change. Headlines and labels get simple regions:
<h1 class="h1 text" pardot-region="headline" pardot-region-type="simple"
    style="margin:0;font-family:Arial,Helvetica,sans-serif;font-size:30px;line-height:38px;font-weight:bold;color:#1f2a44;">
  The November newsletter
</h1>
Because it’s a simple region, the editor can change the words, but the font, size and color stay exactly as designed. That’s the main way a template protects the brand.
Images get image regions, with pardot-width and pardot-height telling the image picker the expected size:
<img src="https://placehold.co/600x280/2f6fed/ffffff/png?text=Hero+image+600x280"
     width="600" height="280" alt="" class="fluid"
     pardot-region="hero_image" pardot-region-type="image"
     pardot-width="600" pardot-height="280"
     style="display:block;width:600px;max-width:100%;height:auto;">
Body copy gets a region with no type, which opens the full rich-text editor, so marketers can add bold text, links and paragraphs:
<td class="px text" pardot-region="intro"
    style="padding:8px 40px 24px;font-family:Arial,Helvetica,sans-serif;font-size:16px;line-height:26px;color:#3a4558;">
  <p style="margin:0 0 16px;">{{#if Recipient.FirstName}}Hi {{Recipient.FirstName}},{{else}}Hi there,{{/if}}</p>
  <p style="margin:0;">Here's what we've been working on this month...</p>
</td>
Put the region on the td rather than on each paragraph. The editor then works with the whole block, and the cell’s padding and font stay outside what can be edited.
Step 3: Make sections repeatable or removable
A newsletter has a different number of stories each month. Rather than building one template per count, make the article row repeatable:
<tr pardot-repeatable="article">
<td class="px" style="padding:0 40px 24px;">
<table role="presentation" width="100%" cellpadding="0" cellspacing="0" border="0">
<tr>
<td class="stack stack-pad" width="200" valign="top" style="width:200px;padding-right:20px;">
<img ... pardot-region="article_image" pardot-region-type="image" pardot-width="200" pardot-height="140">
</td>
<td class="stack" valign="top">
<h2 pardot-region="article_title" pardot-region-type="simple" ...>Article headline goes here</h2>
<div pardot-region="article_text" ...>
<p>Two or three sentences...</p>
<p><a href="https://www.example.com/blog/article">Read the article →</a></p>
</div>
</td>
</tr>
</table>
</td>
</tr>In the editor, the row gets a small menu to duplicate it, move it up or down, or delete it. Each copy gets its own image, title and text.
The call to action uses pardot-removable instead, because a newsletter has one CTA or none, never three:
<tr pardot-removable="cta_section">
  <td class="px" align="center" style="padding:32px 40px;">
    <div pardot-region="cta">
      <p ...>Want to see it in action?</p>
      <!-- table-based button -->
    </div>
  </td>
</tr>
The button sits inside a rich-text region, so marketers can change its text and link in the normal link dialog. The button itself is a table cell with a background color, which is the only kind of button that renders reliably in Outlook.
Give the removable block and the region inside it different names. Pardot uses the names to keep track of each part, and two parts with the same name can confuse the editor.
Step 4: Personalize with HML
HML (Handlebars Merge Language) is Account Engagement’s merge syntax. Fields use double curly braces, such as {{Recipient.FirstName}}. The catch is prospects with no first name: “Hi ,” looks careless. Wrap the greeting in a condition so it falls back to a neutral version:
{{#if Recipient.FirstName}}Hi {{Recipient.FirstName}},{{else}}Hi there,{{/if}}The sign-off does the same with the sender, so emails sent as the prospect’s assigned user are signed by that person, and the rest by the team:
{{#if Sender.FirstName}}{{Sender.FirstName}} {{Sender.LastName}}{{else}}The team{{/if}}Our Pardot HML cheat sheet covers more merge fields, conditions and the old %%tag%% syntax.
Step 5: Add the links every email needs
Account Engagement won’t send an email without an unsubscribe or email preference center link, in both the HTML and the text version. The template’s footer has both, plus a “view in browser” link at the top:
<a href="{{View_Online}}">View it in your browser</a>
...
<a href="{{EmailPreferenceCenter}}">Update your email preferences</a>
<a href="{{Unsubscribe}}">Unsubscribe from all emails</a>
Offer the preference center first. {{Unsubscribe}} removes the prospect from all your marketing email, while the preference center lets them keep the lists they want. Leave both links outside any editable region, so nobody can delete them by accident.
Anti-spam laws (CAN-SPAM in the US, and similar laws elsewhere) also require your postal address. In the template it’s a simple region, so you set it once per template and editors can’t restyle it.
Step 6: Test before you hand it over
- Save the template. If Pardot shows an error, look for a nested region or a duplicate region name first.
- Open it as a marketer would. Create an email from the template and try every region: change the headline, swap an image, duplicate an article, delete the CTA. Then check the HTML hasn’t changed outside the regions.
- Send tests to real inboxes: Gmail on the web and on a phone, Outlook on Windows, and Apple Mail. If you have Litmus or Email on Acid, run it through those too.
- Test with and without a first name, to see both versions of the greeting.
- Check the text version. Make sure it reads well and contains the unsubscribe or preference center link.
Common problems
| Problem | Cause and fix |
|---|---|
| The template won’t save | Usually a region inside another region. Search the HTML for pardot-region and check none is inside another. |
| Marketers can edit everything, or nothing | With no regions, the whole email is editable. Add at least one pardot-region and everything else locks. |
| Images are huge in Outlook | The img tag is missing its width and height attributes. CSS widths alone aren’t enough for Outlook. |
| “Hi ,” in sent emails | The greeting uses {{Recipient.FirstName}} without the {{#if}} fallback. |
| The “view in browser” page has broken links | See our earlier fix: View in the browser link directing people to the wrong links. |
Next in this series: two free, import-ready email templates, then landing pages with a Pardot layout template.

Author of four Opencart book.
The recent are Opencart 4 developer book and Opencart 4 user manual