Send Webflow Forms to Your Own API (and Keep the Native Success/Error States)
Intercept Webflow form submissions with JavaScript, post them to a webhook or your backend, and still use Webflow's built-in success and error messages.
 Rupak NepaliPublished Nov 13, 2026
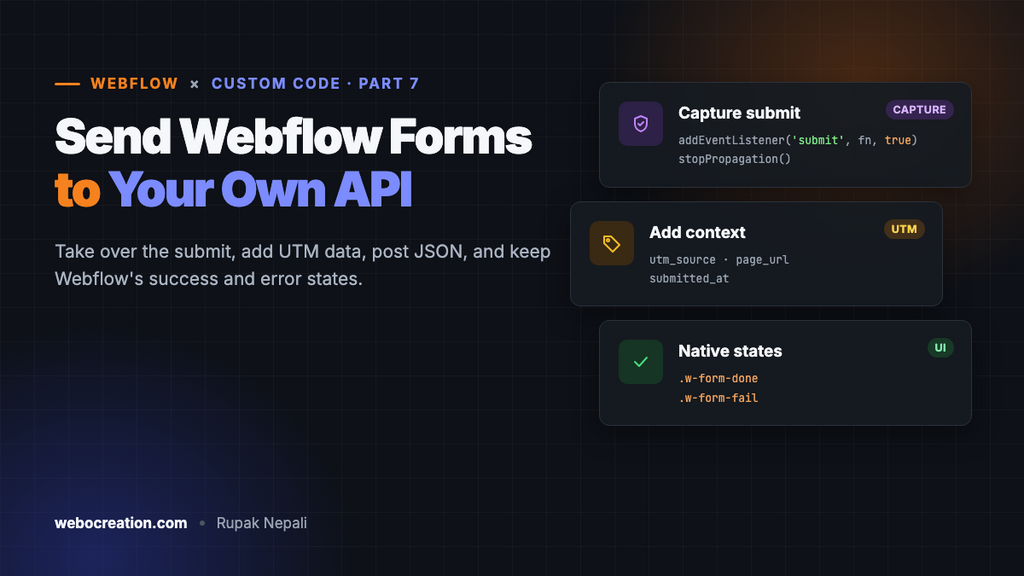
Webflow forms send submissions to Webflow by default, and you can forward them with the form action setting or integrations. Sometimes you need more control:
- post JSON to your own backend or a serverless function,
- add hidden data (UTM parameters, page URL, user ID) at submit time,
- validate against an API before accepting the submission,
- send to several places at once (CRM + Slack + spreadsheet).
The aim is to take over the submission while keeping the success and error states your designer built in Webflow.
How Webflow forms are structured
A Webflow Form Block publishes as:
<div class="w-form">
  <form id="contact-form" name="contact-form" data-name="Contact Form" method="get">
    <input type="text" name="Name" data-name="Name" required>
    <input type="email" name="Email" data-name="Email" required>
    <input type="submit" value="Send" data-wait="Please wait...">
  </form>
  <div class="w-form-done">Thank you! Your submission has been received!</div>
  <div class="w-form-fail">Oops! Something went wrong.</div>
</div>
webflow.js listens for the submit event (through jQuery, delegated higher up the DOM), sends the data to Webflow, then shows .w-form-done or .w-form-fail.
Step 1: Stop Webflow’s handler
Register your listener on the form in the capture phase and stop propagation. Your handler runs first, and the event never bubbles up to Webflow’s delegated handler:
const form = document.querySelector('#contact-form');

form.addEventListener('submit', async (event) => {
  event.preventDefault();
  event.stopImmediatePropagation();
  event.stopPropagation();
  await handleSubmit(form);
}, true); // ← capture phase
Add a custom attribute such as data-custom-submit to the form in the Designer, then target every form with that attribute, so designers can opt forms in without touching code:
document.querySelectorAll('form[data-custom-submit]').forEach((form) => {
  form.addEventListener('submit', onSubmit, true);
});
Step 2: Collect the data and add context
function collect(form) {
  const data = Object.fromEntries(new FormData(form).entries());

  const params = new URLSearchParams(location.search);
  ['utm_source', 'utm_medium', 'utm_campaign', 'utm_term', 'utm_content'].forEach((k) => {
    if (params.get(k)) data[k] = params.get(k);
  });

  data.page_url = location.href;
  data.form_name = form.dataset.name || form.name;
  data.submitted_at = new Date().toISOString();
  return data;
}
FormData uses each field’s name, so set clear field names in the Designer (Element settings → Name). Checkbox groups that share a name need new FormData(form).getAll(name) instead of Object.fromEntries.
Step 3: Reuse Webflow’s UI states
function setState(form, state) {
  const wrap = form.closest('.w-form');
  const done = wrap.querySelector('.w-form-done');
  const fail = wrap.querySelector('.w-form-fail');
  const button = form.querySelector('[type="submit"]');

  if (state === 'loading') {
    button.dataset.originalValue ??= button.value;
    button.value = button.dataset.wait || 'Please wait...';
    button.disabled = true;
    fail.style.display = 'none';
  }
  if (state === 'success') {
    form.style.display = 'none';
    done.style.display = 'block';
  }
  if (state === 'error') {
    fail.style.display = 'block';
  }
  if (state !== 'loading') {
    button.value = button.dataset.originalValue;
    button.disabled = false;
  }
}
This matches what Webflow does itself: hide the form and show the done block. Any styling or interactions on those blocks keep working.
Step 4: Submit
const ENDPOINT = 'https://api.example.com/forms/contact';

async function onSubmit(event) {
  event.preventDefault();
  event.stopImmediatePropagation();
  event.stopPropagation();

  const form = event.currentTarget;
  if (!form.reportValidity()) return; // keep native required/email validation

  setState(form, 'loading');
  try {
    const res = await fetch(ENDPOINT, {
      method: 'POST',
      headers: { 'Content-Type': 'application/json' },
      body: JSON.stringify(collect(form)),
    });
    if (!res.ok) throw new Error(`HTTP ${res.status}`);
    setState(form, 'success');
  } catch (err) {
    console.error('[form] submit failed', err);
    setState(form, 'error');
  }
}
Custom error messages
If your API returns a message (e.g. “This email is already registered”), write it into the fail block:
const body = await res.json().catch(() => ({}));
if (!res.ok) {
  form.closest('.w-form').querySelector('.w-form-fail div').textContent =
    body.message || 'Something went wrong. Please try again.';
  throw new Error(body.message);
}
Use textContent, not innerHTML, so a message from the server can’t inject markup.
Also keep the Webflow submission?
If you want the data in your API and in Webflow’s form submissions dashboard, don’t block Webflow’s handler. Send your own request in parallel and don’t call preventDefault or stopPropagation:
form.addEventListener('submit', () => {
  navigator.sendBeacon(ENDPOINT, new Blob([JSON.stringify(collect(form))], { type: 'application/json' }));
});
sendBeacon is fire-and-forget and still completes if the page navigates away. Webflow’s handler shows the usual success state.
Security notes
- Never put secrets in front-end code. No API keys for your CRM, Slack or Airtable in Webflow custom code. Anyone can read them in View Source. Post to your own endpoint (a Cloudflare Worker, Vercel function, etc.) and keep the secrets there.
- Validate on the server. Client-side
requiredis a convenience, not protection. - Use spam protection. Turning off Webflow’s handler also turns off Webflow’s spam filtering for that form. Add a honeypot field, Cloudflare Turnstile or reCAPTCHA, and verify it on your server.
- Set CORS on your endpoint to allow your production domain and your
.webflow.iostaging domain.
A minimal serverless endpoint (Cloudflare Worker)
export default {
  async fetch(request, env) {
    const cors = {
      'Access-Control-Allow-Origin': 'https://www.example.com',
      'Access-Control-Allow-Methods': 'POST, OPTIONS',
      'Access-Control-Allow-Headers': 'Content-Type',
    };
    if (request.method === 'OPTIONS') return new Response(null, { headers: cors });
    if (request.method !== 'POST') return new Response('Method not allowed', { status: 405, headers: cors });

    const data = await request.json();
    if (!data.Email || !/^[^@\s]+@[^@\s]+$/.test(data.Email)) {
      return Response.json({ message: 'Please enter a valid email.' }, { status: 422, headers: cors });
    }

    await fetch(env.SLACK_WEBHOOK_URL, {
      method: 'POST',
      headers: { 'Content-Type': 'application/json' },
      body: JSON.stringify({ text: `New lead: ${data.Name} <${data.Email}> from ${data.page_url}` }),
    });

    return Response.json({ ok: true }, { headers: cors });
  },
};
You keep your design in Webflow and handle the data on your own server.
Webflow custom code series: 1. Host JavaScript on Webflow’s CDN · 2. MIME types and the asset CDN · 3. Where custom code runs · 4. CMS data in JavaScript · 5. JSON-LD on CMS pages · 6. Local dev workflow · 7. Forms to your own API · 8. Custom code via the Data API · 9. Third-party scripts and Core Web Vitals. Preparing for the exam too? See the Webflow Visual Developer Certification guide.

Author of four Opencart book.
The recent are Opencart 4 developer book and Opencart 4 user manual