Passing Webflow CMS Data to JavaScript Without Breaking Your Page
Three reliable ways to expose CMS fields to your scripts (data attributes, hidden DOM and JSON) plus the quote-escaping bug that breaks most tutorials.
 Rupak NepaliPublished Nov 13, 2026
Webflow’s CMS is good at rendering content and has nothing built in for computing with it: filtering, sorting by distance, building charts or feeding a map. For that you need the CMS data in JavaScript. Here are three ways to get it there, from most to least robust.
Method 1: Custom attributes bound to CMS fields (recommended)
Inside a Collection List, select the element for each item (often the Collection Item itself) and add custom attributes in Element settings → Custom attributes. In the value field you can insert CMS fields with + Add field.
data-name      → {Name}
data-price     → {Price}
data-category  → {Category: Name}
data-lat       → {Latitude}
data-lng       → {Longitude}
The published HTML becomes:
<div class="w-dyn-item" data-name="Blue Mug" data-price="24" data-category="Kitchen"
     data-lat="27.7172" data-lng="85.3240">
  ...
</div>
Read it with plain JavaScript:
const items = [...document.querySelectorAll('[data-name]')].map((el) => ({
  el,
  name: el.dataset.name,
  price: Number(el.dataset.price),
  category: el.dataset.category,
  lat: parseFloat(el.dataset.lat),
  lng: parseFloat(el.dataset.lng),
}));
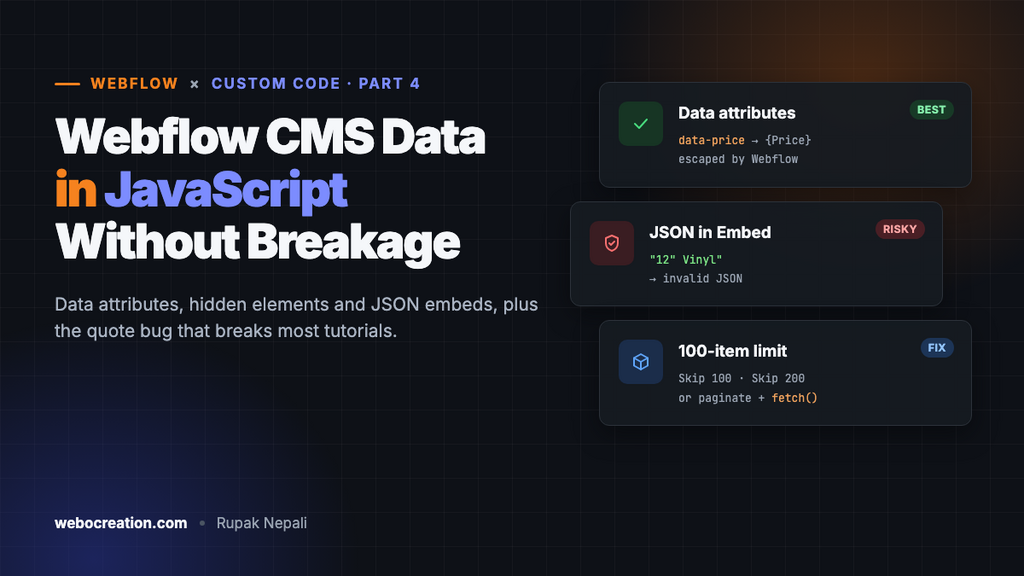
Why this is the best default: Webflow escapes attribute values for you, so quotes, ampersands and angle brackets in your content can’t break the HTML. Each piece of data also sits on the element it describes, so filtering is just showing and hiding item.el.
Method 2: Hidden text elements
For fields you can’t bind to attributes, such as rich text, bind them to normal text elements inside the item and hide the wrapper with a class (display: none):
<div class="w-dyn-item">
  <div class="data-wrap" style="display:none">
    <div data-field="summary">Bound to Summary (rich text)</div>
    <div data-field="sku">Bound to SKU</div>
  </div>
  ...visible card...
</div>
const summaryHtml = item.querySelector('[data-field="summary"]').innerHTML;
It’s a bit clunky, but it’s safe for any content, including rich text with links and formatting.
Method 3: JSON inside an Embed (use with care)
Many tutorials put an Embed inside each Collection Item:
<script type="application/json" class="cms-item">
  { "name": "{{Name}}", "price": {{Price}}, "slug": "{{Slug}}" }
</script>
You then collect all .cms-item elements and run JSON.parse on each. It looks neat, but it breaks as soon as a field contains a double quote, backslash or line break. A product called 12" Vinyl produces:
{ "name": "12" Vinyl", ... } // ❌ invalid JSON
Embeds insert the raw field value, and nothing escapes it for JSON. If you use this method:
- only insert fields you control fully (slugs, numbers, option fields, IDs),
- wrap
JSON.parseintry/catchso one bad item doesn’t break the whole list, - or put text fields in attributes (Method 1) and keep the JSON embed for numbers and slugs only.
const data = [...document.querySelectorAll('.cms-item')].flatMap((s) => {
  try { return [JSON.parse(s.textContent)]; }
  catch (e) { console.warn('Bad CMS JSON in', s, e); return []; }
});
Working around the 100-item limit
A Collection List shows at most 100 items. To get more into JavaScript:
- Several lists with offsets. Add a second Collection List with Skip 100 items, a third with Skip 200, and so on. Give them all the same wrapper class so your selector picks them all up.
- Pagination plus fetch. Turn on pagination, then use JavaScript to
fetch()each?xxxx_page=2URL, parse it withDOMParser, and pull out the items. This is how most “load all” and CMS filter libraries work.
async function loadAllPages(listSelector) {
  const list = document.querySelector(listSelector);
  let nextLink = document.querySelector('.w-pagination-next');
  while (nextLink) {
    const html = await fetch(nextLink.href).then((r) => r.text());
    const doc = new DOMParser().parseFromString(html, 'text/html');
    doc.querySelectorAll(`${listSelector} .w-dyn-item`).forEach((item) =>
      list.appendChild(document.importNode(item, true))
    );
    nextLink = doc.querySelector('.w-pagination-next');
  }
}
Remember to re-initialise Webflow interactions after appending items (see Where custom code runs).
Example: a client-side category filter
Using Method 1, add filter buttons with data-filter="Kitchen", data-filter="Office" and data-filter="all":
const items = [...document.querySelectorAll('.w-dyn-item[data-category]')];

document.querySelectorAll('[data-filter]').forEach((btn) => {
  btn.addEventListener('click', () => {
    const value = btn.dataset.filter;
    items.forEach((el) => {
      el.style.display = value === 'all' || el.dataset.category === value ? '' : 'none';
    });
    document.querySelectorAll('[data-filter]').forEach((b) =>
      b.classList.toggle('is-active', b === btn)
    );
  });
});
About 20 lines and no library. For multi-field filters, sorting and URL state, look at Finsweet Attributes. It uses the same attribute-driven approach.
Alternative: the Data API
If you need all items, data from several collections, or data that isn’t on the page, use the Webflow Data API from a server or serverless function (never from the browser, because that would expose your token). The server builds a JSON file, and the page fetches it. That’s the right choice for large datasets, but for most filters, maps and calculators, data attributes are all you need.
Summary
| Method | Safe for any text? | Rich text? | Best for |
|---|---|---|---|
| Custom attributes | ✅ | ❌ | Most cases |
| Hidden elements | ✅ | ✅ | Rich text, long text |
| JSON in Embed | ❌ (quotes break it) | ❌ | Numbers, slugs, IDs |
| Data API + JSON file | ✅ | ✅ | Large or cross-collection data |
Webflow custom code series: 1. Host JavaScript on Webflow’s CDN · 2. MIME types and the asset CDN · 3. Where custom code runs · 4. CMS data in JavaScript · 5. JSON-LD on CMS pages · 6. Local dev workflow · 7. Forms to your own API · 8. Custom code via the Data API · 9. Third-party scripts and Core Web Vitals. Preparing for the exam too? See the Webflow Visual Developer Certification guide.

Author of four Opencart book.
The recent are Opencart 4 developer book and Opencart 4 user manual