OpenCart 4 Multi-Store Setup: Run Several Stores From One Admin (Domains, Products, Settings and Pitfalls)
A tested walkthrough of OpenCart 4.1's multi-store feature: pointing a second domain at the same install, adding the store, assigning categories and products, per-store settings, what's shared, and the pitfalls that make a new store look empty.
 Rupak NepaliPublished Nov 15, 2026
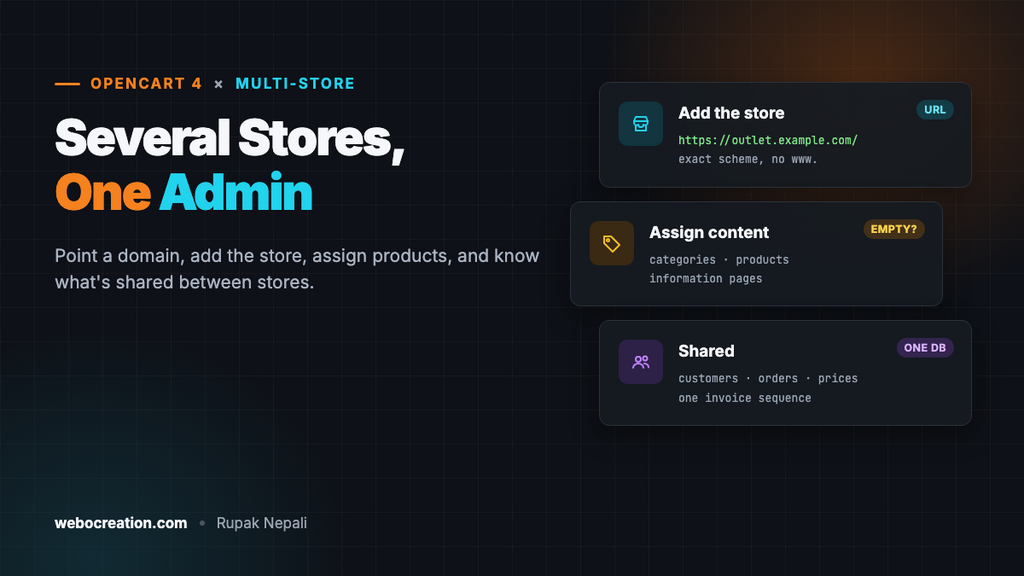
OpenCart can run several storefronts from one installation: an outlet store next to your main shop, a trade site, a separate brand, or a store per country. Each has its own domain, name, logo, theme and product selection, and you manage them all from one admin with one set of orders and customers.
This guide sets up a second store on OpenCart 4.1.0.4, tested on a local install, and covers what’s shared, what’s separate, and why a brand-new store usually looks empty.
How multi-store works
All stores run from the same files and database. When a request arrives, OpenCart compares the address in the browser with the URLs in System → Settings, and loads that store’s settings:
// catalog/controller/startup/setting.php (OpenCart 4.1)
$hostname = (!empty($this->request->server['HTTPS']) ? 'https://' : 'http://') . str_replace('www.', '', $this->request->server['HTTP_HOST'] ?? '') . rtrim(dirname($this->request->server['PHP_SELF'] ?? ''), '/.\\') . '/';

$store_info = $this->model_setting_store->getStoreByHostname($hostname);
Two details matter here. The match includes the scheme, so a store saved as http://outlet.example.com/ isn’t recognised when visited over https://. And www. is removed from the visitor’s address before comparing, so save store URLs without www.. Any address that matches no store loads the default store.
| Shared by all stores | Separate per store |
|---|---|
| Products, categories, brands, information pages (each assigned to the stores you choose) | Name, URL, logo, icon, owner, address, email, telephone |
| Customer accounts (one login works in every store) | Theme and default layout |
| Orders, all in one Sales → Orders list with a Store filter | Meta title and description |
| Extensions, payment and shipping methods, currencies, languages, taxes | Country, zone, catalog language and currency |
| Admin users | Tax display, default customer group, stock display, checkout terms, image sizes |
Step 1: Point the domain at the same folder
The second store needs its own domain or subdomain, pointing at the same folder as your main store. OpenCart’s own help text is clear: don’t use a subfolder such as example.com/outlet/ for a new store.
- cPanel: add the domain as an addon domain or alias, and set its document root to your main store’s folder (for example
public_html). - Nginx or Apache on a VPS: add the new name to the existing server block or virtual host (
server_name example.com outlet.example.com;). - HTTPS: each domain needs a certificate. Most hosts issue free ones per domain; make sure the new name is covered before you go live.
Visit the new address. You should see your main store; it switches once OpenCart knows about the new URL.
Step 2: Add the store
Go to System → Settings and click +:
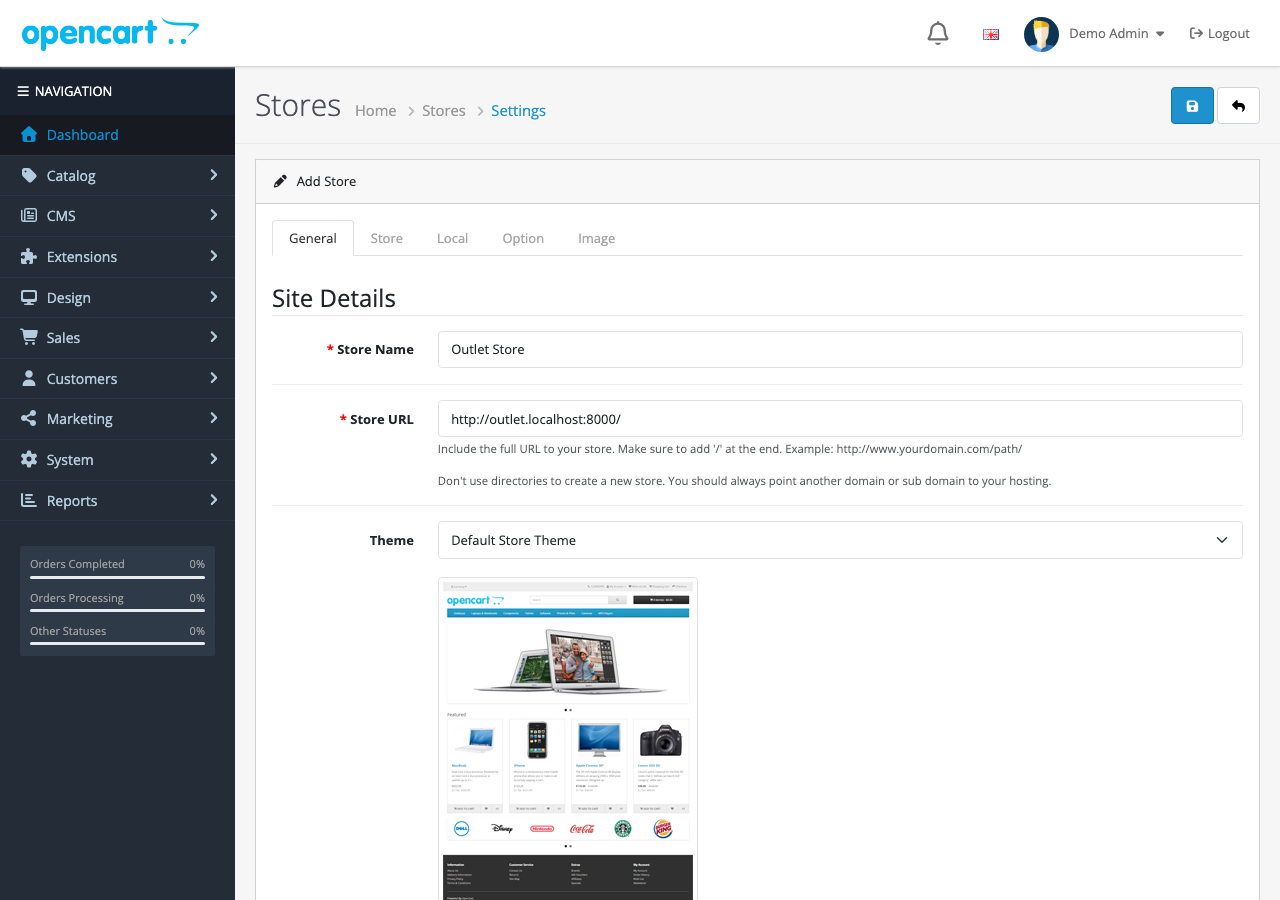
- General: the Store URL, with
https://and a trailing slash, such ashttps://outlet.example.com/. Plus the meta title, theme and default layout. - Store: store name, owner, address, email and telephone. These appear in the header, contact page, emails and invoices for orders from this store.
- Local: country, zone, the catalog’s default language and currency.
- Option: tax display, the customer group new customers join, stock display, checkout terms.
- Image: logo, icon and image sizes, if this store’s theme needs different ones.
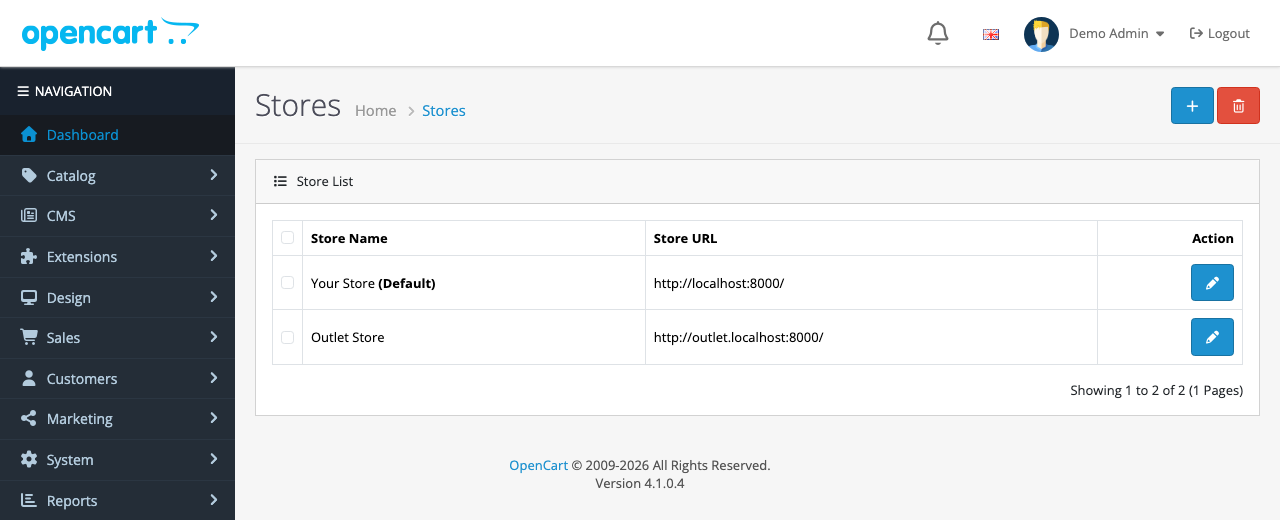
Save. The new store appears in the list with its URL:
Step 3: Assign categories and products
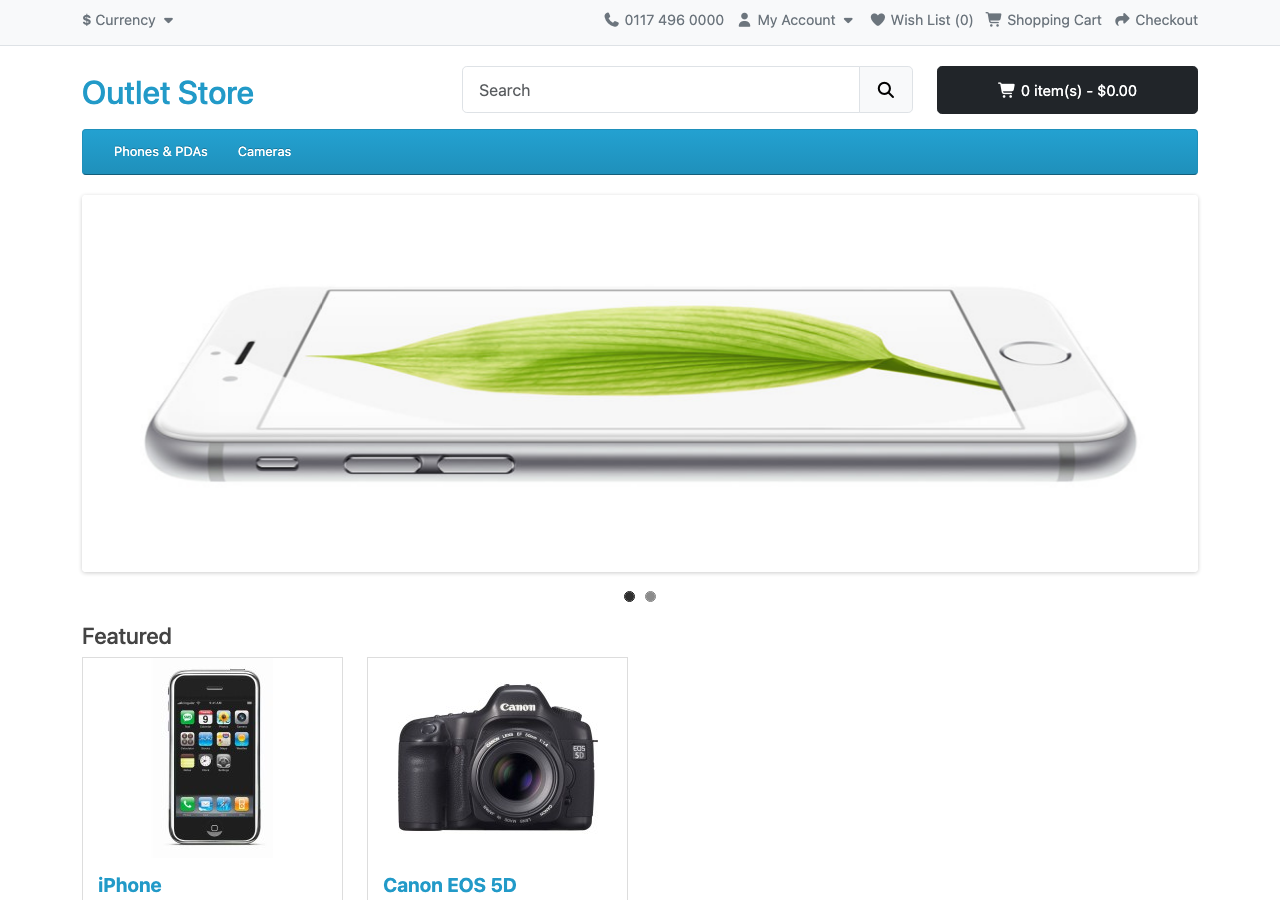
Visit the new store now and it looks broken: no categories in the menu, no products, and no logo. Nothing is wrong. Every product, category, brand and information page has its own list of stores, and a new store is on none of them.

Assign, for the new store:
- Categories (Catalog → Categories → Data tab → Stores), or the menu stays empty.
- Products (Catalog → Products → Links tab → Stores).
- Information pages (Catalog → Information): terms, privacy policy and delivery information, which checkout and the footer link to.
- Brands (Catalog → Manufacturers), if you use the brand page.
A product appears in a store only when it’s assigned to that store and to a category assigned there (for category pages). For more than a handful of products, ticking boxes one by one is slow. A bulk-edit extension helps, or for a one-off you can copy assignments in SQL, as we did for the test store:
-- Make categories 24 and 33 (and every product in them) available in store 1
INSERT IGNORE INTO oc_category_to_store (category_id, store_id) VALUES (24, 1), (33, 1);

INSERT IGNORE INTO oc_product_to_store (product_id, store_id)
SELECT product_id, 1 FROM oc_product_to_category WHERE category_id IN (24, 33);
Back up the database first, and clear the cache afterwards (the cog button on the Dashboard opens the developer settings, where you can clear the cache).
Step 4: Layouts, modules and the theme
Layouts are shared, but the route that picks a layout can be per store. In Design → Layouts, each route row has a Store column, so you can give the outlet store’s home page a different layout from the main store’s. Modules placed in a layout show in every store using that layout.
Each store can also use a different theme (General tab) and has its own logo. The theme editor saves its changes per store too; see our OpenCart 4 theme editor guide.
Testing a store before its domain works
In OpenCart 4.1, a store_id in the address overrides the domain check:
https://www.example.com/index.php?route=common/home&store_id=1That loads store 1’s settings on your main domain, which is handy for checking the name, products and theme while DNS is still propagating. Links on the page don’t carry the parameter, so it’s for a quick look, not browsing. Locally, Chrome resolves any *.localhost name to your own machine, so http://outlet.localhost:8000/ worked as a second store on our test install with no DNS at all.
Things to know before you launch
- Customers are shared. An account created in one store logs in to all of them, and the email address must be unique across stores. If two stores must have separate customers (say, a trade store and a retail store), use separate customer groups, or separate installations.
- Carts and sessions are per domain. The browser keeps cookies per domain, so a shopper’s cart in one store doesn’t follow them to another.
- Orders are shared. They all appear in Sales → Orders; filter by store. Invoices print with the name and address of the store the order came from, but all stores share the default store’s invoice prefix and number sequence (invoices and packing slips).
- Extension settings are mostly global. Payment and shipping methods are enabled once for all stores. Some extensions add a per-store setting; most don’t. For different payment methods per store, check each extension.
- SEO URLs are per store. Keywords are set per store and language on each product’s SEO tab. A new store needs its own, or it uses
index.php?route=addresses. - Prices are shared. A product has one price in every store. To charge differently, use customer groups with discounts or specials, and set a different default customer group per store (Option tab).
Troubleshooting
| Problem | Cause and fix |
|---|---|
| The new domain shows the main store | The Store URL doesn’t match exactly: check http vs https, a trailing slash, and leave out www. |
| New store has no categories or products | Assign them to the store (step 3) |
| Footer links missing in the new store | Information pages aren’t assigned to it |
| Images or styles fail to load | The domain’s certificate is missing, or the domain points at a different folder |
| Customer says “email already registered” | They have an account in another of your stores. It works here too: they can log in |
The older OpenCart multi-store setup guide covers OpenCart 3. For managing who can edit which part of the admin, see users, permissions and 2FA in OpenCart 4.

Rupak Nepali is a web developer, manage Webocreation website and the author of six books:
Getting Started with OpenCart Module Development (Packt, 2013),
OpenCart Theme and Module Development (Packt, 2015),
OpenCart 4: Dev Guide for Themes & Extensions (2024),
OpenCart 4: User Manual (2025),
Cloudflare for the Enterprise Website (2026) and
The Technical Web Guide for Marketers (2026).
Rupak has built OpenCart stores and extensions since 2010, has published more than 600 tutorials on Webocreation, and shares free OpenCart extensions on GitHub.
Find Rupak on
GitHub | Amazon | LinkedIn | X | YouTube.