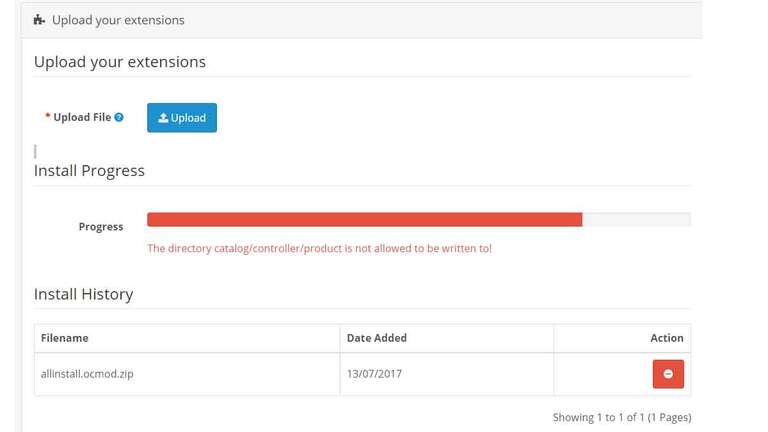
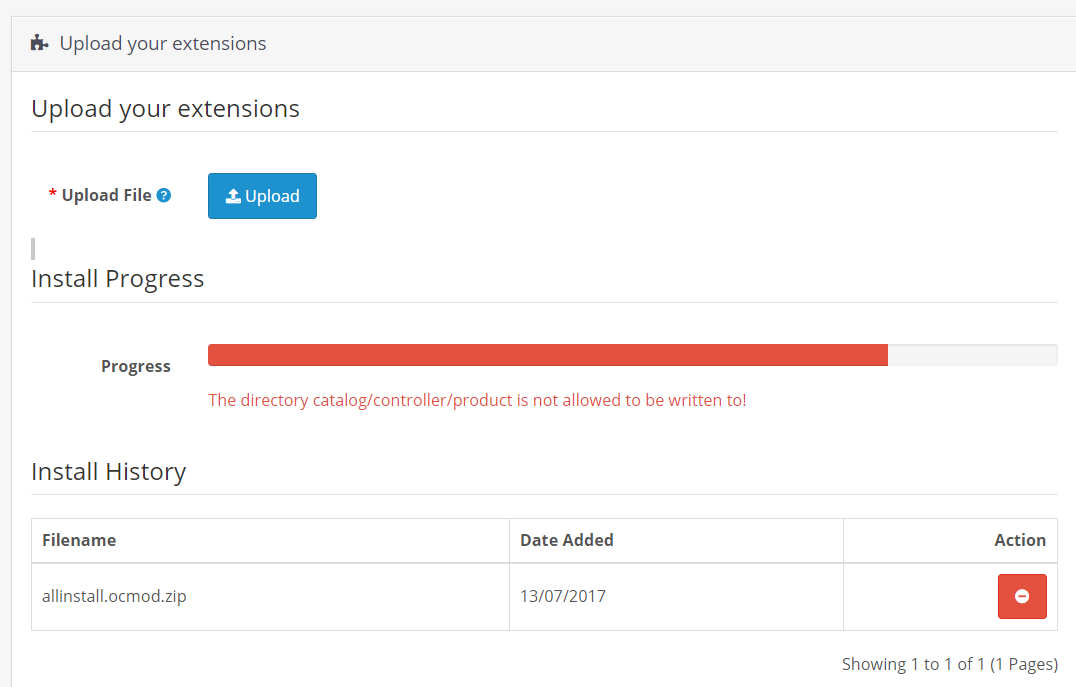
When you are installing the extension, you go to admin >> extensions >> installer and click the upload button and select the extension ocmod.zip file but you got the following error like “The directory catalog/controller/product is not allowed to be written to – Opencart error”. The way to solve it is to add the path at admin\controller\marketplace\install.php
Here in the example, the path is catalog/controller/product/ so we needed to add at
// A list of allowed directories to be written to
$allowed = array(
   'admin/controller/extension/',
   'admin/language/',
   'admin/model/extension/',
   'admin/view/image/',
   'admin/view/javascript/',
   'admin/view/stylesheet/',
   'admin/view/template/extension/',
   'catalog/controller/extension/',
   'catalog/language/',
   'catalog/model/extension/',
   'catalog/view/javascript/',
   'catalog/view/theme/',
   'system/config/',
   'system/library/',
   'image/catalog/',
   'catalog/controller/product/'
);
Whatever error path you get, you need to add here to install successfully. But the best practice is to stick to the provided folders only if you need to manage multiple folders than manage subfolders within them.
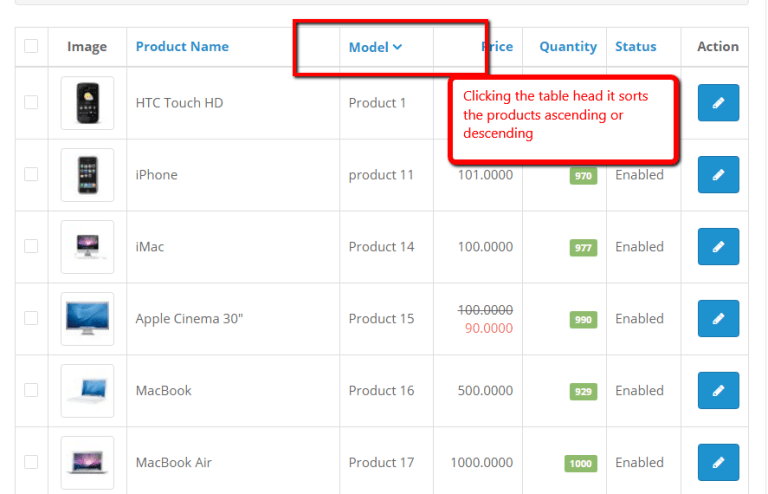
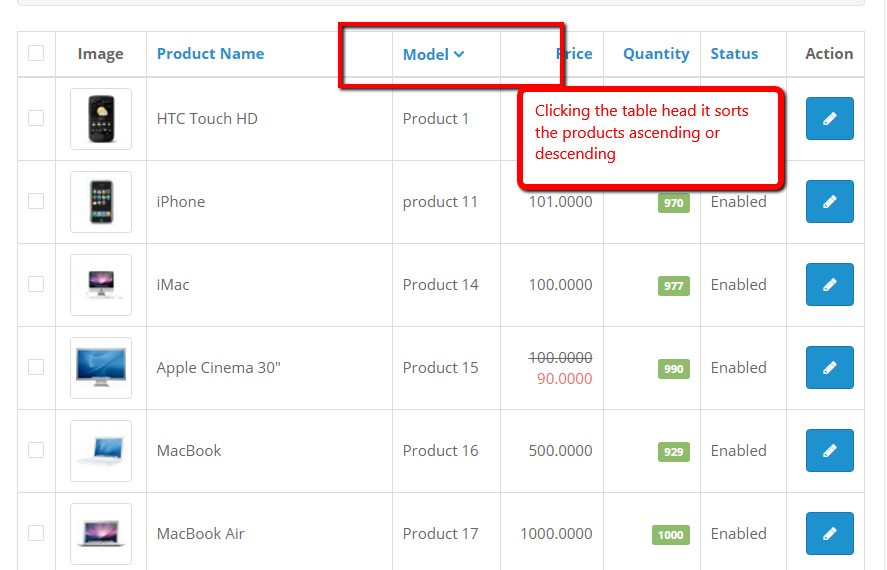
OpenCart Product listing default sort order is as per product name, and you can sort them with product name ASC or DESC, Model ASC or DESC, price ASC or DESC, quantity ASC or DESC and Status ASC or DESC just by clicking on the listing of the table heading.
But if you want to sort as per the latest inserted product then you need to do some code changes in default file which is not good but requirements always come first. (OcMod coming soon)
Find the following lines of code in admin\controller\catalog\product.php:
In the upcoming OpenCart 2.3, both template engines will be supported PHP template and twig engine.
OpenCart will allow you to override all of the templates that are used to produce HTML markup so that you can fully control the markup that is being outputted within a custom theme. There are templates for each page element ranging from the high-level HTML to small fields.
What is Twig?
Twig is a modern template engine for PHP
Fast: Twig compiles templates down to plain optimized PHP code. The overhead compared to regular PHP code was reduced to the very minimum.
Secure: Twig has a sandbox mode to evaluate the untrusted template code. This allows Twig to be used as a template language for applications where users may modify the template design.
Flexible: Twig is powered by a flexible lexer and parser. This allows the developer to define its own custom tags and filters, and create its own DSL.
 <ul class="breadcrumb">
    {% for breadcrumb in breadcrumbs %}
    <li><a href="{{ breadcrumb.href }}">{{ breadcrumb.text }}</a></li>
    {% endfor %}
  </ul>
Thus, it seems twig consist features like: concise, template oriented syntax, full featured, easy to learn, extensibility, unit tested, documented, secure, clean error messages and fast which I believe will improve development speed.
Feedback or Testimonial Module is the module for Opencart by which customers can provide their feedback about the site or product or any services. We were encouraged to develop it because there is a review system for the products but not for the site and services so we made this feedback or testimonial module.
Unzip the zip file where you will find “Testimonial-OpenCart-Module-Free-master” folder.
“Testimonial-OpenCart-Module-Free-master” folder contains “admin” and “catalog” folder
Upload the files and folders of the admin and catalog folder to your OpenCart root folder. You can use FTP or SFTP to upload these files and folders.
After completing uploading, login to the admin section, go to Extensions > Modules.
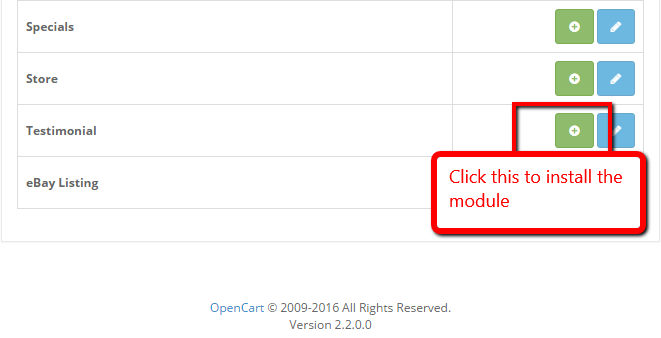
Go to “Testimonial” and click the green install button.
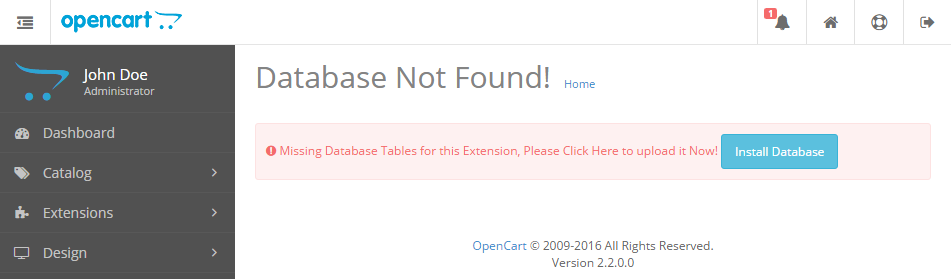
Our Testimonial module is installed. Now click blue edit button. If this is first time then you will see like the following image to install the database.
Click the Install Database button and three tables are created in database. As following sql queries are run, for easy installation I created this way.
CREATE TABLE oc_testimonial ( testimonial_id int(11) NOT NULL, name varchar(64) NOT NULL, status tinyint(1) NOT NULL ) ENGINE=MyISAM DEFAULT CHARSET=utf8; CREATE TABLE oc_testimonial_image ( testimonial_image_id int(11) NOT NULL, testimonial_id int(11) NOT NULL, link varchar(255) NOT NULL, image varchar(255) NOT NULL, sort_order int(3) NOT NULL DEFAULT '0' ) ENGINE=MyISAM DEFAULT CHARSET=utf8; CREATE TABLE oc_testimonial_image_description ( testimonial_image_id int(11) NOT NULL, language_id int(11) NOT NULL, testimonial_id int(11) NOT NULL, title varchar(64) NOT NULL, message text NOT NULL, name varchar(250) NOT NULL, position varchar(250) NOT NULL ) ENGINE=MyISAM DEFAULT CHARSET=utf8; ALTER TABLE oc_testimonial ADD PRIMARY KEY (testimonial_id); ALTER TABLE oc_testimonial_image ADD PRIMARY KEY (testimonial_image_id); ALTER TABLE oc_testimonial_image_description ADD PRIMARY KEY (testimonial_image_id,language_id); ALTER TABLE oc_testimonial MODIFY testimonial_id int(11) NOT NULL AUTO_INCREMENT, AUTO_INCREMENT=11; ALTER TABLE oc_testimonial_image MODIFY testimonial_image_id int(11) NOT NULL AUTO_INCREMENT, AUTO_INCREMENT=144;
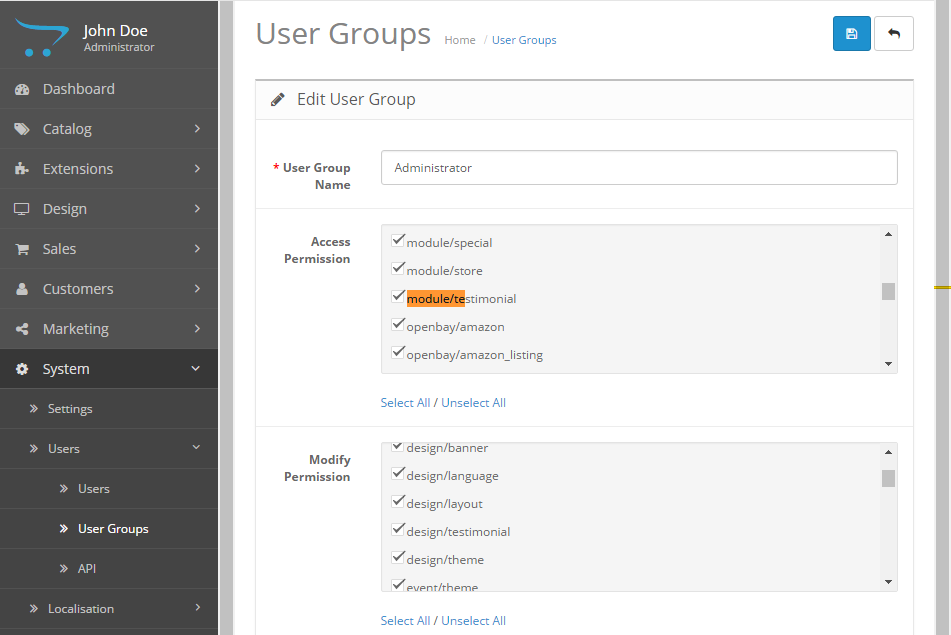
Wait did you see Permission Denied message. Then it means you do not have permission to access this page, please refer to your system administrator. If you are administrator then Go to the System >> Users >> User Groups and edit the “Administrator” or related user group and then check checkbox “module/testimonial” and “design/testimonial” in both Access Permission and Modify Permission as in the figure. For easiness you can click “Select All” in both permission and grant all access ( Do this only for top administrator).
Once you grant permission, you will be able install the database and install the module. Now edit the “Testimonial” module and click the “Install Database” blue button.
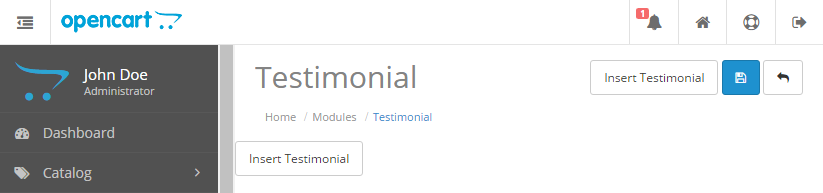
Now you will see as following image where you will insert the Testimonial, click the Insert Testimonial button.
You can insert multiple list of testimonial so you can show different testimonials in different layouts.
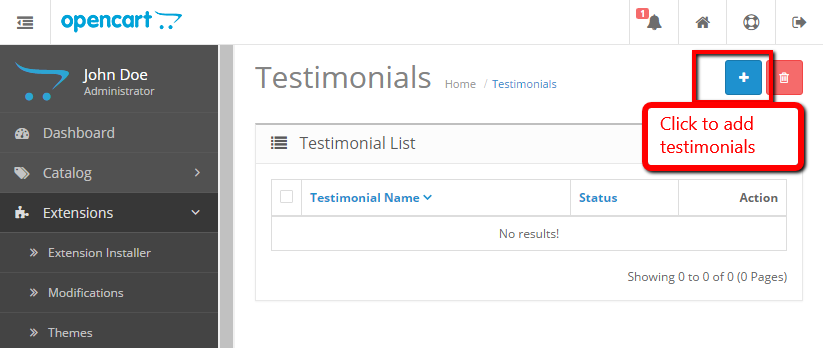
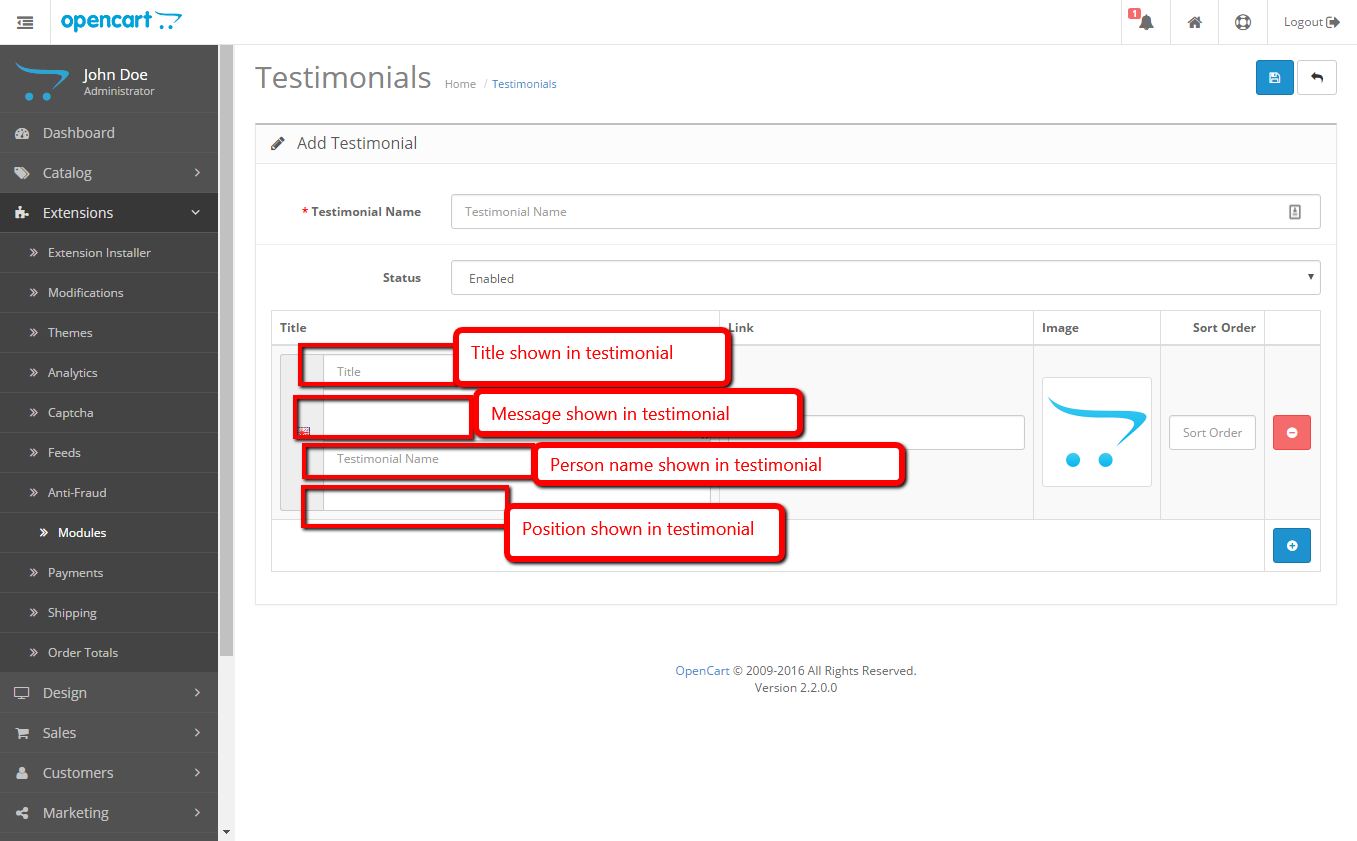
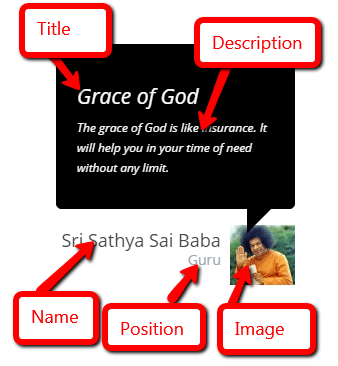
Now start to inserting testimonials by clicking the blue button and see the image what goes where:
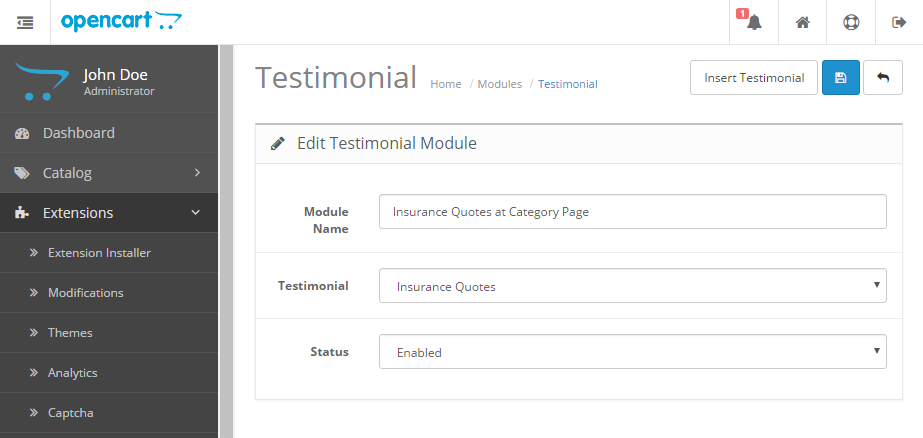
After inserting these you choose that into the testimonial module. Go to Admin>> Extensions>> Modules >> Testimonial >> Edit
Now activate Testimonial module
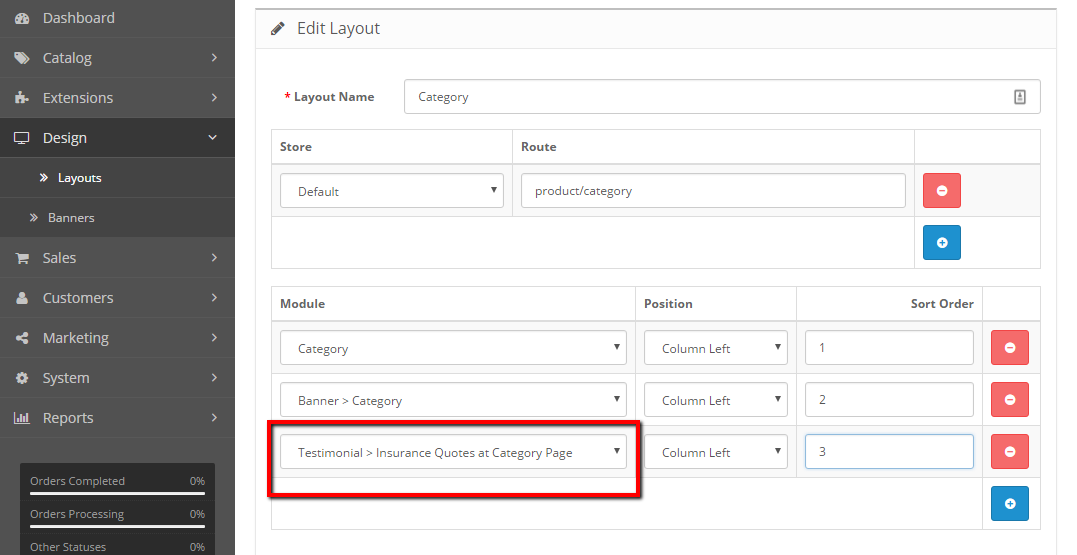
Now go to Admin >> Design >> Layout, then edit the “Category” from the list. We are showing our testimonial module at category left column.
Now view any category page and you will see like the image below:
You are ready to go live.
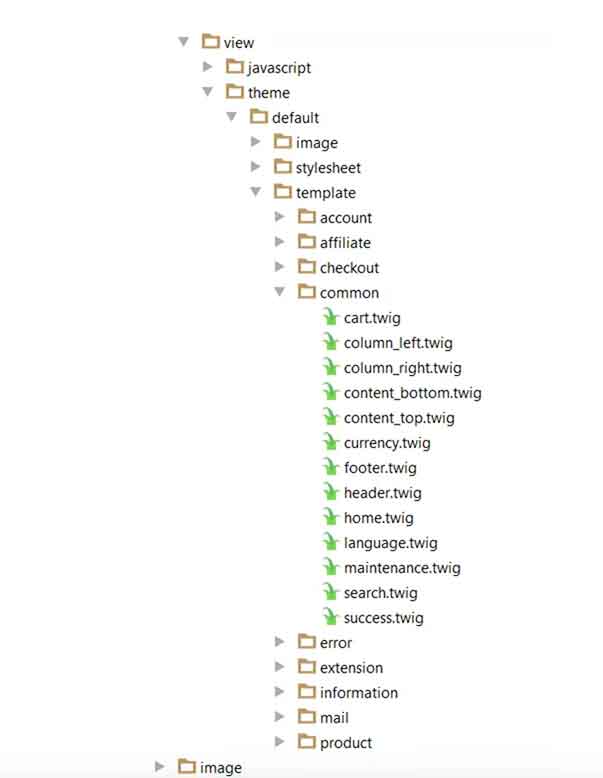
If you feel like you have to change the CSS then you can edit catalog/view/theme/default/module/testimonial.tpl. We integrate the CSS in the same file so that it does not conflict with others.
If you want to change animation then you can set at catalog/view/theme/default/module/testimonial.tpl
Other than that if you need help then please comment below.
Thanks Rupak Nepali
COPYRIGHT:
This module code is the intellectual property of the designers involved in its creation. As an Opensource code you are entitled to use it freely and modify it if you wish but please keep the credits intact.
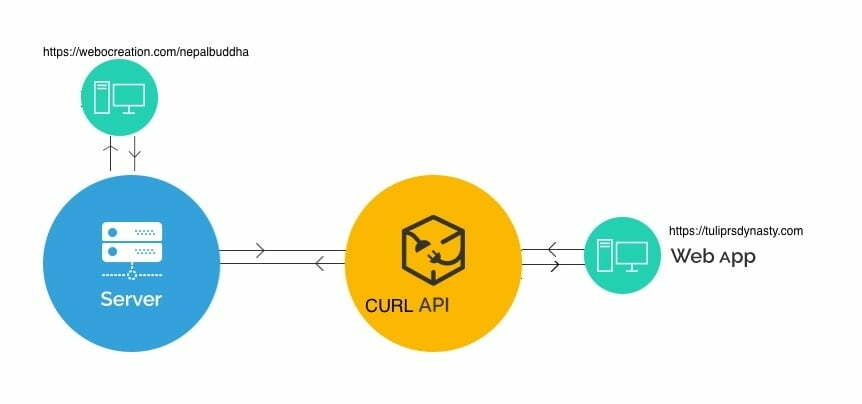
We take an example between two servers one from https://webocreation.com/nepalbuddha which acts as Server Responder of API which is built in OpenCart and https://tuliprsdynasty.com/api/ as the requestor.
Responding server
OpenCart does not provide API to show the products by default so we need to make some changes in responding server to show all products. For that in your responding server go to catalog/controller/api/ and create product.php and paste following lines of code:
With the above code it will provide you directly accessing API URL index.php?route=api/product. As per our example, it is https://webocreation.com/nepalbuddha/index.php?route=api/product. Here we did not do any authentication and authorization. It directly shows all products whoever is called from that URL. In our upcoming post, we will show how to show categories to API users only.
Requesting server
In your requesting server, create a file lets say apiproducts.php, as per our example let’s say we create https://tuliprsdynasty.com/api/apiproducts.php In this file let’s make a CURL request to the get the products: https://webocreation.com/nepalbuddha/index.php?route=api/product. Following is the code:
{
    "products": [{
        "product_id": "30",
        "thumb": "https:\/\/webocreation.com\/nepalbuddha\/image\/cache\/catalog\/demo\/canon_eos_5d_1-228x228.jpg",
        "name": "Canon EOS 5D",
        "description": "Canon's press material for the EOS 5D states that it 'defines (a) new D-SLR category', while we're n..",
        "price": "$122.00",
        "special": "$98.00",
        "tax": "$80.00",
        "minimum": "1",
        "rating": 0,
        "href": "https:\/\/webocreation.com\/nepalbuddha\/index.php?route=product\/product&product_id=30"
    }, {
        "product_id": "47",
        "thumb": "https:\/\/webocreation.com\/nepalbuddha\/image\/cache\/catalog\/demo\/hp_1-228x228.jpg",
        "name": "HP LP3065",
        "description": "Stop your co-workers in their tracks with the stunning new 30-inch diagonal HP LP3065 Flat Panel Mon..",
        "price": "$122.00",
        "special": false,
        "tax": "$100.00",
        "minimum": "1",
        "rating": 0,
        "href": "https:\/\/webocreation.com\/nepalbuddha\/index.php?route=product\/product&product_id=47"
    }]
}
As per our API set up, it just returns product_id, thumb, name, description, price, special, tax, minimum, rating, and link of the product. If you want to make changes then you have to make changes in catalog/controller/api/product.php as per your need. In this way, you can retrieve all products in JSON format through API.
You can check following Opencart API related posts:
Please don’t forget to post your questions or comments so that we can add extra topics. Likewise, you can follow us at our twitter account @rupaknpl and subscribe to our YouTube channel for Opencart tutorials.
The OpenCart API allows your application to access current data within OpenCart through the API, several common operations can be performed. Operations include:
create — Creates with the specified parameters. For example, you can add products to the cart as given by OpenCart API post request of products or product_id at /index.php?route=api/cart/add
read — Retrieves information about the specified object. For example, you can retrieve the shipping methods with the endpoint: index.php?route=api/shipping/methods
query — Retrieves objects that match specified criteria.
update — Updates elements of an existing object.
upsert — Updates elements of an existing object if it exists. If the object does not exist, one is created using the supplied parameters.
Developers must authenticate with the API before issuing requests.
Some considerations must be taken while performing requests. When performing update requests, only the fields specified in the request are updated, and all others are left unchanged. If a required field is cleared during an update, the request will be declined.
Request Format
All requests:
Must use either HTTP GET or POST
Must pass credentials in an HTTP Authorization header – or – in the body of a POST request
Authentication and Request Format of OpenCart API:
Authentication requests sent to the OpenCart API URL:
it must be made via SSL encrypted connection
Must use HTTP POST
Must contain usernameand key for the Opencart user account that will be submitting API requests
Login requests that meet these criteria will be granted an api_token id.
You can see the API username and API key at Admin >> System >> Users >> API
Both UserNAME and API key are unique to individual users. API Token ID is valid for 60 minutes. In contrast, user keys are valid indefinitely which you can regenerate as needed.
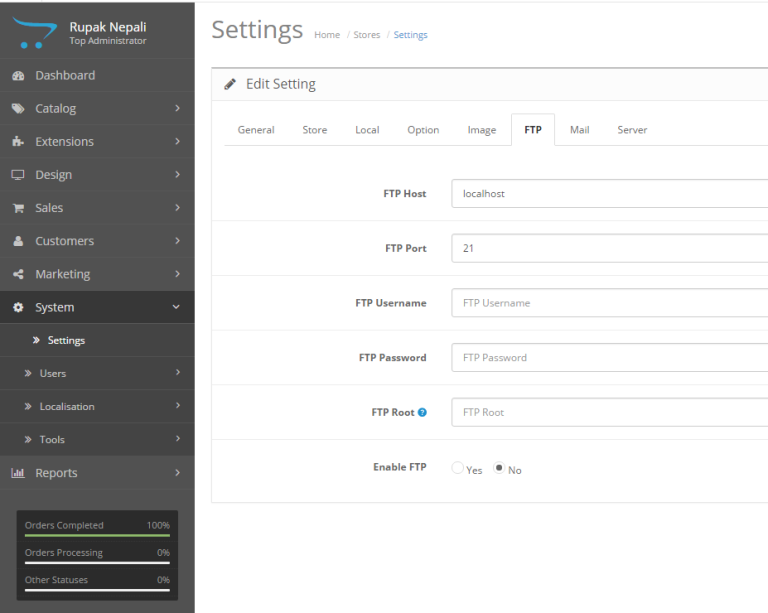
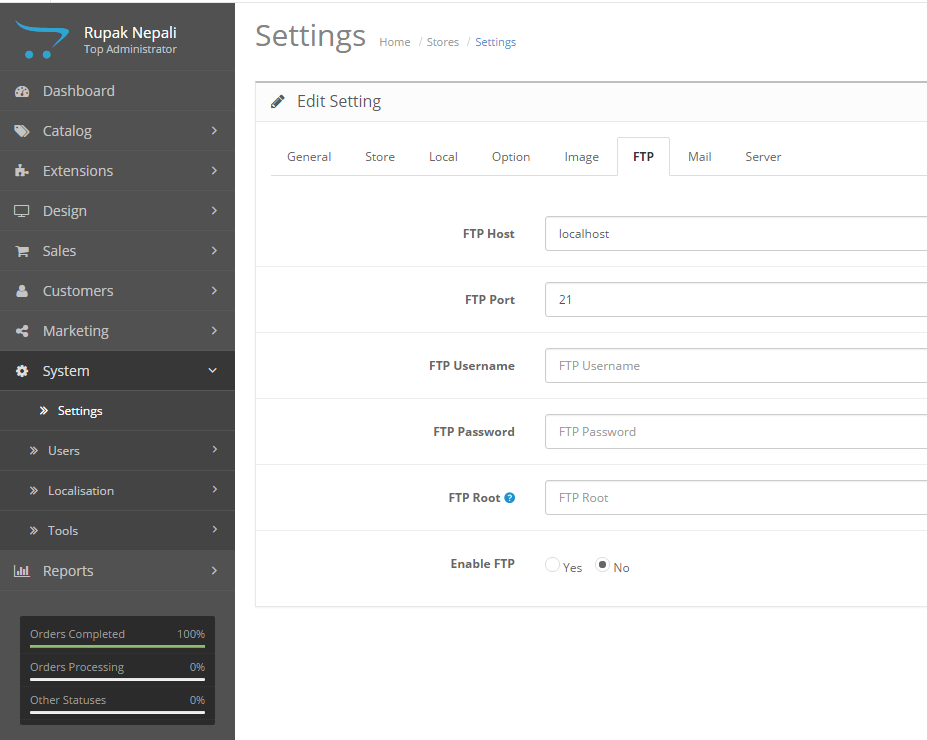
This is a solution for the OpenCart error FTP needs to be enabled in the settings. Navigate to System >> Settings >> then edit store where you want to enable the FTP
Then click FTP tab
Enter FTP host usually “localhost”, but make sure it is correct from your hosting.
Enter port usually “21”, but make sure it is correct from your hosting
In this post, we are showing you how to create and host the NextJs project for free with GitHub flow to hosting and add your domain name. The NextJs is a react framework that is production-ready, pre-rendered, and light-weight apps, the Jamstack(JavaScript, APIs, and markup stack), SEO-friendly, PWAs, and mobile-ready. We set up a GitHub project, then set up the local environment, and then setup Vercel hosting where the master branch is continuously deployed. A domain is added for the master branch and you can add the dev and test environment by creating the branches in the Github project.
First, register your domain name. It can cost you around $8-$10 and some countries provide it free also, like in Nepal if you register as per your name then it is free like mine is rupaknepali.com.np.
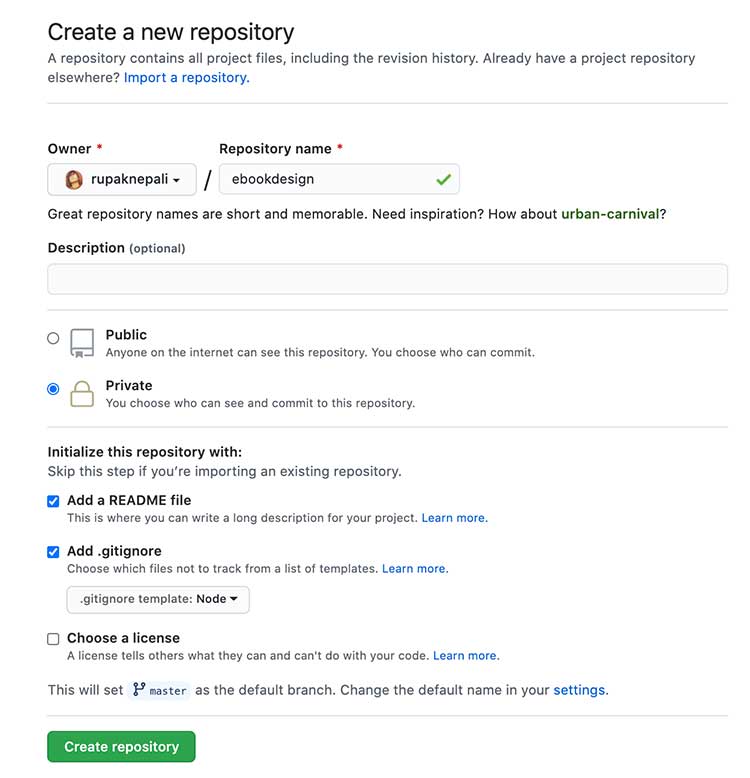
Second, create a GitHub account if you don’t have by going to https://github.com/join and then create a repository in GitHub. In the below example the repository name is “ebookdesign”
Setup a local development environment. Install NodeJs, Github, IDE(we use Visual Studio code),
Now, in the terminal create a folder like for us we create “ebookdesign“, go or ‘cd’ to the project folder, and clone the GitHub project that we create above in the Github. Use your project URL.
npm init -y && npm install --save react react-dom next
This will create the package.son file and install react, react-dom, and next project. Now open the package.json, then remove the following lines of code:
"scripts": {
    "test": "echo \"Error: no test specified\" && exit 1"
  },
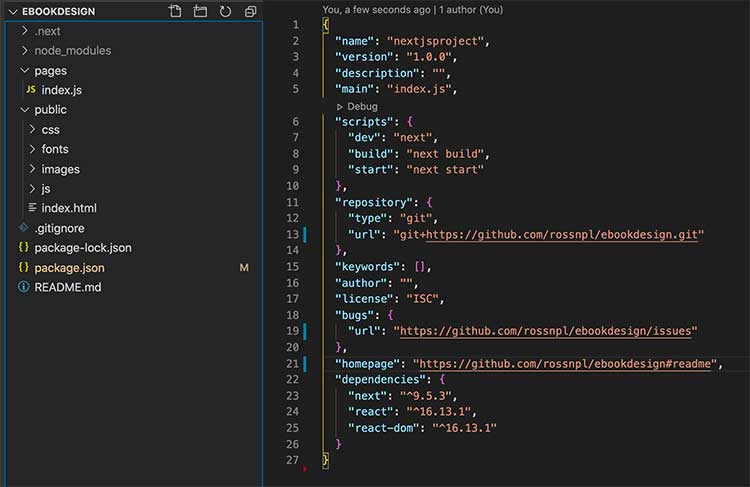
Now open the project and create pages/ folder and public/ folder, the files and folders till now are like below:
Now in terminal run command
npm run dev
It will start the server on http://localhost:3000 and compile code successfully. You can open the URL http://localhost:3000 in your browser and you can see the “Hello World” page, which means you did all good till now.
Now push this code changes in the github project.
git add . && git commit -m "pages folder and public folder are created" && git push origin master
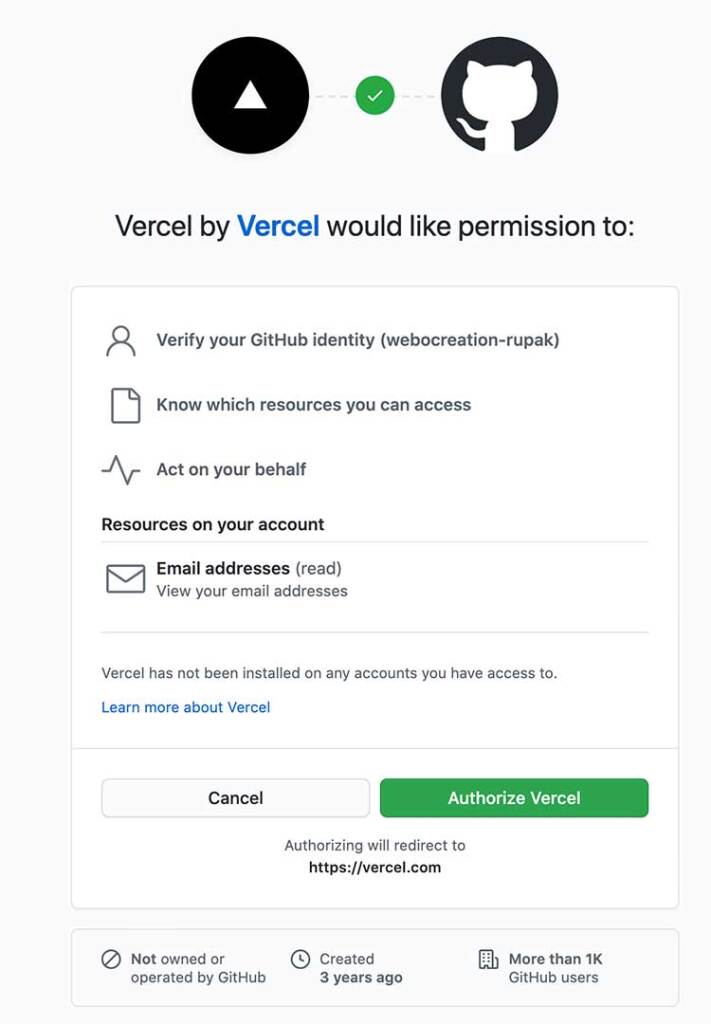
Now go to https://vercel.com/signup and click the button “Continue with GitHub”. Then you authorize the Vercel to Github.
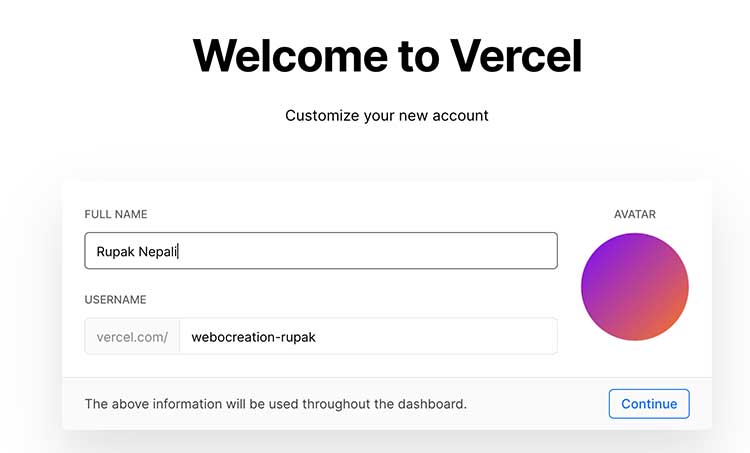
You will get the popup to enter your mobile number for the verification process. After verification with mobile code, you are redirected to the welcome page where you need to enter your details.
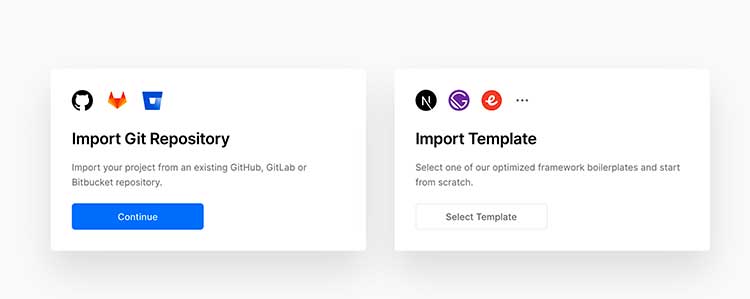
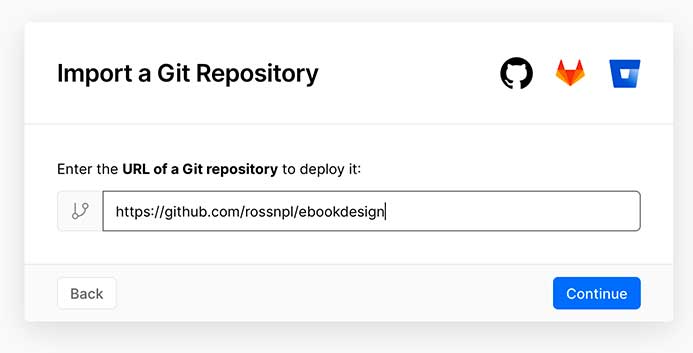
Import github repository
Enter the URL of your Github repository and click “Continue”
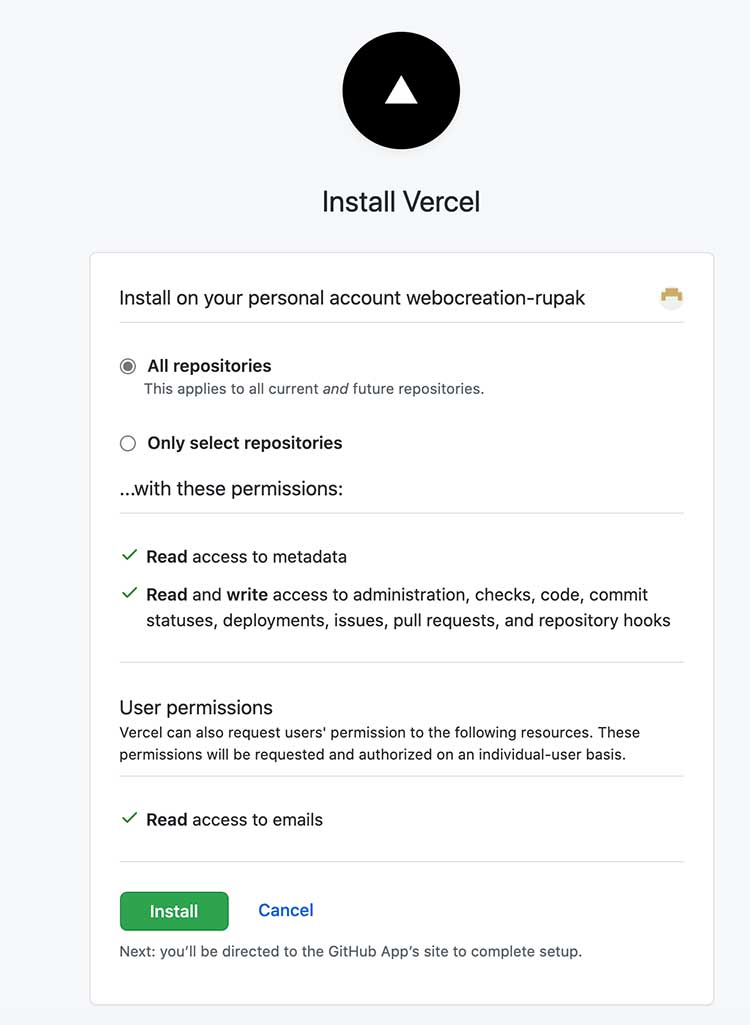
Install Vercel to Github and give access to your repositories
Then, in the next screen you can click the deploy the project and if everything is Ok then your project is successfully added.
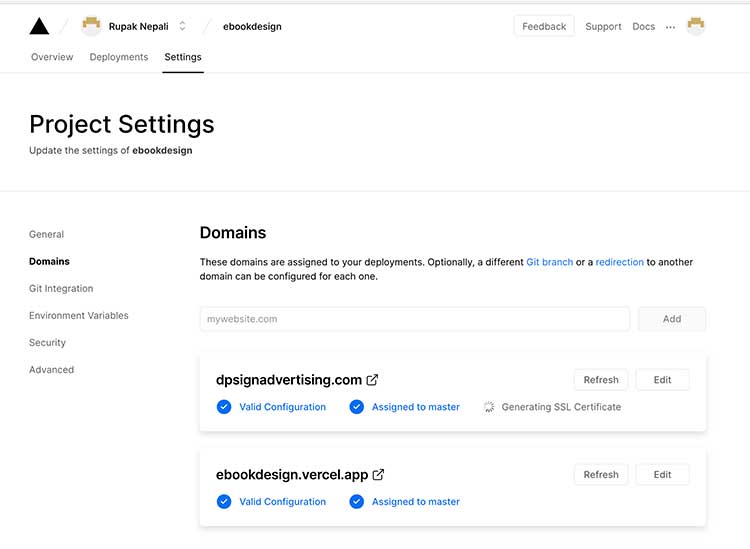
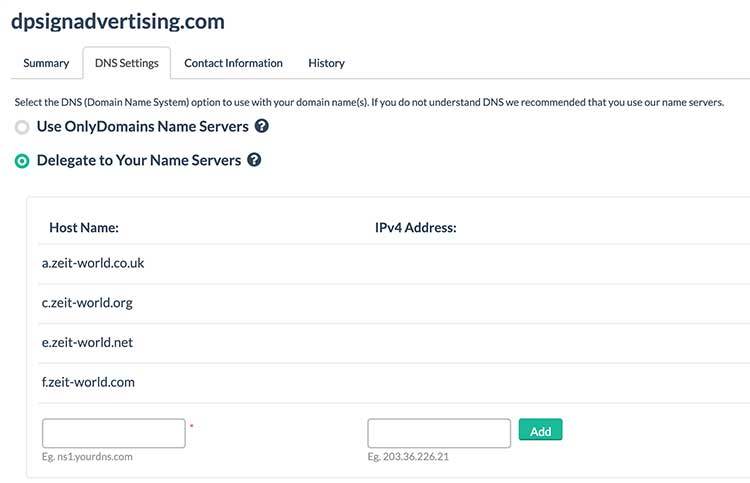
After adding the domain you will get the DNS records which you need to add on your domain registrar.
With these changes you can visit through your URL, here we are using dpsignadvertising.com
The easy part using the Vercel, we can create as many demo website as we want, each branch of your Github project. Let create one branch in our local called dev and push it to github and it will automatically show at the hosting.
git checkout -b dev
git add .
git commit -m "Dev branch test"
git push origin dev
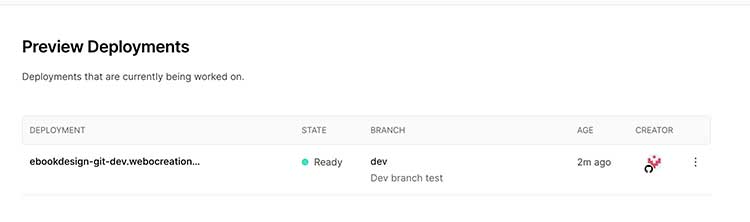
Once above command is run, then we will get the “Preview Deployments” like below at Project >> Overview, it gives us the URL like https://ebookdesign-orz1lbra5.vercel.app/
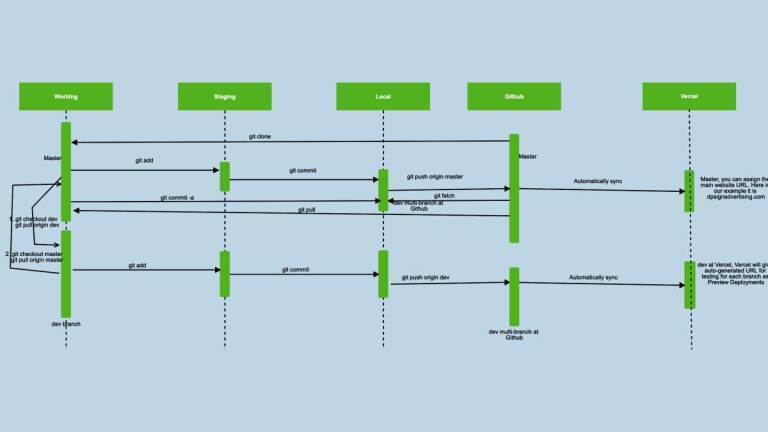
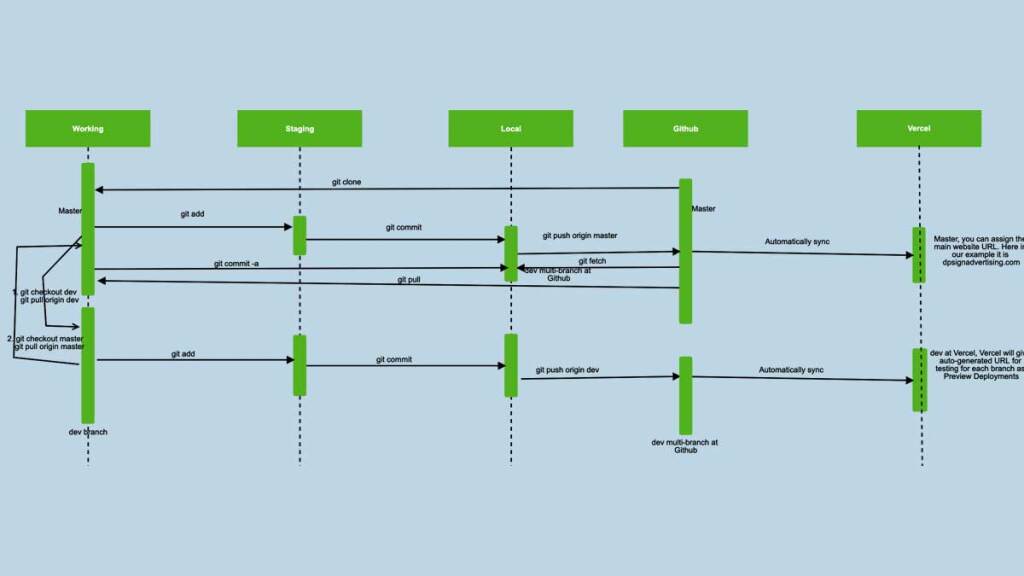
Check the flow diagram:
Now you can make changes to the code and start your development. In our upcoming post, we will show you how to show youtube videos, WordPress posts, and texts. Please let us know if you have any questions or concerns. Hope you liked this article, please subscribe to our YouTube Channel for Opencart video tutorials. Find us on Twitter and Facebook.
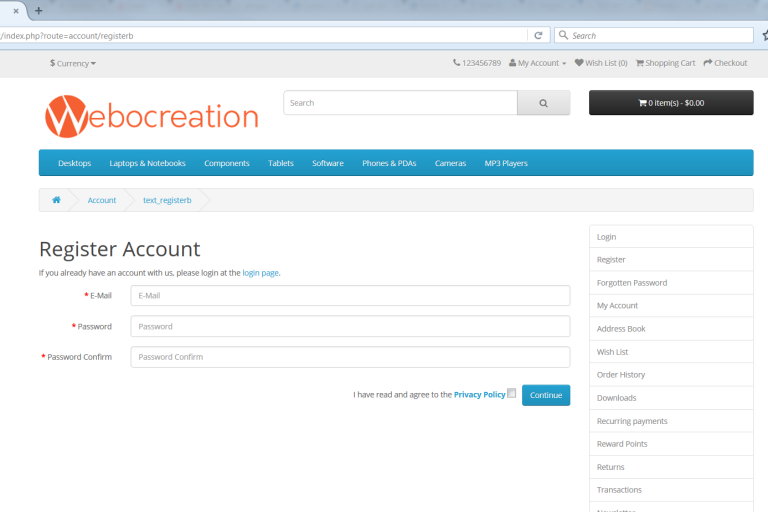
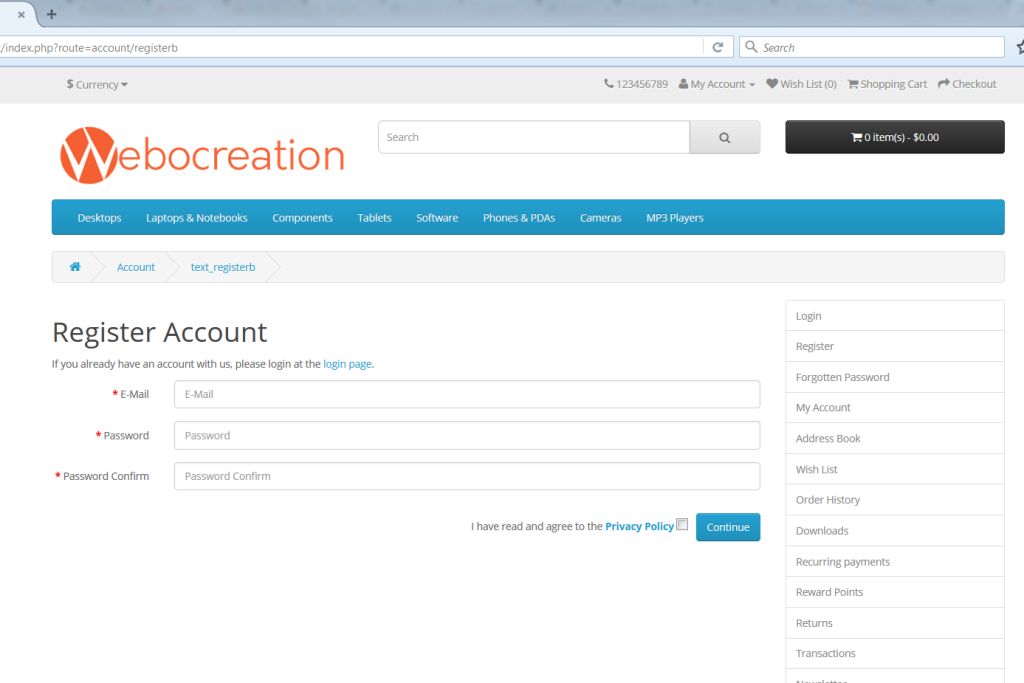
We created files that will show the Separate register form page containing email and password only in OpenCart 2.2. At our server it is working when we run like index.php?route=account/registerb it is showing as the following images:
In this opencart guide, we are showing you the OCMOD Modification System of Opencart 2.3 with an example of the “Show all products module” eCommerce. Opencart 4 OCMOD documentation
Things to take care of while making an OCMOD file:
File extension must be either .ocmod.zip or .ocmod.xml.
Upload from the admin section, Admin>>Extensions >> Extension Installer, Upload the .xomod.zip or .ocmod.xml file from here.
Now go to the following link and download the “Display all Products” module Download shows all products module You will find the following OCMOD example which shows how to show “All Products” links at the top menu bar.
More details at https://github.com/opencart/opencart/wiki/Modification-System OCMOD is a system that allows store owners to be able to modify their store by uploading a compressed file that contains XML, SQL, and PHP files. If an OCMOD is developed correctly it can modify how a user’s OpenCart store works without changing any of the core files. This means that if a modification is removed none of the original OpenCart files need to be restored or fixed.
OCMOD Files
OCMOD files can be uploaded via the opencart admin under Extensions / Extension Installer For an OCMOD file to be uploaded the file extension must be either .ocmod.zip or .ocmod.xml. This is to avoid none of the OCMOD files from being uploaded to a store user admin.
File Structure
Example file structure for OCMOD compressed files.
upload
install.sql
install.php
install.xml
upload
All files under this directory will be uploaded to the directory of your OpenCart installation.
install.sql
Add any create, drop, insert, and update SQL queries here. Make sure each query ends with ;
install.php
If the modification requires any custom PHP code.
install.xml
The XML modification file. You can view the documentation for this system below.
XML
This is the file that creates a virtual copy of any files that require changes. Use this system instead of overwriting any default installation files. Multiple modifications can be applied to the same file. Example OCMOD file:
You can set multiple file locations by spiting up the file locations using commas. The modification system uses the PHP function glob. http://hk1.php.net/manual/en/function.glob.php Example: Direct file path.
<file path="catalog/controller/common/home.php">
Using braces allows for selecting multiple files and not having to repeat the code operation multiple times.
If you use regex you can not use attributes position, trim or offset as these are handled by the regular expression code you write. The limit attribute is still available. If, for example, you want to change the 3rd ‘foo’ to ‘bar’ on the following line:
lorem ifoopsum foo lor foor ipsum foo dolor foo
^1      ^2      ^3         ^4        ^5
Run:
s/\(.\{-}\zsfoo\)\{3}/bar/
Result:
lorem ifoopsum foo lor barr ipsum foo dolor foo
^1      ^2      ^3=bar     ^4        ^5