

In this post, we are showing you how to create and host the NextJs project for free with GitHub flow to hosting and add your domain name. The NextJs is a react framework that is production-ready, pre-rendered, and light-weight apps, the Jamstack(JavaScript, APIs, and markup stack), SEO-friendly, PWAs, and mobile-ready. We set up a GitHub project, then set up the local environment, and then setup Vercel hosting where the master branch is continuously deployed. A domain is added for the master branch and you can add the dev and test environment by creating the branches in the Github project.
- First, register your domain name. It can cost you around $8-$10 and some countries provide it free also, like in Nepal if you register as per your name then it is free like mine is rupaknepali.com.np.
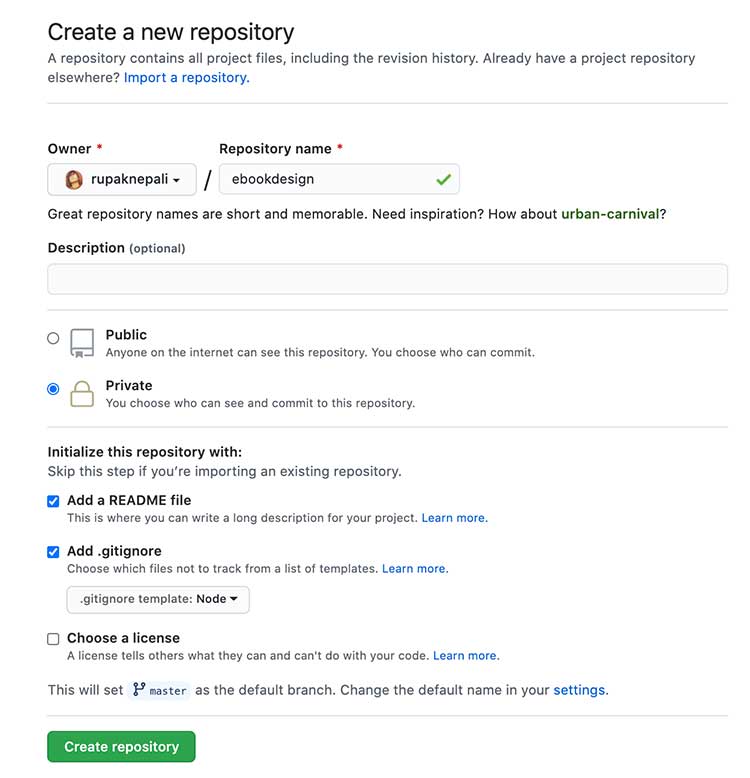
- Second, create a GitHub account if you don’t have by going to https://github.com/join and then create a repository in GitHub. In the below example the repository name is “ebookdesign”
- Setup a local development environment. Install NodeJs, Github, IDE(we use Visual Studio code),
- Now, in the terminal create a folder like for us we create “ebookdesign“, go or ‘cd’ to the project folder, and clone the GitHub project that we create above in the Github. Use your project URL.
git clone https://github.com/webocreation-rupak/ebookdesign.git .
- After you cloned it, run following command
npm init -y && npm install --save react react-dom next
This will create the package.son file and install react, react-dom, and next project. Now open the package.json, then remove the following lines of code:
"scripts": {
    "test": "echo \"Error: no test specified\" && exit 1"
  },
Then add following lines of code:
 "scripts": {
    "dev": "next",
    "build": "next build",
    "start": "next start"
  },
Open pages/ folder and create at file named index.js and paste following code:
const Index = () => {
  return (
    <div>
      <h1>Hello World</h1>
    </div>
  );
};
export default Index;
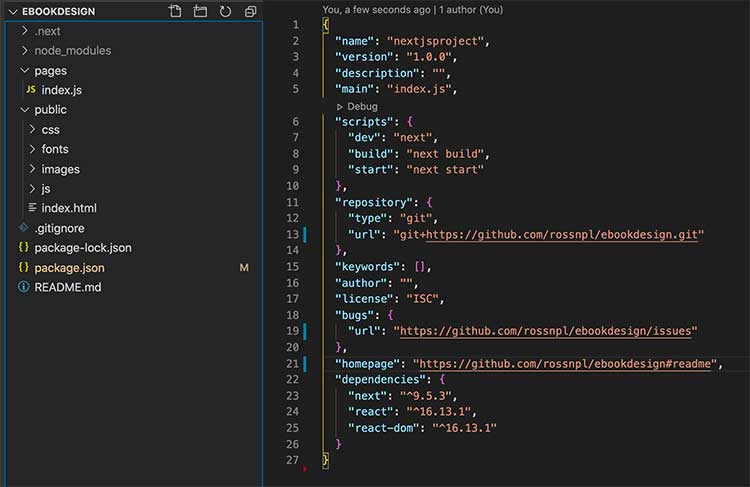
Now open the project and create pages/ folder and public/ folder, the files and folders till now are like below:
Now in terminal run command
npm run dev
It will start the server on http://localhost:3000 and compile code successfully. You can open the URL http://localhost:3000 in your browser and you can see the “Hello World” page, which means you did all good till now.
Now push this code changes in the github project.
git add . && git commit -m "pages folder and public folder are created" && git push origin master
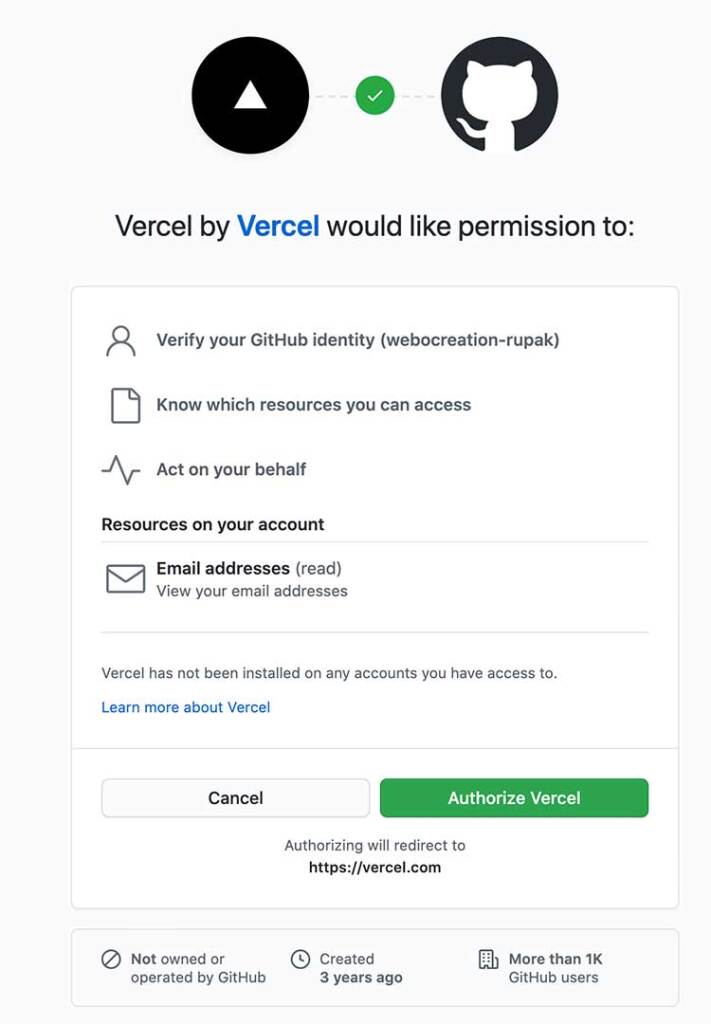
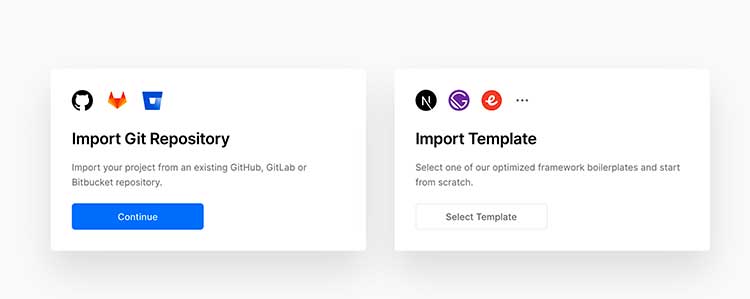
Now go to https://vercel.com/signup and click the button “Continue with GitHub”. Then you authorize the Vercel to Github.
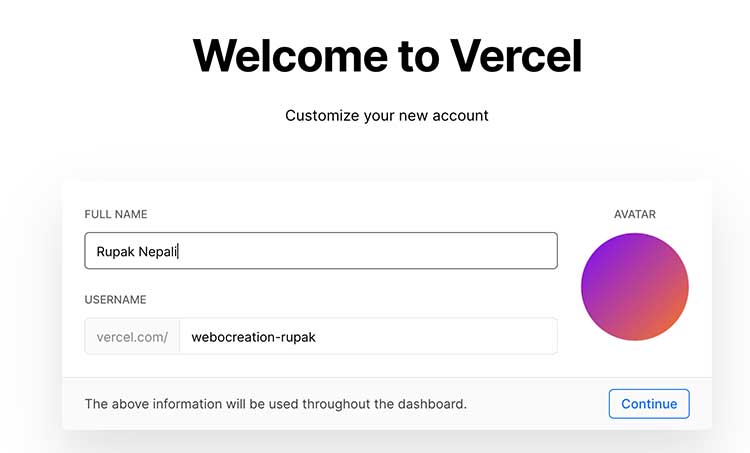
You will get the popup to enter your mobile number for the verification process. After verification with mobile code, you are redirected to the welcome page where you need to enter your details.
Import github repository
Enter the URL of your Github repository and click “Continue”

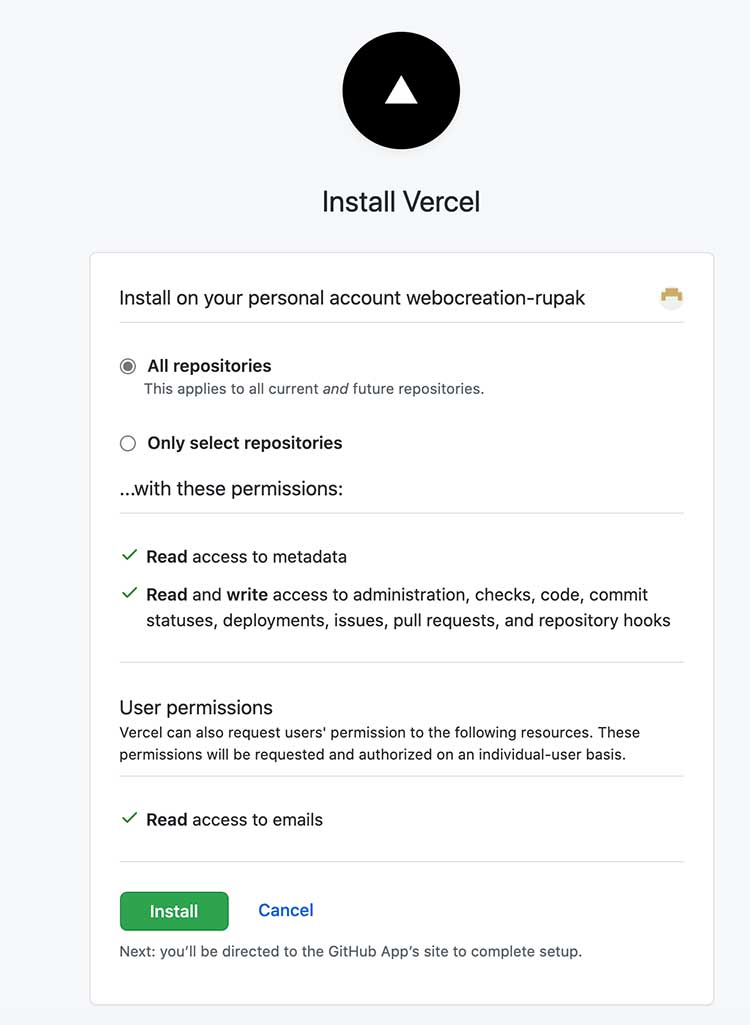
Install Vercel to Github and give access to your repositories
Then, in the next screen you can click the deploy the project and if everything is Ok then your project is successfully added.

You will get the url like https://ebookdesign.vercel.app/
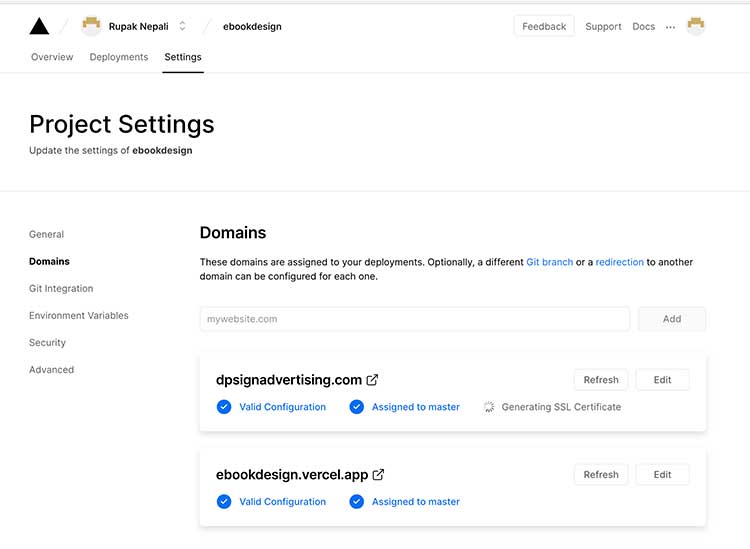
Now let’s add our domain to the project, for that, go to Settings at the top menu and then in the domain and add the domain name.
https://vercel.com/docs/custom-domains#dns-records
After adding the domain you will get the DNS records which you need to add on your domain registrar.
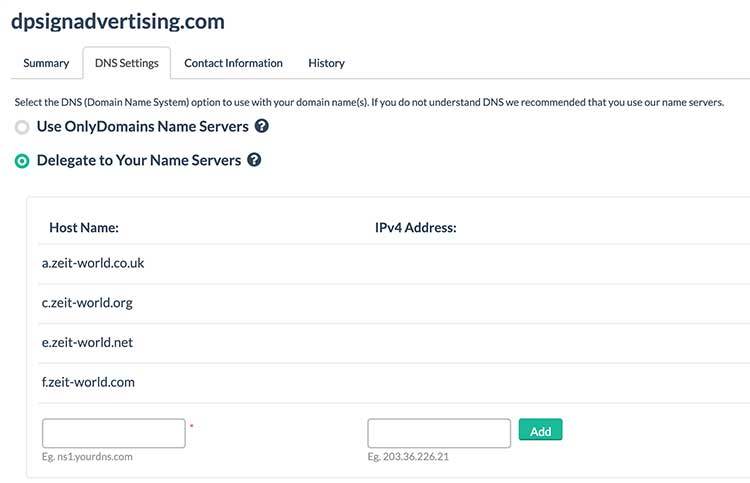
With these changes you can visit through your URL, here we are using dpsignadvertising.com
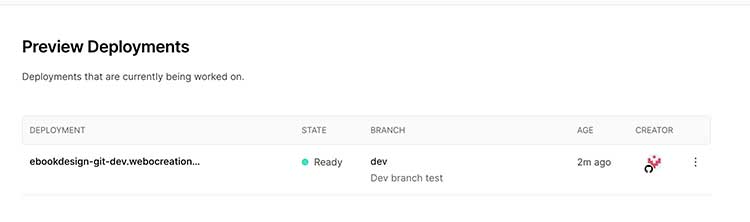
The easy part using the Vercel, we can create as many demo website as we want, each branch of your Github project. Let create one branch in our local called dev and push it to github and it will automatically show at the hosting.
git checkout -b dev
git add .
git commit -m "Dev branch test"
git push origin dev
Once above command is run, then we will get the “Preview Deployments” like below at Project >> Overview, it gives us the URL like https://ebookdesign-orz1lbra5.vercel.app/
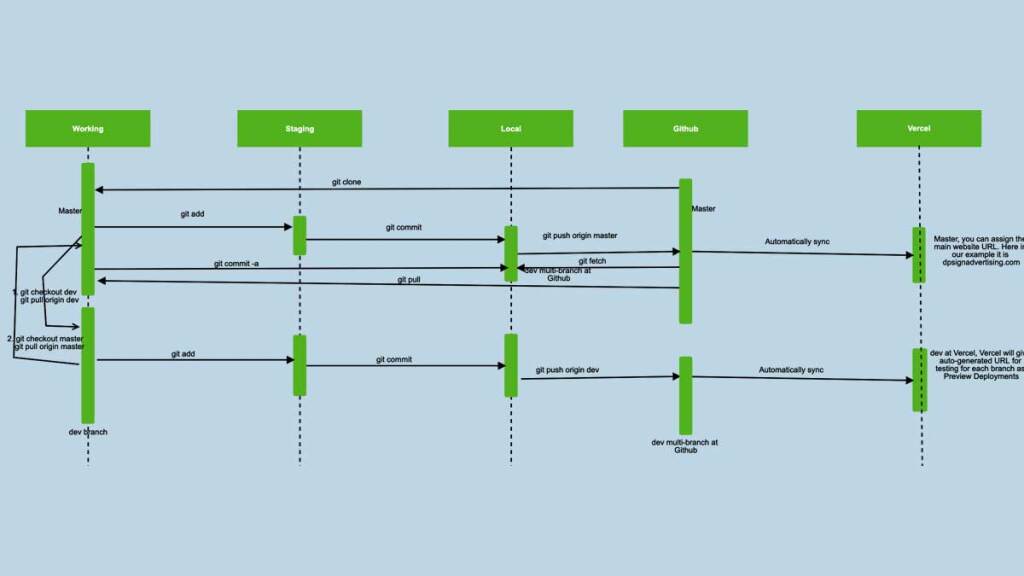
Check the flow diagram:
Now you can make changes to the code and start your development. In our upcoming post, we will show you how to show youtube videos, WordPress posts, and texts. Please let us know if you have any questions or concerns. Hope you liked this article, please subscribe to our YouTube Channel for Opencart video tutorials. Find us on Twitter and Facebook.