
In this tutorial, we are showing you how to write code in OCMOD and modify the core files of OpenCart. Here we will show the flows that happened when someone uploads the ***.ocmod.zip file, then create an install.xml file to show the module link in the left column and give you details of Ocmod documentation in Opencart 3. For Opencart 4 OCMOD tutorial click here
As per the core code when you upload the ***.ocmod.zip folder from Extensions >> Installer, the following things will happen:
- Check if the user has permission. You will get an error like:
“Warning: You do not have permission to modify modifications!” - Check if there is an install temporary folder zip already there.
- If it found the file and the file created time is less than 5 seconds then it tries to unlink or remove the file, if it cannot remove the file then it throws an error saying:
“Extension installation taking place please wait a few seconds before trying to install!” - It checks whether the uploaded zip file ends with .ocmod.zip
- It checks if there are any other file uploading errors, UPLOAD_ERR_OK: Value: 0; There is no error, and the file uploaded with success. If there is any error it will show errors like:
“File could not be uploaded!” - If everything is good then it creates a .tmp file and performs function move_uploaded_file.
- Then it adds the logs in the database table oc_extension_install with the name ***.ocmod.zip and the extension download id. “oc_” is the database prefix.
- Then it starts the installation, from the controller “ControllerMarketplaceInstall”, it makes sure the file name is stored in the session. If the file is not in that session then it shows an error like this:
“File could not be found!” - Then it starts unzipping the ***.ocmod.zip and if it cannot unzip the ocmod.zip file then it shows an error like:
“Zip file could not be opened!” - After unzipping it checks whether the unzip folder contains “upload/” or not, likewise, it checks for the allowed directories to be written or not. Opencart allows the following directories only:
- ‘admin/controller/extension/’,
‘admin/language/’,
‘admin/model/extension/’,
‘admin/view/image/’,
‘admin/view/javascript/’,
‘admin/view/stylesheet/’,
‘admin/view/template/extension/’,
‘catalog/controller/extension/’,
‘catalog/language/’,
‘catalog/model/extension/’,
‘catalog/view/javascript/’,
‘catalog/view/theme/’,
‘system/config/’,
‘system/library/’,
‘image/catalog/’
- ‘admin/controller/extension/’,
- So while creating a custom opencart module better to work on these folders only. If you put it in another folder then it may give you the following error:
“The directory %s is not allowed to be written to!” - It checks for the directory structure of the zip and whether it matches with the Opencart directory structure.
- Then it will insert in the database table oc_extension_path with extension install id.
- Then it will start installing the /install.xml, if an XML file exists then it is put into the database. It checks for the “code” name in the XML and checks if the values already exist in the database. If everything is good then it inserts into the database table oc_modification with extension_install_id, name, code, author, version, link, XML, status, and date_added.
- Then it unlinks or removes the temporary folder.
- Finally, it gives the success message.
With the flow steps above the folder structure for the ocmod.zip is install.xml and upload. Inside the upload/ folder put the OpenCart folder and files.
In the install.xml it should be something like where the ******* is your custom thing.

<?xml version="1.0" encoding="utf-8"?>
<modification>
    <name>*******</name>
    <version>*******</version>
    <author>*******</author>
    <link>*******</link>
    <code>*******</code>
    <description>*******</description>
    <file path="*******">
        <operation>
            <search><![CDATA[ ******* ]]></search>
            <add position="*******"><![CDATA[*******]]></add>
        </operation>
    </file>
</modification>
Don’t forget <code>, although it is not mentioned in the Modification system documentation https://github.com/opencart/opencart/wiki/Modification-System
You can use multiple file operations. There are two operations search and add. With the Add operation, you can replace, add before, or add after.
<file path="">
    <operation>
        <search><![CDATA[]]></search>
        <add position=""><![CDATA[]]></add>
    </operation>
</file>
Now check out the previous blog posts where we have listed all the documentation of OCMOD.
While zipping the folder zip the install.xml and upload/ folder, not the main folder. install.xml is not mandatory.
If you are trying to create a table or insert data in the table then you need to create the install method in your controller. Like:
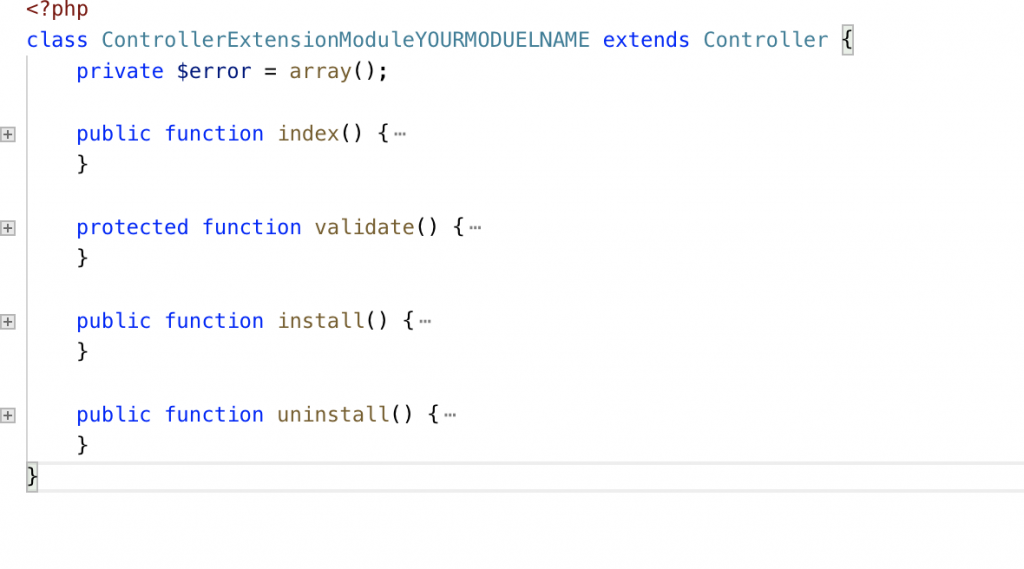
In the install method, you can implement logic as needed for your module when it is installed.
//Check it in admin/controller/extension/extension/module.php install method.
// Call install method if it exists
$this->load->controller('extension/module/' . $this->request->get['extension'] . '/install');
Similarly, you can implement the logic for the uninstalling method when it is uninstalled.
We created a free module with OCMOD to show the Module link in the left menu with the following XML:
<?xml version="1.0" encoding="utf-8"?>
<modification>
    <name>Show Module Link At Left Menu</name>
    <version>3.0</version>
    <author>Rupak Nepali</author>
    <link>https://webocreation.com</link>
    <code>webocreation_show_module_link_at_left_menu</code>
    <description>Show module link at left menu</description>
    <file path="admin/controller/common/column_left.php">
        <operation>
            <search><![CDATA[ if ($this->user->hasPermission('access', 'marketplace/extension')) { ]]></search>
            <add position="after"><![CDATA[
                $marketplace[] = array(
                    'name'     => "Modules",
                    'href'     => $this->url->link('marketplace/extension&type=module', 'user_token=' . $this->session->data['user_token'], true),
                    'children' => array()
                );
            ]]></add>
        </operation>
    </file>
</modification>
Steps for making changes to the core files of OpenCart
- In your local make the changes in the core of the files and keep track of the files
- Then create the install.xml and add those changes in install.xml
- Then remove the changes of the core files that you make the changes.
- Then zip it with ***.ocmod.zip and upload in Extensions >> Installer
- Then clear the cache in Extensions >> Modifications
- You are set.
Testing Tips for the Developer
Testing is hard for OCMOD changes if you have to change in XML, zip, upload from the installer, and clear in modifications. So the tip for developers is they can place the install.xml in the system/ folder (not sure if it is supported in Opencart version 3.0.3.2), then make changes in the install.xml and you don’t need to zip and upload, you can clear in modifications and you can check the changes. If you don’t want to clear the cache in modifications then you can go through this blog Opencart cache clear.
If their search code is not found then it shows an error like the below in the Ocmod log:
MOD:
FILE: admin/controller/common/column_left.php
CODE: if ($this->user('access', 'marketplace/modification')) {
NOT FOUND - OPERATIONS ABORTED!
The Search Code provides the following attributes:
- trim=”(true|false)”
- regex=”(true|false)”
- index=”(number)”
The add code provides the following attributes:
- trim=”(true|false)”
- position=”(replace|before|after)”
- offset=”(number)”
Other you can read at https://webocreation.com/ocmod-documentation/
Let us know if you have any suggestions or questions.
nice tutorial, i woul like to remove or hide transaction opencart 3.0.3.3 twig. thank u