
Simple testing and implementing the right variant will help you to stand out in your niche, A/B testing is easier to do with Google Optimize and it is free, just need to keep on improving as per the result, you can make a simple test like changing the color of buttons can/may increase the conversions.
The web is always evolving and to keep it up with the evolution we keep on running a successful A/B test on eCommerce which is a simple operation carried with the business analytical process. It generates a steep learning curve on optimization which shows the variations. There is a measuring process of the outcomes that sometimes confuse the analyst. Several marketing needs have been in concern for the performance of eCommerce platforms. The process of A/B testing with Google optimize aims to address the difficulties related to the rolling out of the A/B test. The optimization process is very important as it gives the analytic view for the marketing project and works toward improving the conversions and providing the best digital experience and improving every touchpoint in the website and analyzing where we are missing the Conversions.
Read More: Automated Testing and monitoring of Opencart functionalities and sites
How to start AB testing in your Opencart eCommerce site?
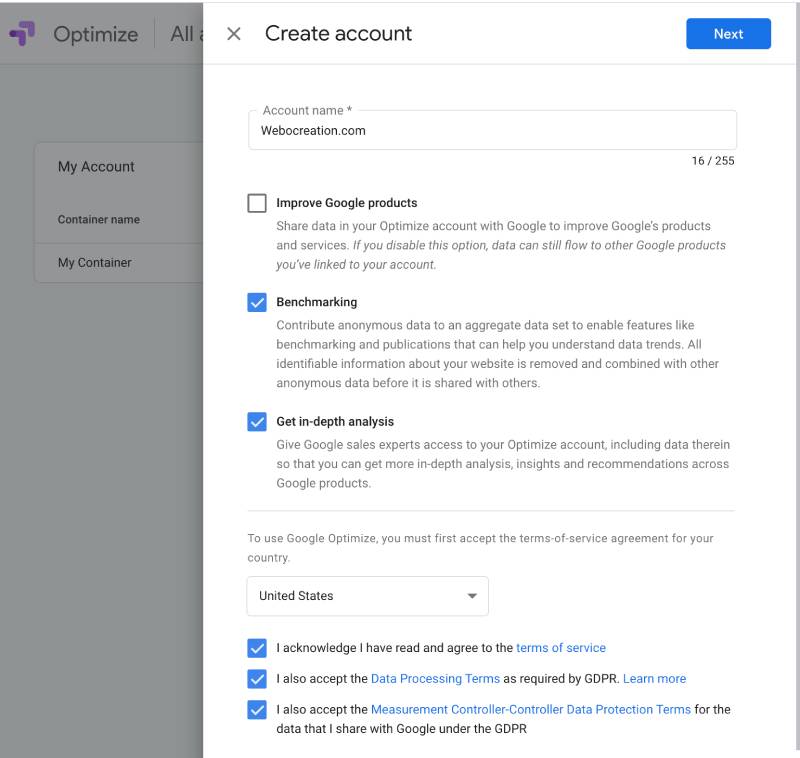
- Start the your AB testing and optimization by creating the Google Optimize account. Create the account using the same credentials for your Google products like the gmail, analytics or AdWords. Then, you will see a Optimize dashboard
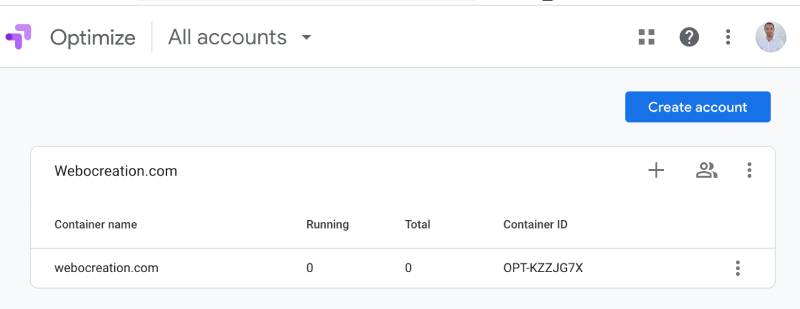
- Once, you are in the Optimize dashboard you can create a new account for new website or can add container.
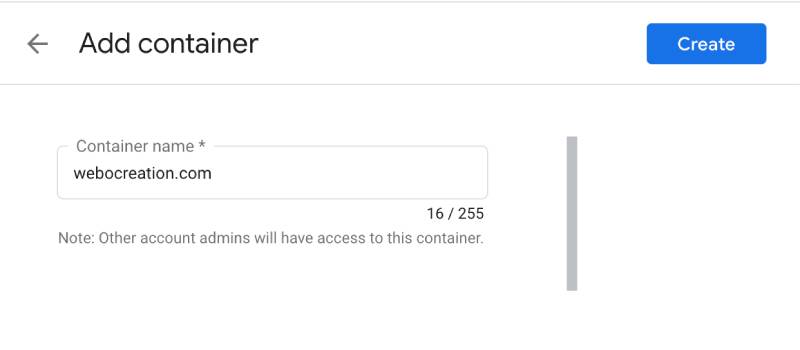
- Once you create account, in next you can add a container, where you will be insert the website URL
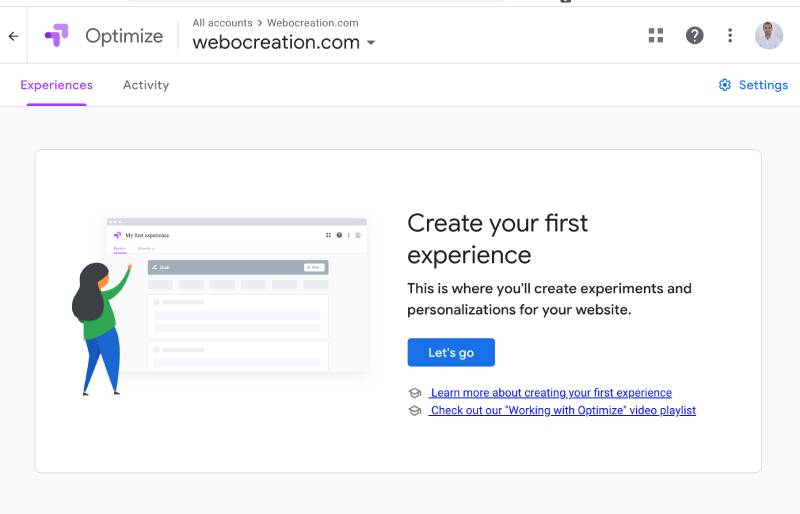
- After that, you can create the experiment. Click and enter the page to test and select the experiment type.
Five types of experience in the Google Optimize for testing
There are five choices to select from for your experience:
A/B test
Compare two or more variations from the same page. It is a comparison mostly done on a simpler platform because it does not need much. Let’s say you want to test button color and its effect on conversion, then you can set up the experience like below:
Multivariate test
It is advanced testing of multiple variations on the same page.
Redirect test
It redirects the test page to an alternate position. The easiest test is the redirect test, with an example of testing two landing e pages for Google AdWord traffic. It is a category page versus the best-selling product test.
Personalization
In this experience, you can personalize your page as per the targeted visitors. You set up targeted visitors and show them different pages and check which one gets more conversions.
Banner Template
With this experience, you can add banner templates like for example add a notification banner to the top of the website and similar popups and check how visitors interact with it and help in conversions.
AB testing which button performs best for conversion in Opencart
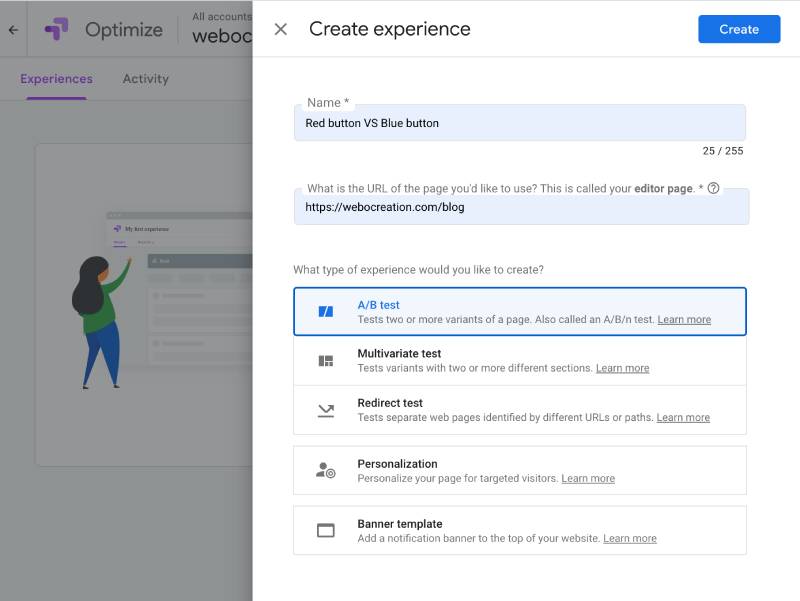
For A/B testing in the Google Optimize, click the container to open it and then click the “Create Experience” button, and then enter the “Name”, Enter the URL where you want to perform the test, and select A/B test. Here in the example, we are performing the test at https://webocreation.com
Now click the Create button and on the next page, you can add the variant
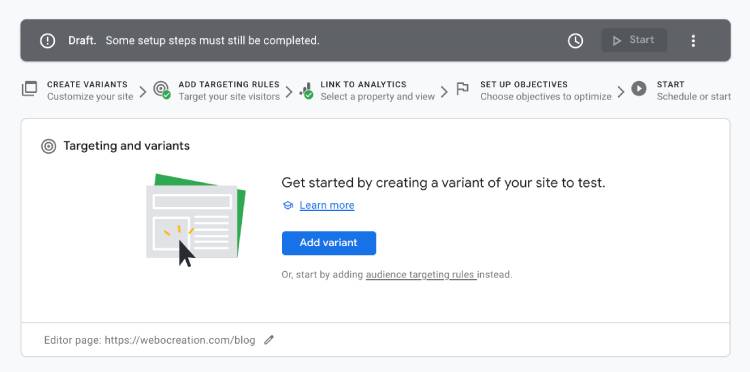
After clicking Add variant button in the Targeting and variants, here the original can be taken as variant A and you can add the new variant that you are going to test. Enter the name of the new variant, like for our example our original website is red in color and the new variant that we are testing is blue, after that, you can see similar to the following example
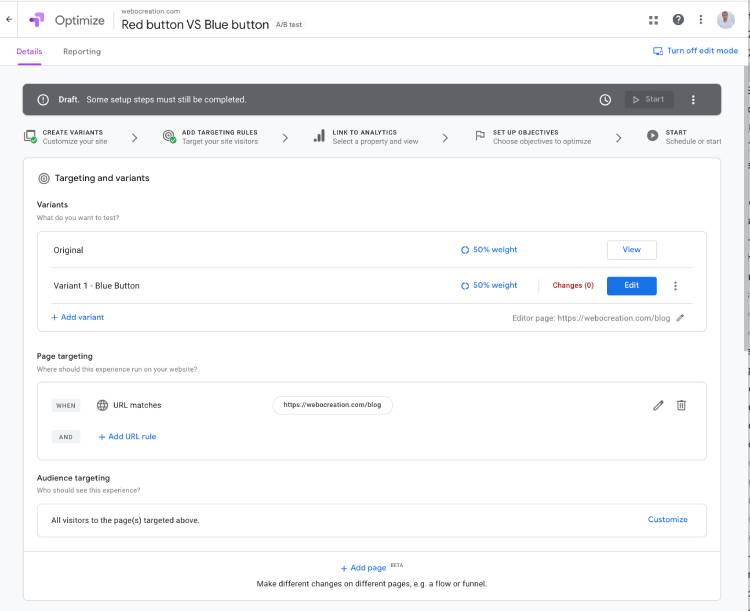
You can set up multiple variants and for multiple page targeting as well as audience targeting. We are just testing in the blog page and for all audiences so the test is like above.
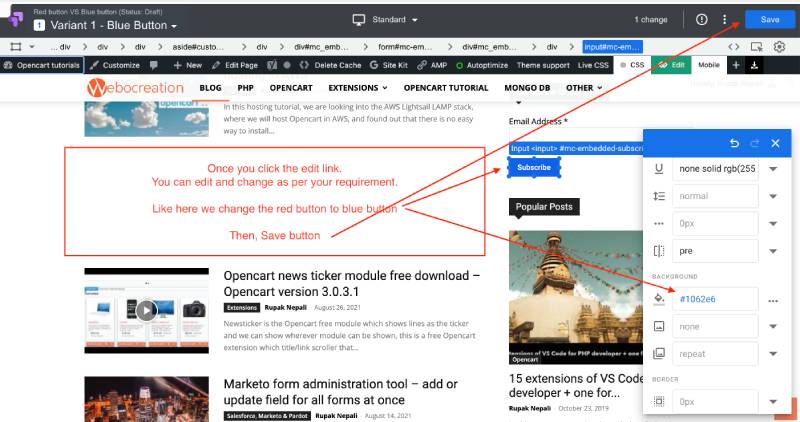
Now, click Edit blue button at the “Variant 1 – Blue Button”, which will open the page where you can make HTML changes like content, button color, etc as per your requirements. Here are changing the button color, an example is like below:
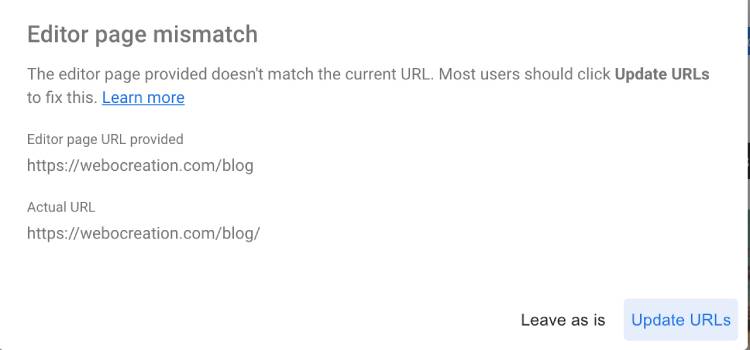
Sometimes if the URL is not matched then Google Optimize suggest changing the URL like below, but if you entered the right URL it will not show:
After you save and click done, now you can add the description and the link the Google Analytics if you have not set up Google Analytics for Google Optimize.
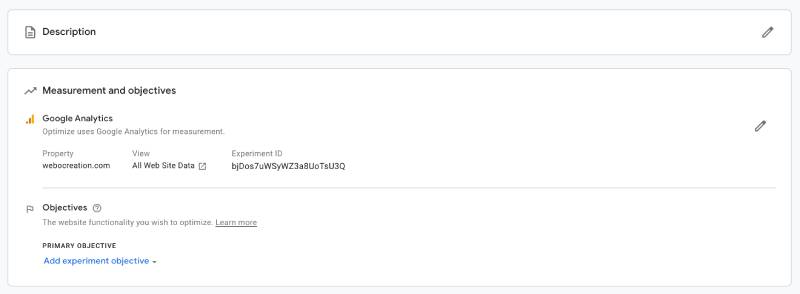
Once you link the Google Analytics, you need to add the Objectives, click “Add experiment objective”.

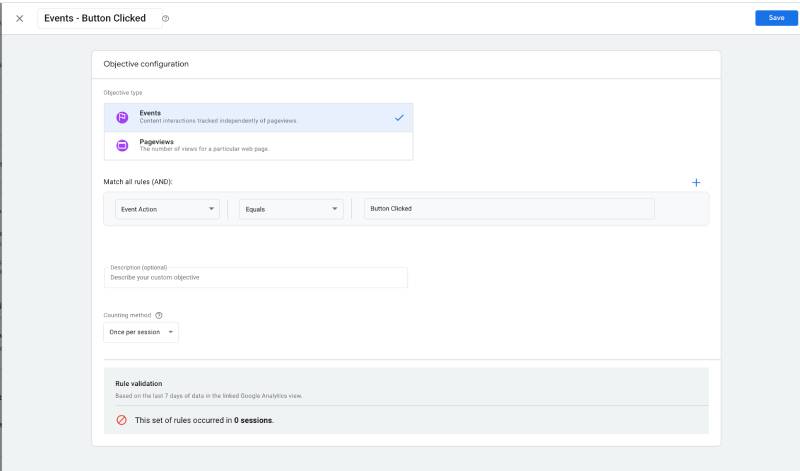
You can choose from the available list or create your custom primary objective. As we are tracking the button click so there are no available events so need to create a custom one. Select the “Create custom”. In the popup, Enter the title, and select the Objective type, in our case we are selecting Events, and select the Event Action, Equals and enter the “Button Clicked”, select the Counting method as Once per session.
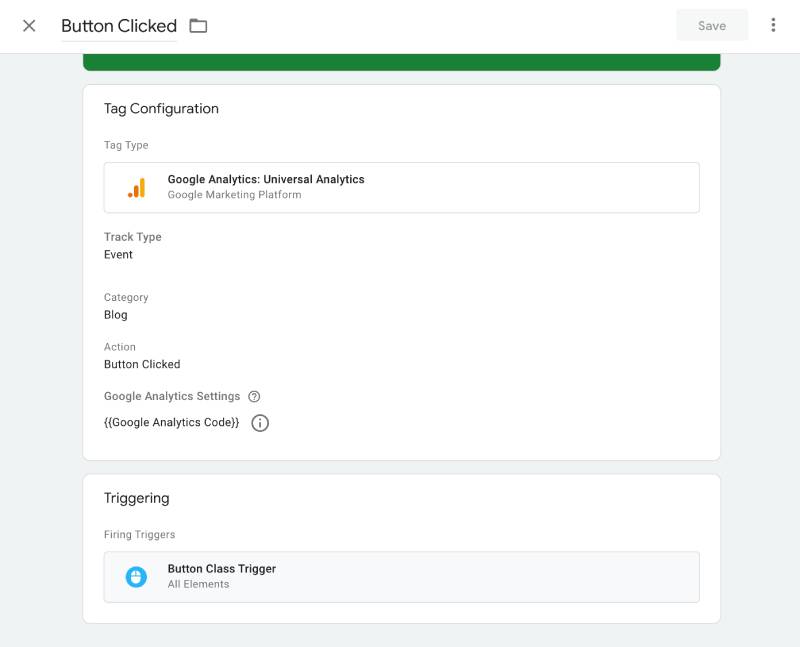
Here you set up the Events, but these events need to be set up in the Google Tag Manager similar to below, which is another big topic which we can cover later but you can check online hot to setup Tags and Triggers in the Google Analytics and set up the events in Google Tag Manager like below so that the Action value is “Button Clicked” which we entered in the Google Optimize objective.
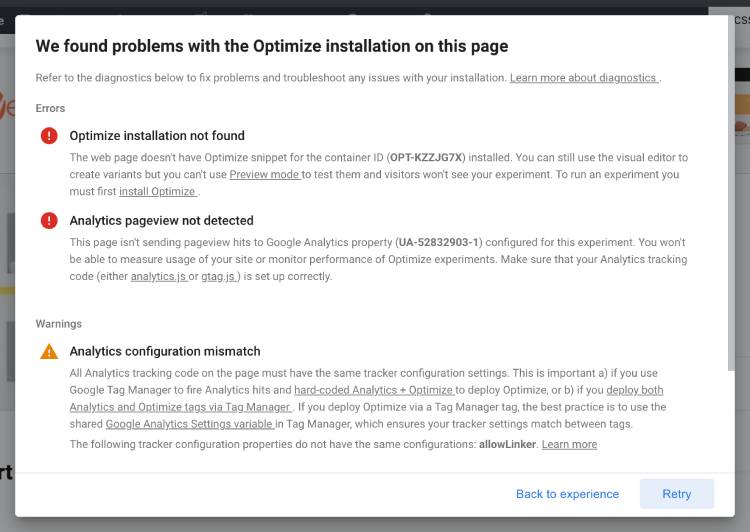
Now, check if all installation is set up properly by clicking the “Check Installation”. It will show if there is an error like optimize code is not added or Google Analytics is not set up properly etc.

See the “View instructions” where you will find the script tag to add to the Opencart
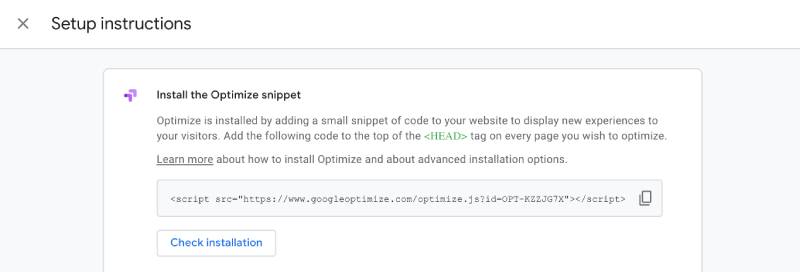
In the Opencart admin >> Extensions >> Extensions >> Select Analytics >> Edit Google Analytics >> Paste the above chode in the Google Analytics code. If you want to learn how to add third-party JS in Opencart then click here. Or, if you have installed the Google Tag Manager then you can add the container Id in the tag and you don’t need to add the above snippet.
Some of the errors popups are like below:
Finally, click the Start button to begin the AB testing in Google Optimize.
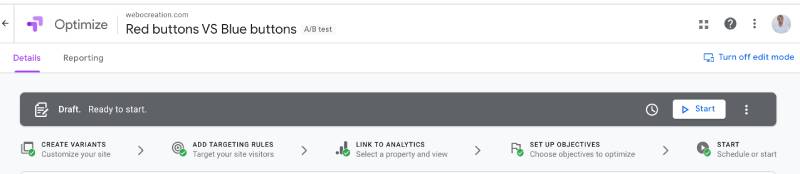
Once it is started then you can wait for some days and check the reporting section where you can get which variant is the leader and make changes in your design. In our case, no leaders were found 🙂

You can set up the A/B test like above and make changes to optimize the conversion. In our upcoming posts, we will show other types of experience Multivariate test, Redirect test, Personalization, and Banner Template, similarly, we will come up with lists of experiences that you can test to increase your Conversion Rate Optimization(CRO). So keep on visiting our blog, you can follow us at our Twitter account @rupaknpl. Subscribe to our YouTube channel for Opencart tutorials, and click to see all Opencart tutorials.


 for Your Business")